Chalk paint can crack due to insufficient drying time or a thick application. This often happens when the paint dries too quickly or when too many layers are applied.
When you notice cracking, it’s essential to identify the cause and take corrective action to prevent further issues. Proper surface preparation, using the right type of chalk paint, and applying thin, even coats can help avoid cracking. Understanding the reasons behind the cracking will help you address the problem effectively.
In this blog, we will explore common causes of chalk paint cracking and provide tips to prevent and fix this issue, ensuring your painted surfaces remain smooth and flawless.
Contents
Introduction To Chalk Paint Cracking
Chalk paint can crack due to various reasons such as applying too thick a layer, not allowing sufficient drying time between coats, or painting over a glossy surface. To prevent cracking, ensure proper surface preparation, use thin layers, and allow each coat to dry thoroughly before applying the next.
The Allure Of Chalk Paint
Chalk paint has gained popularity due to its matte, vintage-inspired finish. Its versatility and ease of use make it a favorite among DIY enthusiasts and professional furniture painters alike. The paint’s unique properties allow for a distressed, shabby-chic look without the need for extensive preparation or priming.
Common Frustrations: Cracking And Flaking
Despite its many advantages, users may encounter issues such as cracking and flaking when working with chalk paint. These problems can be frustrating, especially after investing time and effort into a project. Understanding the causes and remedies for these issues is crucial for achieving a successful chalk paint finish.
Credit: www.homedepot.com
The Science Behind Cracking
Chalk paint has become increasingly popular in recent years due to its versatility and ease of use. However, one common issue that many individuals face with chalk paint is cracking. Understanding the science behind cracking is essential to prevent it from happening and achieve a smooth and flawless finish.
Factors Influencing Paint Adhesion
One of the primary reasons for cracking in chalk paint is poor adhesion. Paint adhesion refers to the ability of the paint to stick to the surface it is applied to. Several factors can influence paint adhesion, including:
- The surface texture of the object being painted: Smooth surfaces tend to have less adhesion than rough or porous surfaces.
- The type of paint being used: Different paints have varying degrees of adhesion, depending on their composition.
- The preparation of the surface: Proper cleaning and sanding of the surface can significantly improve paint adhesion.
How Environmental Conditions Play A Role
Environmental conditions can also play a significant role in the cracking of chalk paint. For example, temperature and humidity can affect the drying time of the paint, which can lead to cracking if the paint dries too quickly or slowly. Additionally, exposure to direct sunlight or extreme temperatures can cause the paint to expand and contract, leading to cracking over time.
To prevent cracking, it is crucial to ensure that the surface being painted is clean and properly prepared, and that the paint is applied in thin, even layers. It is also essential to allow the paint to dry completely before applying a second coat or any additional finishes. By taking these steps and understanding the science behind cracking, you can achieve a beautiful and long-lasting finish with your chalk paint projects.
Preparation Missteps
Proper preparation is key to achieving a flawless chalk paint finish. Skipping essential steps in the preparation process can lead to cracking and other undesirable outcomes. Let’s delve into the common missteps that can cause chalk paint to crack.
Skipping Surface Cleaning
Neglecting to thoroughly clean the surface before applying chalk paint can hinder its adhesion. Dirt, grease, or residue can create a barrier between the paint and the surface, leading to poor bonding and eventual cracking. Ensure to meticulously wipe down the surface with a gentle cleanser and water to eliminate any contaminants that could affect the paint’s adherence.
Inadequate Sanding Techniques
Incomplete or improper sanding of the surface can result in poor paint adhesion and eventual cracking. Inadequate sanding can prevent the paint from properly gripping the surface, leading to premature cracking and peeling. Thoroughly sand the surface to create a smooth and porous base for the chalk paint to adhere to, ensuring a long-lasting and crack-free finish.
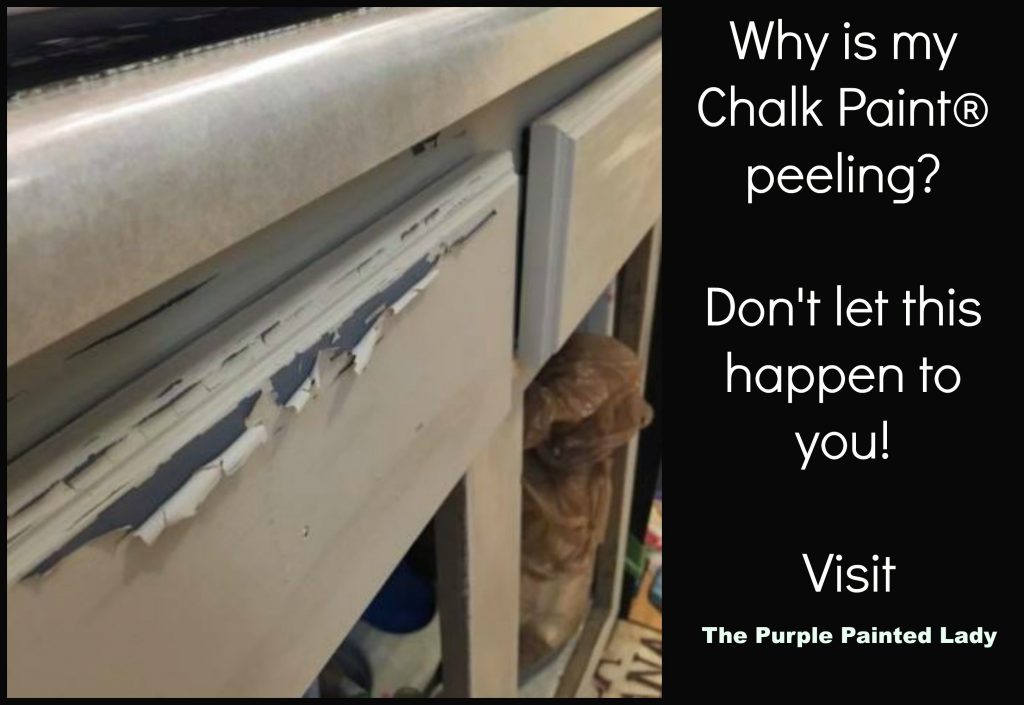
Credit: www.thepurplepaintedlady.com
Application Errors
When using chalk paint, application errors can lead to undesirable outcomes such as cracking. Understanding these errors is crucial for achieving a smooth and flawless finish on your painted surfaces. Here are some common application errors that may lead to cracking:
Applying Too Thick A Coat
Applying chalk paint in excess can result in a thick layer that is prone to cracking as it dries. To prevent this, apply the paint in thin and even layers, allowing each coat to dry completely before adding the next one.
Not Allowing Adequate Drying Time Between Coats
Insufficient drying time between coats can cause the underlying layers of chalk paint to shift or contract, leading to cracking. Make sure to follow the recommended drying times specified by the paint manufacturer for optimal results.
Unsuitable Environments For Drying
When it comes to chalk paint, there are a few common problems that DIYers and professionals alike may encounter. One of the most frustrating issues is cracking, which can occur for a variety of reasons. In this post, we’ll focus on one of the most common causes of cracking: unsuitable environments for drying.
The Impact Of Humidity
Humidity can have a significant impact on the drying process of chalk paint. If the air is too humid, the moisture in the paint may not be able to evaporate properly. This can lead to a longer drying time and an increased risk of cracking. If you live in a particularly humid climate, it may be necessary to take extra precautions to ensure your paint dries properly.
Temperature Effects On Drying
The temperature of your environment can also have a significant impact on the drying process of chalk paint. If the temperature is too low, the paint may not dry properly. Conversely, if the temperature is too high, the paint may dry too quickly and crack. Ideally, you want to work in an environment with a temperature between 60 and 80 degrees Fahrenheit.
It’s also important to note that sudden fluctuations in temperature can be detrimental to the drying process. If you’re working in an environment with air conditioning or heating, be sure to keep the temperature consistent throughout the drying process.
To ensure your chalk paint dries properly, it’s important to work in a suitable environment. This means choosing a space with a consistent temperature and humidity level. It may also be helpful to invest in a dehumidifier or fan to help regulate the air in your workspace. By taking these precautions, you can help prevent cracking and ensure a beautiful, long-lasting finish for your chalk paint projects.
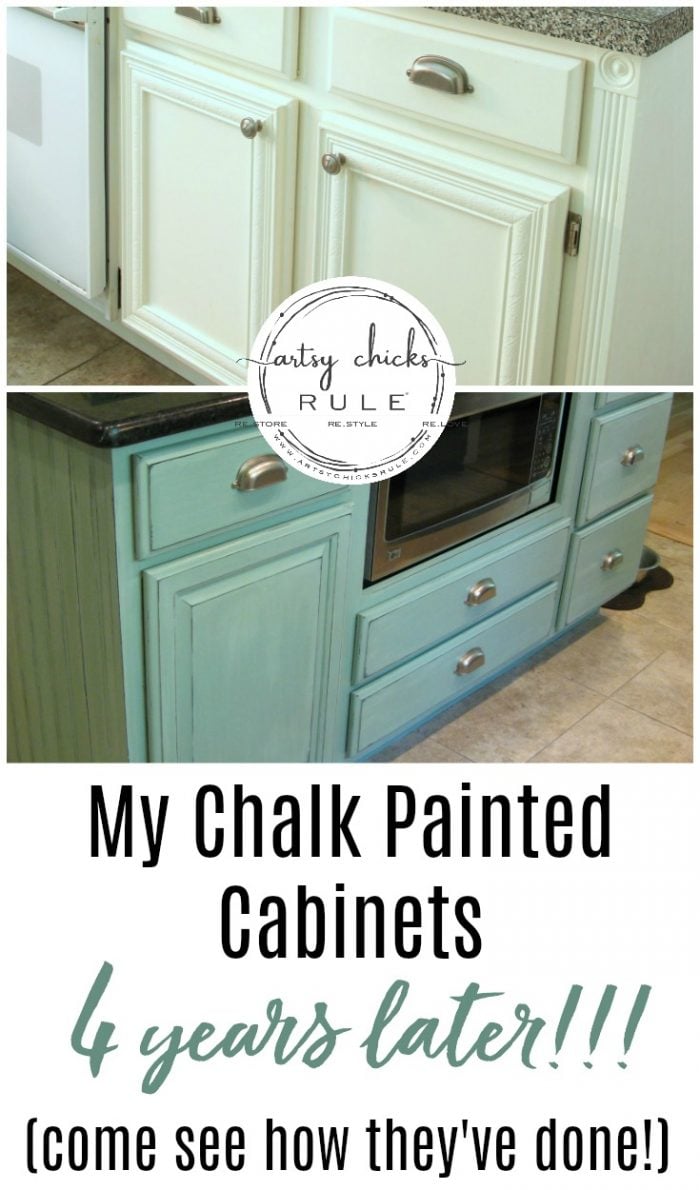
Credit: www.artsychicksrule.com
Materials And Tools
The success of a chalk paint project heavily depends on the materials and tools you use. Choosing the right brushes and high-quality paint can make all the difference in achieving a smooth, crack-free finish. Let’s delve into the crucial factors in detail.
Choosing The Wrong Brushes
Using the wrong brushes can lead to uneven application and, ultimately, cracking of the chalk paint. Natural bristle brushes are the ideal choice for chalk paint as they hold the paint well and create a smooth finish. Avoid using synthetic brushes as they can leave visible brush strokes, leading to potential cracking.
Using Low-quality Paint
Opting for low-quality chalk paint can significantly increase the likelihood of cracking. Always invest in high-quality chalk paint that is specifically designed for furniture and other surfaces. Quality paint not only provides better coverage but also adheres well to the surface, minimizing the risk of cracking.
Preventive Measures And Fixes
When it comes to using chalk paint, there’s nothing more frustrating than seeing it crack after all your hard work. To avoid this issue, it’s important to take preventive measures and know the right fixes. By following proper surface preparation techniques and applying the paint smoothly, you can ensure a crack-free finish that will last.
Proper Surface Preparation
Before you begin painting with chalk paint, it’s crucial to prepare the surface properly. This will ensure better adhesion and prevent cracking in the future. Here are some steps to follow:
- Clean the surface: Remove any dust, dirt, or grease from the surface using a mild detergent or a mixture of water and vinegar. Wipe it down thoroughly and let it dry completely.
- Sand the surface: If the surface is smooth and shiny, lightly sand it to create a rough texture. This will help the paint adhere better. Use a fine-grit sandpaper and gently sand the surface in circular motions.
- Repair any damages: If there are any cracks, holes, or imperfections on the surface, fill them with a suitable wood filler or spackle. Smooth out the filler with a putty knife and let it dry according to the manufacturer’s instructions. Sand the repaired area to make it even with the surrounding surface.
- Prime the surface (if necessary): Some surfaces, such as laminate or high-gloss finishes, may require a primer to improve adhesion. Consult the paint manufacturer’s instructions to determine if priming is necessary.
Techniques For Smooth Application
The way you apply chalk paint can also affect its tendency to crack. Here are some techniques to ensure a smooth application:
- Stir the paint thoroughly: Before you start painting, make sure to stir the chalk paint well. This will ensure an even consistency and prevent any clumps or separation.
- Apply thin coats: Instead of applying a thick layer of paint, it’s better to apply multiple thin coats. This allows each layer to dry properly and reduces the risk of cracking.
- Use a quality brush or roller: Invest in a good quality brush or roller specifically designed for chalk paint. This will help you achieve a smooth and even application.
- Sand between coats: After each coat has dried, lightly sand the surface with a fine-grit sandpaper. This will help create a smooth finish and improve the paint’s adhesion.
By following these preventive measures and application techniques, you can minimize the chances of your chalk paint cracking. Remember, proper surface preparation and smooth application are key to achieving a flawless and durable finish.
Conclusion: Crafting Lasting Beauty
Chalk paint can crack due to various reasons, such as applying it too thickly or not allowing enough drying time between coats. To prevent cracking, ensure proper surface preparation and apply thin, even layers of paint. Using a topcoat can also help create a more durable and lasting finish, reducing the risk of cracking.
Summarizing Key Takeaways
Chalk paint is a popular choice for DIY enthusiasts looking to transform old furniture into shabby chic masterpieces. However, one common issue that can arise is the paint cracking. In this blog post, we explored the reasons why chalk paint may crack and how to prevent it from happening.
Embracing Patience And Precision
One of the main reasons chalk paint can crack is due to impatience during the painting process. Rushing through the prep work or not allowing sufficient drying time between coats can cause the paint to crack. To prevent this, it’s important to take your time, follow the manufacturer’s instructions, and ensure each coat is completely dry before applying the next.
Using The Right Tools And Techniques
Another factor that can contribute to chalk paint cracking is using the wrong tools or techniques. Using a cheap brush or applying too much pressure when painting can cause the paint to crack. To avoid this, invest in high-quality brushes and use a light touch when applying the paint.
Choosing The Right Surface And Environment
The surface you’re painting on and the environment you’re painting in can also affect the outcome of your chalk paint project. Painting on a surface that is too porous or too smooth can cause the paint to crack. Additionally, painting in a humid environment or exposing the painted surface to extreme temperature changes can also cause cracking. To prevent this, choose a suitable surface and environment for your project.
Crafting Lasting Beauty
In conclusion, by embracing patience and precision, using the right tools and techniques, and choosing the right surface and environment, you can prevent chalk paint from cracking and create a lasting, beautiful finish on your furniture. With these tips in mind, you can confidently tackle your next DIY project and transform your home with the power of chalk paint.
Frequently Asked Questions
Why Does My Paint Look Like It’s Cracking?
Paint cracking is caused by the paint film losing its bond with the surface it was applied to. This can happen due to various reasons such as applying paint too thickly, using low-quality paint, painting over a dirty or wet surface, and exposure to extreme temperatures.
To prevent cracking, ensure that surfaces are clean and dry before painting and use high-quality paint.
How To Fix Cracking Paint On Furniture?
To fix cracking paint on furniture, start by sanding the surface to remove any loose or flaking paint. Then, apply a primer to create a smooth base. After the primer dries, paint the furniture with a high-quality latex or oil-based paint.
Finally, apply a clear protective finish to seal the paint and prevent future cracking.
What Happens If You Don’t Seal Chalk Paint?
If you don’t seal chalk paint, it may be prone to damage and stains. Sealing protects the finish and makes it easier to clean.
How Do You Fix A Bad Chalk Paint Job?
To fix a bad chalk paint job, you can sand down the uneven areas, wipe off any debris, and repaint with a new layer of chalk paint. Use a high-quality brush and apply light coats, allowing each coat to dry before adding another.
Make sure to clean your brush properly after use and store it in a dry place.
Read Next:
Conclusion
Cracking of chalk paint can occur due to various reasons, such as poor surface preparation, application of paint in thick layers, low-quality paint, or environmental conditions. It is crucial to ensure that the surface is clean, dry, and free from any dirt or debris before applying chalk paint.
Moreover, it is recommended to apply thin coats of paint and allow them to dry completely before applying the next coat. By taking these precautions, you can prevent your chalk paint from cracking and achieve a beautiful, long-lasting finish.