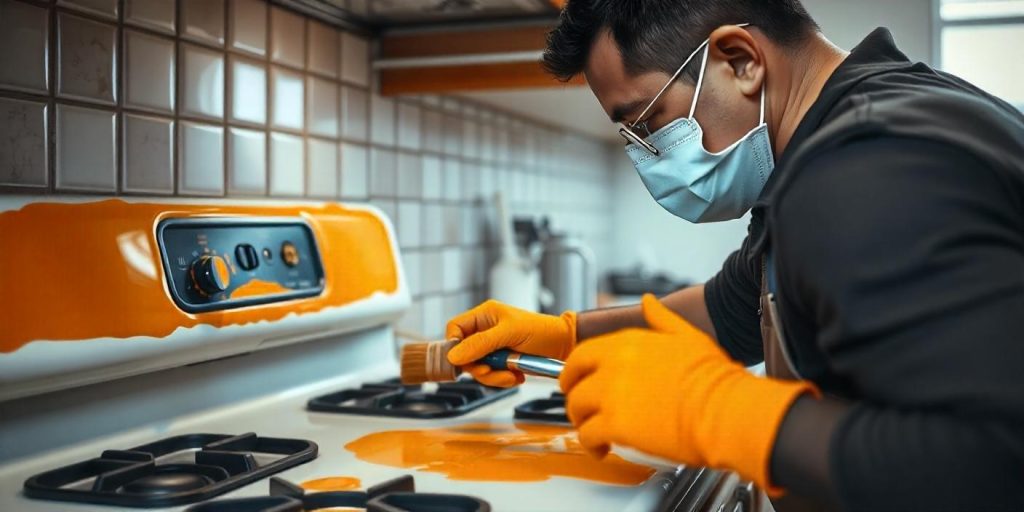
Using enamel paint to refinish or touch up your stove is an excellent way to restore its appearance and durability. Enamel paint is specially formulated to withstand high temperatures, resist chipping, and create a smooth, glossy finish that can rejuvenate an old or damaged stove.

This guide walks you through the steps for properly using enamel paint on your stove to achieve professional-quality results.
Contents
Why Use Enamel Paint on a Stove?
Heat Resistance
Stoves are exposed to high temperatures during cooking. Enamel paint is designed to endure heat without discoloration or peeling, making it the perfect choice for this application.
Durability
The hard, glossy finish of enamel paint resists scratches, stains, and general wear, ensuring that your stove remains beautiful and functional for years.
Aesthetic Appeal
Whether you’re restoring an older stove or simply updating its look, enamel paint provides a smooth and professional finish that enhances its visual appeal.
Preparing Your Stove for Enamel Paint
Step 1: Gather Your Supplies
Before starting, collect the necessary tools and materials:
- High-heat enamel paint (spray or brush-on)
- Sandpaper (medium and fine grit)
- Degreaser or household cleaner
- Painter’s tape
- Drop cloth or plastic sheeting
- Safety gear (gloves, mask, and goggles)
- Paintbrush or spray gun (if not using spray paint)
Step 2: Clean the Stove Thoroughly
Dirt, grease, and food residue can prevent paint from adhering properly. Use a degreaser or household cleaner to clean every surface of the stove. Pay special attention to corners and crevices.
Tips for Effective Cleaning
- Remove stove grates, knobs, and burners for easier access.
- Use a scrub brush for stubborn grease spots.
- Rinse with warm water and allow the stove to dry completely.
Step 3: Sand the Surface
Lightly sanding the stove helps the enamel paint adhere better. Use medium-grit sandpaper to smooth out rough areas and remove any peeling paint. Follow up with fine-grit sandpaper for a polished surface.
Focus Areas
- Pay extra attention to areas with rust or existing damage.
- Use a damp cloth to wipe away dust after sanding.
Step 4: Mask Off Areas You Don’t Want to Paint
Use painter’s tape to cover areas such as:
- Glass surfaces
- Control panels
- Any hardware you’re not removing
Cover the surrounding area with a drop cloth or plastic sheeting to protect it from paint overspray or drips.
Applying Enamel Paint to Your Stove
Step 1: Choose the Right Paint
Select a high-heat enamel paint that can withstand temperatures up to 500°F or more. Most enamel paints come in spray form for even application, but brush-on options are also available.
Popular Colors and Finishes
- Glossy black
- White
- Stainless steel
Step 2: Apply a Primer (Optional)
For some stoves, especially those with bare metal or rust spots, applying a high-heat primer can improve paint adhesion and durability.
- Use a primer that’s compatible with enamel paint.
- Allow the primer to dry completely before proceeding.
Step 3: Paint the Stove
For Spray Paint
- Shake the can well to ensure even distribution of pigment.
- Hold the can 8-12 inches away from the stove surface.
- Apply thin, even coats, overlapping slightly to avoid streaks.
- Allow each coat to dry for 15-20 minutes before applying the next.
For Brush-On Paint
- Use a high-quality, heat-resistant brush to avoid visible brush strokes.
- Apply thin, even layers, focusing on one section at a time.
- Allow the paint to dry between coats.
Step 4: Let the Paint Cure
Curing is essential for the paint to achieve its full durability and heat resistance. Follow the manufacturer’s instructions for curing time, which may involve:
- Letting the paint dry for 24-48 hours before using the stove.
- Heating the stove gently to set the paint.
Maintaining Your Painted Stove
Regular Cleaning
Use a non-abrasive cleaner to keep your stove looking fresh. Avoid harsh scrubbing tools that could scratch the enamel surface.
Avoid High-Impact Activities
Do not use sharp or heavy objects on the stove that could chip the paint.
Touch Up as Needed
Keep a small amount of matching enamel paint on hand for minor touch-ups to maintain a flawless appearance.
Frequently Asked Questions
Can I Use Regular Paint on a Stove?
No, regular paint is not heat-resistant and will peel or discolor when exposed to high temperatures. Always use high-heat enamel paint for stoves.
Do I Need to Remove the Stove to Paint It?
Not necessarily. You can paint the stove in place as long as the surrounding area is adequately protected.
How Long Does Enamel Paint Last on a Stove?
With proper application and maintenance, enamel paint can last several years without chipping or fading.
Conclusion
Using enamel paint on a stove is a cost-effective way to refresh its appearance and protect it from wear and tear.
By carefully preparing the surface, applying the paint correctly, and maintaining the finish, you can achieve a professional-quality result that lasts. With this guide, your stove can look as good as new, adding both style and functionality to your kitchen.
