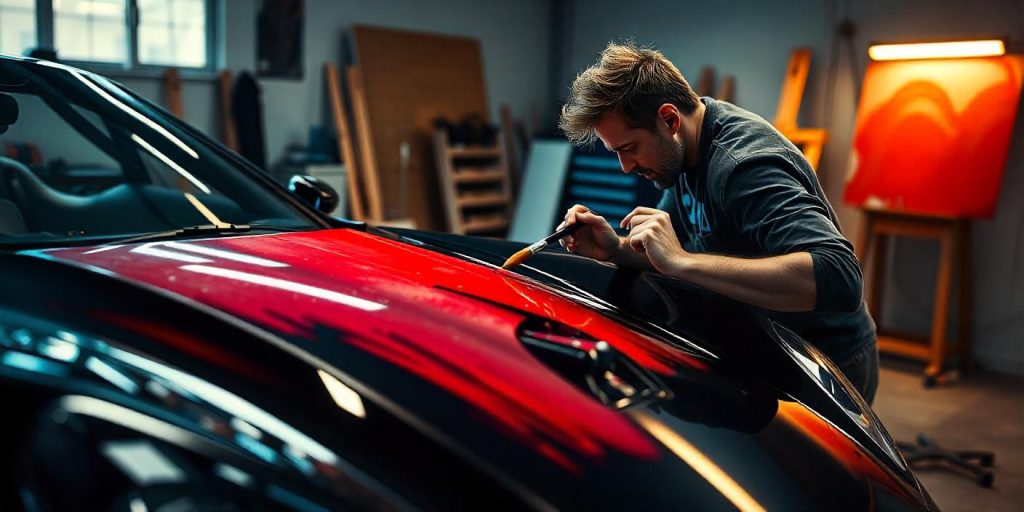
Painting the hood of a car can refresh its appearance, protect it from environmental damage, and increase the vehicle’s value. Whether you’re repairing chips and scratches or changing the color entirely, the key to a professional finish is proper preparation and technique.

This comprehensive guide will walk you through every step of painting a car hood, ensuring lasting results.
Contents
Why Paint the Hood of a Car
Restore Appearance
- Fix scratches, chips, and fading for a polished look.
- Enhance the overall aesthetic appeal of your vehicle.
Protect the Hood
- Prevent rust and corrosion caused by exposure to the elements.
- Add a protective layer that guards against UV rays and moisture.
Save Money
- DIY painting is more cost-effective than professional services.
- Allows customization without the high price tag.
Tools and Materials Needed
Tools
- Sandpaper (various grits)
- Dual-action (DA) sander or sanding block
- Air compressor with a spray gun
- Masking tape and plastic sheeting
- Tack cloths
- Safety equipment (respirator, gloves, goggles)
Materials
- Automotive degreaser or wax remover
- Primer
- Base coat (paint)
- Clear coat
- Paint thinner or reducer
Steps to Paint the Hood of a Car
Step 1: Prepare the Hood
- Wash the Hood
- Use soap and water to remove dirt, grime, and grease.
- Focus on edges and corners where dirt tends to accumulate.
- Degrease the Surface
- Apply an automotive degreaser to eliminate wax and oils.
- Wipe with a lint-free cloth for a clean surface.
Step 2: Sand the Hood
- Remove Old Paint
- Use 80-grit sandpaper to strip existing paint down to the metal.
- If the paint is in good condition, scuff the surface with 320-grit sandpaper to create a rough texture for primer adhesion.
- Smooth the Surface
- Transition to 600-grit sandpaper for a smoother finish.
- Wipe the hood clean with a tack cloth after sanding.
Step 3: Mask Surrounding Areas
- Protect Adjacent Parts
- Cover the windshield, fenders, and headlights with plastic sheeting.
- Secure the edges with masking tape for a tight seal.
- Ensure Clean Lines
- Use fine-line tape on the edges of the hood for crisp paint lines.
Step 4: Apply Primer
- Choose the Right Primer
- Use an epoxy primer for bare metal or a high-build primer for filling minor imperfections.
- Spray Even Coats
- Hold the spray gun 6–8 inches away and move in a consistent back-and-forth motion.
- Apply 2–3 thin coats, allowing each coat to dry fully before applying the next.
- Sand the Primer
- Wet sand with 600-grit sandpaper to achieve a smooth, even surface.
- Wipe with a tack cloth to remove dust.
Step 5: Apply the Base Coat
- Mix the Paint
- Follow the manufacturer’s instructions for the correct ratio of paint to reducer.
- Spray Thin Layers
- Apply the base coat in 2–3 thin layers.
- Allow 10–15 minutes of drying time between coats.
- Inspect for Coverage
- Ensure even coverage without streaks or blotches.
Step 6: Apply the Clear Coat
- Choose a High-Quality Clear Coat
- A good clear coat enhances shine and protects the paint.
- Spray in Thin Layers
- Apply 2–3 thin coats of clear coat, letting each layer dry for at least 15 minutes.
- Avoid spraying too thick to prevent runs or drips.
- Let It Cure
- Allow the clear coat to cure for 24–48 hours before handling.
Tips for a Professional Finish
Work in the Right Environment
- Paint in a dust-free, well-ventilated area with adequate lighting.
Maintain a Consistent Technique
- Keep the spray gun at a consistent distance from the surface.
- Overlap each pass slightly to ensure even coverage.
Patience is Key
- Allow sufficient drying time between steps to avoid smudging or imperfections.
Common Mistakes to Avoid
Skipping Preparation
- Inadequate cleaning or sanding leads to poor paint adhesion.
Overloading the Spray Gun
- Spraying too much paint at once causes drips and uneven layers.
Neglecting Safety
- Always wear a respirator and protective gear to avoid inhaling harmful fumes.
Caring for the Newly Painted Hood
Avoid Immediate Waxing
- Wait at least 30 days before applying wax to allow the paint to cure fully.
Wash Gently
- Use mild soap and a soft cloth to clean the hood during the first month.
Protect Against Damage
- Avoid parking under trees or in areas prone to bird droppings.
Conclusion
Painting the hood of a car is a rewarding project that restores its beauty and protects its surface.
By following this step-by-step guide, you’ll achieve a professional finish that lasts for years. With the right tools, materials, and patience, you can confidently tackle this DIY task and transform your vehicle.
