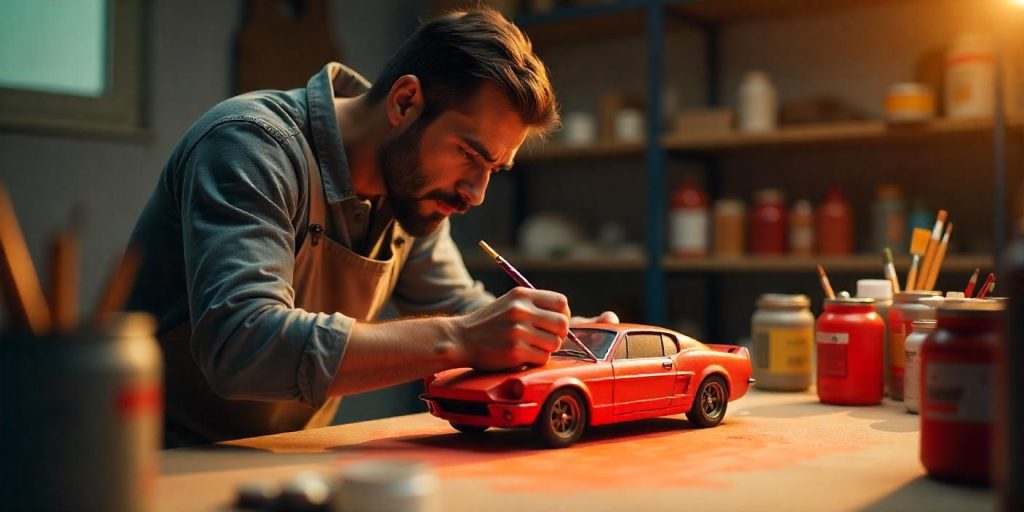
Painting over a diecast car is a fun and rewarding way to customize your miniature vehicles. Whether you’re looking to restore an old model or create a unique design, the process requires patience, the right tools, and proper techniques.

This guide will walk you through everything you need to know about painting over a diecast car.
Contents
Why Paint a Diecast Car?
Customization
- Personalize your diecast car with unique designs, colors, and decals.
Restoration
- Revitalize an old or damaged model by restoring its original look.
Collecting and Display
- Enhance your collection with beautifully painted and finished cars.
Tools and Materials Needed
Basic Tools
- Screwdrivers (small or precision)
- Sandpaper (grit: 400, 600, 800)
- Masking tape
Paint Supplies
- Primer (specifically for metal surfaces)
- Spray paint or airbrush paint
- Clear coat (glossy or matte)
Other Essentials
- Paint stripper or rubbing alcohol
- Safety gloves and mask
- Paint brushes (for details)
- Clean cloths or microfiber towels
Preparing the Diecast Car
Step 1: Disassemble the Car
- Use a small screwdriver to remove screws and separate the parts of the diecast car.
- Keep all screws and small components in a container to avoid losing them.
Step 2: Remove the Existing Paint
- Apply paint stripper to the metal body following the product instructions.
- Let the stripper sit for the recommended time, then scrape off the loosened paint using a plastic scraper or brush.
- Rinse the car body with water and let it dry completely.
Step 3: Sand the Surface
- Sand the metal body with 400-grit sandpaper to smooth out imperfections.
- Progress to finer grit (600-800) for a polished finish.
- Wipe the surface clean with a microfiber towel.
Painting the Diecast Car
Step 1: Apply a Primer
- Use a metal primer to create a base coat that helps the paint adhere to the surface.
- Spray the primer evenly in thin layers, allowing each layer to dry before applying the next.
Step 2: Add Base Color
- Choose a high-quality spray paint or airbrush paint for the base color.
- Hold the spray can or airbrush at a consistent distance (6-8 inches) and apply thin, even coats.
- Let each coat dry before applying the next to avoid drips or bubbles.
Step 3: Create Custom Designs (Optional)
- Use masking tape to outline areas for custom designs or stripes.
- Apply paint using a fine brush or airbrush for precision.
- Remove the tape carefully once the paint is dry.
Adding Finishing Touches
Step 1: Apply a Clear Coat
- Seal your paint job with a clear coat to protect the surface and add a polished finish.
- Spray the clear coat evenly, allowing it to dry thoroughly between layers.
Step 2: Reassemble the Car
- Once the clear coat is fully cured, reattach all parts of the car using the original screws.
- Ensure all components fit snugly without forcing any parts into place.
Tips for Success
Work in a Dust-Free Area
- A clean workspace prevents dust or debris from settling on the wet paint.
Use Thin Coats
- Applying thin layers of paint and primer reduces the risk of runs or uneven textures.
Allow Adequate Drying Time
- Patience is key—let each coat dry completely before moving on to the next step.
Experiment with Techniques
- Practice airbrushing or detailing on scrap materials before working on your diecast car.
Common Challenges and Solutions
Paint Runs or Drips
- Sand down the affected area gently and repaint with a thin layer.
Uneven Color
- Apply an additional coat of paint, ensuring even strokes.
Difficulty Removing Paint
- Let the paint stripper sit longer, or try using a wire brush for stubborn areas.
Frequently Asked Questions
Can I use regular spray paint for a diecast car?
- While regular spray paint can work, automotive or model-specific paints offer better durability and adhesion.
How long should I wait between coats?
- Allow 15-30 minutes for each coat to dry, but refer to the specific paint instructions for best results.
Can I paint over a plastic diecast car?
- Yes, but you’ll need a primer specifically designed for plastic surfaces.
How do I protect intricate details while painting?
- Use masking tape or a fine-tip brush to avoid covering detailed areas.
Conclusion
Painting over a diecast car is a creative process that transforms your models into personalized masterpieces. By following these steps and using the right tools and techniques, you can achieve a professional-quality finish that enhances your collection.
Whether you’re restoring a classic or creating a one-of-a-kind design, the satisfaction of a well-painted diecast car is worth the effort. Take your time, experiment, and enjoy the process of bringing your miniature vehicles to life.
