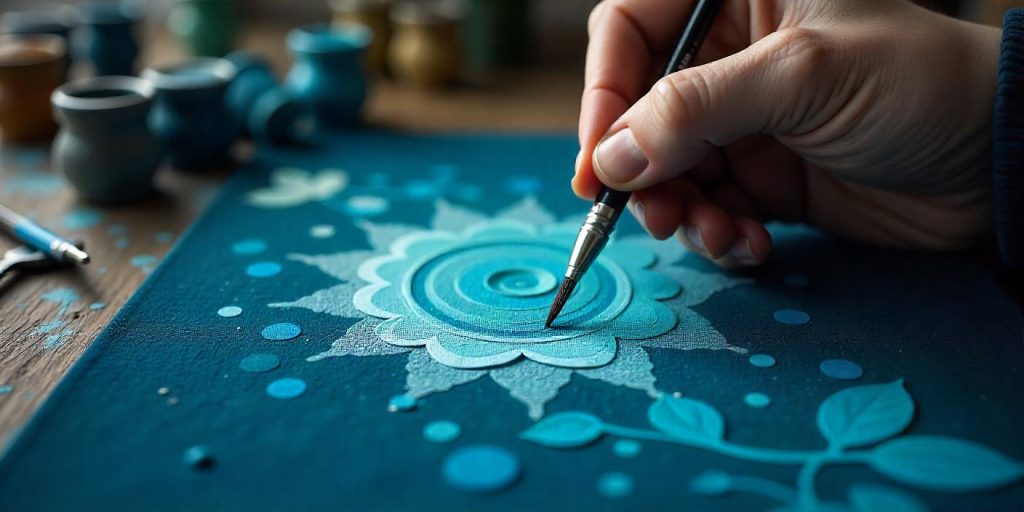
Painting on velvet can produce stunning, textured artwork that stands out. The unique texture of velvet adds depth to painted designs, but working with this fabric requires specific techniques and tools.

Whether you want to create decorative pieces, custom upholstery, or wearable art, mastering the art of painting on velvet is both rewarding and creative.
This guide provides detailed instructions and explores various methods to paint on velvet for professional results.
Contents
Understanding Velvet and Its Challenges
Characteristics of Velvet
Velvet is a luxurious fabric with a soft, plush texture. Its pile, or raised fibers, creates a reflective surface that can make painting challenging. Depending on the type of velvet (cotton, silk, or synthetic), its absorbency and durability may vary.
Common Challenges
- Paint absorption: Velvet can soak up paint unevenly, leading to blotchy results.
- Texture interference: The pile can disrupt smooth lines and intricate details.
- Drying time: Paint takes longer to dry on velvet, requiring patience.
Preparation for Painting Velvet
Gather Supplies
To paint on velvet, you will need:
- Velvet fabric or pre-made velvet items
- Fabric paints or acrylic paints mixed with fabric medium
- Paintbrushes (fine-tipped and flat brushes)
- Stencils (optional)
- Painter’s tape or masking tape
- A hard, flat surface for support
- Protective gloves
- Iron and ironing board (for heat setting)
Prepare the Fabric
- Clean the Velvet Wash or vacuum the velvet to remove dust and debris. Ensure it is dry before painting.
- Set Up a Stable Surface Place the velvet on a flat, hard surface. Use cardboard or a wooden board underneath for support. Secure the fabric with masking tape to prevent shifting.
- Test the Paint Test your paint on a small, inconspicuous area of the velvet to check for absorbency and color vibrancy.
Methods for Painting on Velvet
Using Fabric Paints
Fabric paints are specially designed to adhere to textiles, making them an ideal choice for velvet.
Steps for Fabric Paint Application
- Apply Thin Layers Use a fine-tipped brush to apply thin, even layers of fabric paint. Avoid overloading the brush to prevent paint from soaking into the pile.
- Work in Sections Paint small sections at a time to maintain control over the design. Allow each section to dry slightly before moving to the next.
- Add Details Once the base layer is dry, use smaller brushes to add details and highlights.
- Heat Set the Paint Follow the manufacturer’s instructions for heat setting. Typically, this involves ironing the reverse side of the fabric to lock in the paint.
Stenciling on Velvet
Stenciling creates crisp, uniform designs and is perfect for beginners or repetitive patterns.
Steps for Stenciling
- Secure the Stencil Place the stencil on the velvet and secure it with painter’s tape.
- Apply Paint Sparingly Use a stencil brush or sponge to dab paint onto the fabric. Avoid dragging the brush, as this can push paint under the stencil.
- Remove the Stencil Carefully Lift the stencil straight up to prevent smudging.
- Allow to Dry Let the paint dry completely before reapplying the stencil for additional layers or designs.
Freehand Painting
Freehand painting offers unlimited creative freedom for intricate designs and custom artwork.
Steps for Freehand Painting
- Sketch the Design Lightly sketch your design on the velvet using chalk or a fabric-safe pencil.
- Paint in Layers Start with a base layer and build up the design with additional layers for depth and detail.
- Blend Colors Use a dry brush technique to blend colors seamlessly, taking advantage of the velvet’s texture.
- Finish with Highlights Add highlights and fine details with a thin brush for a polished look.
Using Acrylic Paints with Fabric Medium
Acrylic paints mixed with fabric medium are a versatile and cost-effective option for painting on velvet.
Steps for Acrylic Paint Application
- Mix the Paint Combine acrylic paint with fabric medium according to the manufacturer’s instructions. This mixture ensures flexibility and durability on fabric.
- Apply Thin Coats Use a flat brush to apply thin coats of the paint mixture. Let each coat dry before applying the next.
- Heat Set the Paint Once dry, heat set the paint with an iron to prevent cracking or fading.
Tips for Achieving the Best Results
Choose the Right Tools
- Use high-quality brushes to prevent shedding and ensure smooth application.
- Select paints specifically designed for fabric to avoid cracking and stiffness.
Work Slowly and Steadily
- Take your time to ensure even coverage and precise details.
- Let each layer of paint dry fully before proceeding.
Protect Your Work
- Apply a fabric sealant or clear coat to enhance durability and protect the design from wear.
- Avoid washing the velvet for at least 72 hours after painting.
Maintenance and Care for Painted Velvet
Cleaning Tips
- Spot clean painted velvet with a damp cloth to avoid damaging the design.
- Avoid harsh detergents and excessive scrubbing.
Storage
- Store painted velvet items in a cool, dry place to prevent fading or discoloration.
- Keep them away from direct sunlight and moisture.
Conclusion
Painting on velvet allows for beautiful, textured designs that elevate the fabric’s elegance. Whether you opt for fabric paints, stencils, or freehand techniques, following the right steps ensures professional-quality results.
Experiment with different methods and let your creativity shine while transforming velvet into stunning works of art.
