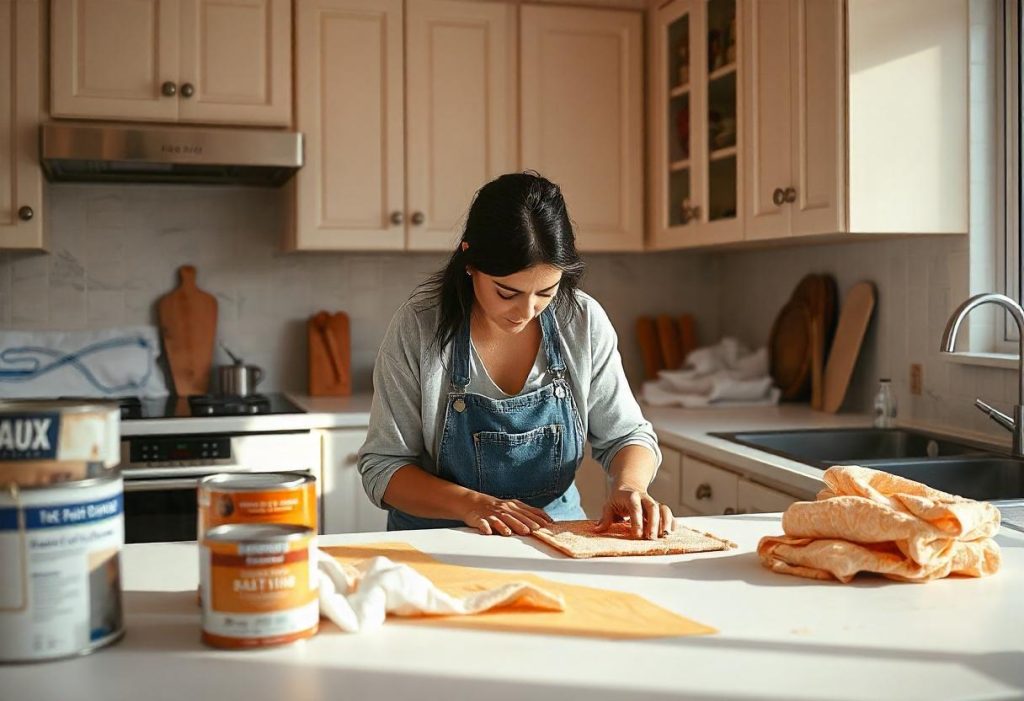
Painting kitchen cabinets is one of the most cost-effective ways to transform the look of your kitchen. Whether you’re going for a modern, rustic, or traditional style, a fresh coat of paint can make old cabinets look brand new.

This detailed guide covers everything you need to know to paint your kitchen cabinets like a pro.
Contents
- Benefits of Painting Kitchen Cabinets
- Choosing the Right Paint
- Preparing Your Kitchen Cabinets
- Different Ways to Paint Kitchen Cabinets
- Creative Finishes for Painted Cabinets
- Tips for a Professional Finish
- Maintaining Painted Kitchen Cabinets
- Common Mistakes to Avoid
- Cost Breakdown of Painting Kitchen Cabinets
- Painting Cabinets Without Removing Doors
- Conclusion
Benefits of Painting Kitchen Cabinets
- Cost-Effective: Painting cabinets is significantly cheaper than replacing them.
- Customizable: Choose any color or finish to match your kitchen’s aesthetic.
- Quick Update: A weekend project can completely refresh the space.
Choosing the Right Paint
Types of Paint
- Acrylic Latex Paint
- Ideal for durability and easy cleaning.
- Oil-Based Paint
- Offers a smooth finish but requires more drying time.
- Chalk Paint
- Perfect for a vintage or distressed look.
Paint Finishes
- Matte Finish
- Provides a modern, understated look.
- Satin Finish
- Durable and slightly glossy for a clean appearance.
- Semi-Gloss or High-Gloss
- Reflects light and is easy to clean, making it great for busy kitchens.
Preparing Your Kitchen Cabinets
Step 1: Remove Doors and Hardware
- Take off cabinet doors, drawers, and all hardware like knobs and hinges.
- Label each piece to ensure proper reassembly.
Step 2: Clean the Cabinets
- Use a degreaser or mild soap to remove grease, grime, and dust.
- Dry thoroughly to prevent paint adhesion issues.
Step 3: Sand the Surface
- Why Sanding is Important
- Smooths the surface for better paint adhesion.
- How to Sand
- Use medium-grit sandpaper (120-150) and finish with fine-grit (220) for a smooth base.
Step 4: Repair Imperfections
- Fill any cracks or holes with wood filler.
- Sand the filler once it’s dry for an even surface.
Step 5: Apply Primer
- Benefits of Priming
- Ensures even paint coverage and prevents stains from bleeding through.
- How to Prime
- Use a quality primer designed for wood or laminate surfaces.
- Apply with a brush or roller and let it dry completely.
Different Ways to Paint Kitchen Cabinets
Traditional Brush and Roller Method
- Tools Needed
- High-quality brushes and foam rollers for a smooth finish.
- Steps
- Apply paint in thin, even coats.
- Use a roller for larger surfaces and a brush for edges and corners.
- Advantages
- Affordable and requires minimal equipment.
Spray Painting
- Tools Needed
- Paint sprayer, drop cloths, and masking tape.
- Steps
- Remove cabinets and spray paint them in a well-ventilated area.
- Apply thin, even coats and let each coat dry completely.
- Advantages
- Provides a flawless, factory-like finish.
- Disadvantages
- Requires more preparation and cleanup.
Chalk Painting
- Tools Needed
- Chalk paint, a brush, and finishing wax.
- Steps
- Apply chalk paint directly to the surface without priming.
- Distress edges with sandpaper for a rustic look.
- Advantages
- Quick and easy, with no need for extensive prep work.
Creative Finishes for Painted Cabinets
Two-Tone Cabinets
- Steps
- Paint upper cabinets in a lighter color and lower cabinets in a darker shade.
- Benefits
- Adds depth and interest to the kitchen.
Distressed Finish
- Steps
- Paint cabinets and lightly sand edges to expose the wood underneath.
- Best For
- Farmhouse or vintage-style kitchens.
Stenciled Designs
- Steps
- Use stencils to add patterns or designs to cabinet doors.
- Best For
- Personalizing your kitchen space.
Tips for a Professional Finish
- Paint in Thin Layers
- Avoid thick coats to prevent drips and uneven drying.
- Allow Proper Drying Time
- Let each coat dry thoroughly before applying the next.
- Use a Clear Topcoat
- Apply a polyurethane or polycrylic topcoat for durability.
Maintaining Painted Kitchen Cabinets
- Clean Regularly: Wipe down cabinets with a damp cloth to prevent buildup.
- Avoid Harsh Cleaners: Use mild detergents to maintain the paint’s finish.
- Touch Up as Needed: Keep a small amount of paint on hand for quick fixes.
Common Mistakes to Avoid
- Skipping Prep Work
- Proper cleaning, sanding, and priming are crucial for a smooth finish.
- Using the Wrong Paint
- Always choose a durable paint designed for cabinets.
- Rushing the Process
- Allow adequate drying time for each coat to prevent smudges or imperfections.
Cost Breakdown of Painting Kitchen Cabinets
- Paint and Supplies
- High-quality paint: $30-$50 per gallon.
- Brushes and rollers: $20-$30.
- Primer and topcoat: $40-$60.
- Professional vs. DIY
- DIY: Costs range from $100-$200.
- Hiring a professional: Costs range from $1,500-$3,000.
Painting Cabinets Without Removing Doors
- Tape Off Surrounding Areas
- Use painter’s tape to protect walls and countertops.
- Use a Small Roller
- Perfect for painting edges and corners without drips.
- Advantages
- Saves time and effort.
Conclusion
Painting kitchen cabinets is an excellent way to breathe new life into your kitchen without breaking the bank.
Whether you prefer the brush-and-roller method, spray painting, or creative finishes like chalk paint, there’s a technique to suit your style and skill level.
By following proper preparation steps and choosing the right paint, you can achieve a professional-looking result that lasts for years.
