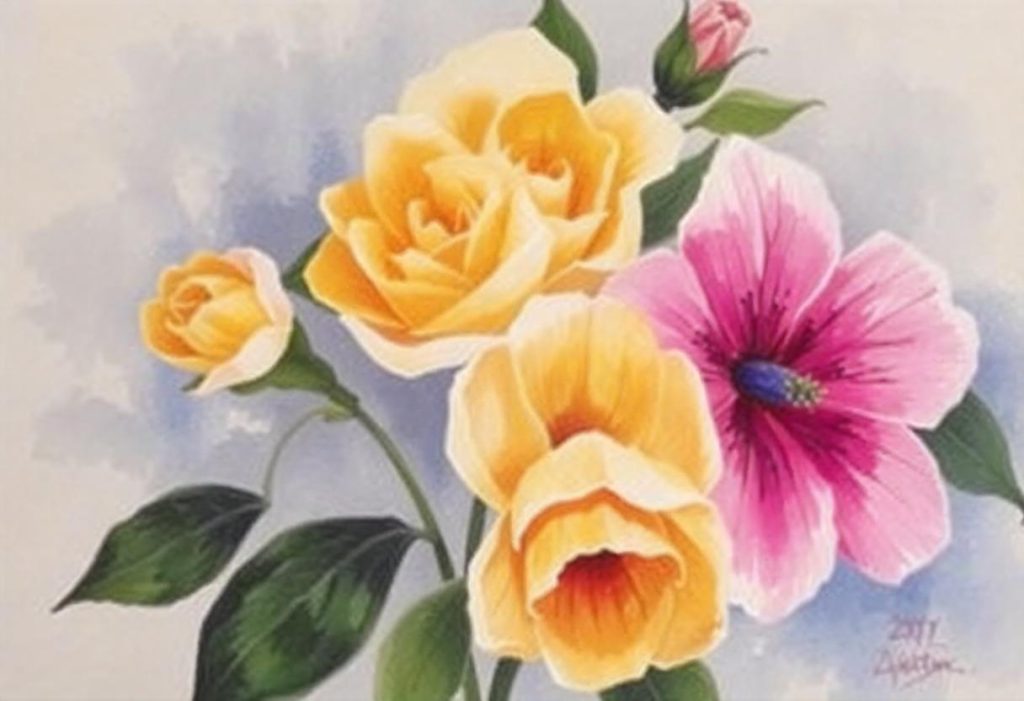
Painting flowers is a timeless art form that allows artists to explore nature’s beauty through vivid colors and delicate shapes. For beginners, it can seem daunting to replicate the intricate details of a flower.

However, with the right techniques and practice, you can create stunning floral artwork. This guide introduces you to painting 10 different types of flowers step-by-step, along with essential tips and methods to elevate your skills.
Contents
Materials You’ll Need
Essential Supplies
- Paints: Acrylics are beginner-friendly and versatile, but watercolors and oils work well too.
- Brushes: Use a variety of brushes, such as round brushes for details, flat brushes for larger strokes, and liner brushes for fine lines.
- Canvas or Paper: Depending on the medium, choose stretched canvas, canvas boards, or watercolor paper.
- Palette: For mixing colors.
- Water Container: To clean brushes while working.
- Rags or Paper Towels: For wiping excess paint or drying brushes.
Optional Additions
- Palette Knife: Great for adding texture.
- Masking Tape: To create sharp edges or borders.
- Easel: Helps with posture and gives better visibility of your work.
Techniques to Master Before Starting
Blending Colors
Blending helps create depth and dimension. Use a damp brush or sponge to soften the transitions between colors.
Layering
Building layers is essential for adding richness to your flowers. Start with a base color and add layers of details and highlights on top.
Dry Brush Technique
For a textured look, use a dry brush with minimal paint to add fine details, such as veins on petals or leaves.
How to Paint 10 Types of Flowers
1. Daisies
Step 1: Background
- Paint a light background, such as sky blue or pale green, and let it dry.
Step 2: Petals
- Use a round brush and white paint to create elongated oval petals around a central point.
Step 3: Center
- Add a bright yellow circle in the middle for the daisy’s center. Use a stippling motion to add texture.
Step 4: Shadows
- Mix white with a touch of gray to add subtle shadows on the petals.
2. Roses
Step 1: Base Layer
- Paint a circular blob of red or pink for the base of the rose.
Step 2: Petal Layers
- Use a round brush to paint curved, overlapping strokes starting from the center outward.
Step 3: Highlights and Shadows
- Add lighter shades along the edges of the petals for highlights. Use darker tones near the petal folds for depth.
3. Sunflowers
Step 1: Petals
- Paint long, pointed petals radiating from a central circle. Use bright yellow for the petals.
Step 2: Center
- Paint the center with dark brown or black, adding texture with small circular motions.
Step 3: Highlights
- Mix a bit of orange with yellow to add depth to the petals.
4. Tulips
Step 1: Outline
- Sketch a simple tulip shape, including the petals, stem, and leaves.
Step 2: Petals
- Fill the petals with a single color, such as red or purple.
Step 3: Gradient
- Add lighter shades toward the tops of the petals and blend.
Step 4: Stem and Leaves
- Use green paint for the stem and leaves, adding darker shades for shadows.
5. Lavender
Step 1: Stems
- Use a fine liner brush to paint long, thin green stems.
Step 2: Flowers
- Create small clusters of purple dots or short strokes along the stems to represent lavender blooms.
Step 3: Highlights
- Add lighter purple or white to some areas for highlights.
6. Poppies
Step 1: Base Layer
- Paint a bold red circle or oval for the base of the poppy.
Step 2: Petal Details
- Add irregular edges and subtle shading to the petals using a darker red or black.
Step 3: Center
- Use black paint to create a small circular center. Add tiny white dots around the center for details.
7. Orchids
Step 1: Petals
- Sketch five oval petals. Paint them with light pink or white.
Step 2: Center
- Add a darker color, like magenta or yellow, to the center petal.
Step 3: Veins
- Use a fine liner brush to paint thin lines or veins on the petals.
8. Lilies
Step 1: Outline
- Sketch the six petals of a lily with a pencil.
Step 2: Base Color
- Paint the petals in a solid color, such as white, orange, or pink.
Step 3: Details
- Add spots or lines near the base of the petals for a realistic look.
Step 4: Stem and Leaves
- Paint the stem and leaves with green, blending lighter and darker shades for depth.
9. Hydrangeas
Step 1: Clusters
- Paint a circular cluster of overlapping small petals using light blue or pink.
Step 2: Shadows
- Use darker shades to add depth between the petals.
Step 3: Highlights
- Add white or a lighter shade to the tops of the petals for highlights.
10. Peonies
Step 1: Base Layer
- Paint a large circular base using a soft pink or red.
Step 2: Petal Layers
- Add loose, overlapping strokes to create layers of petals.
Step 3: Depth
- Use a darker shade for shadows and a lighter shade for highlights to enhance the petal texture.
Tips for Painting Flowers
Use References
Study real flowers or high-quality images to understand their shapes, colors, and textures.
Experiment with Colors
Don’t be afraid to use unconventional colors for a creative twist.
Keep Practicing
Consistency is key. Practice painting simple flowers before moving on to complex compositions.
Conclusion
Painting flowers is a wonderful way to express creativity and connect with nature. Whether you’re creating simple daisies or intricate peonies, mastering these techniques will help you produce beautiful floral art. With patience and practice, you’ll develop your style and confidence as a flower artist.
