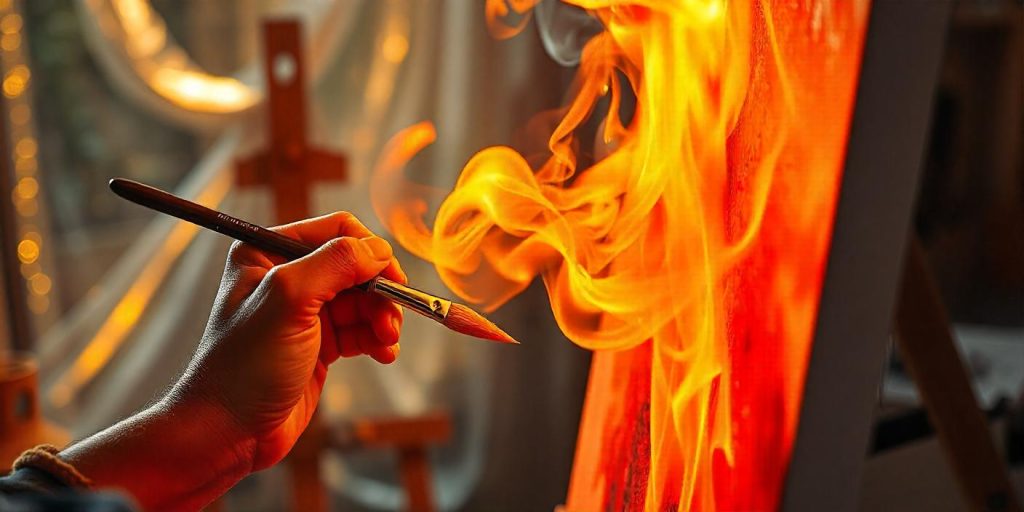
Painting fire can add a dramatic and dynamic element to your artwork. The swirling flames, glowing embers, and intense colors require attention to detail and a good understanding of light and motion.

Whether you’re a beginner or an experienced artist, this step-by-step guide will help you create realistic and captivating fire effects using simple techniques.
Contents
- Materials You’ll Need
- Step 1: Understand the Structure of Fire
- Step 2: Prepare Your Canvas
- Step 3: Mix Your Colors
- Step 4: Paint the Background
- Step 5: Paint the Base Layer of Flames
- Step 6: Add Details to the Flames
- Step 7: Blend for Realism
- Step 8: Add Texture and Motion
- Step 9: Final Touches
- Tips for Painting Fire
- Common Mistakes to Avoid
- Advanced Techniques
- Conclusion
Materials You’ll Need
Paint Types
- Acrylic paint (ideal for beginners and quick drying)
- Oil paint (great for blending and detail)
- Watercolor (for a softer, translucent fire effect)
Tools
- Brushes: Flat, round, and detail brushes
- Palette for mixing colors
- Canvas or painting surface
- Palette knife (optional for texture)
Colors
- Warm tones: Red, orange, yellow, white
- Cool tones (for contrast): Black, dark blue, purple
Step 1: Understand the Structure of Fire
Observe Real Flames
Study how fire moves and shifts. Flames have a distinct pattern, with a white-hot core surrounded by yellow, orange, and red hues.
Identify Light and Shadow
Fire is a source of light, so it creates highlights and shadows on nearby surfaces. Understanding this interaction helps make your painting more realistic.
Step 2: Prepare Your Canvas
Prime Your Surface
Apply a layer of gesso if you’re using a canvas. This ensures a smooth surface and enhances color vibrancy.
Sketch Your Design
Lightly sketch the outline of the fire with a pencil or light-colored chalk. Focus on the flow and shape of the flames.
Step 3: Mix Your Colors
Base Colors
Mix shades of yellow, orange, and red for the flames.
Highlight Colors
Prepare lighter shades using white to create highlights within the flames.
Shadow Colors
Mix darker tones like black, dark blue, or purple for the background and shadows.
Step 4: Paint the Background
Choose a Contrasting Background
A dark background, such as black or deep blue, makes the flames stand out.
Blend Gradually
Use a flat brush to create a gradient effect, blending from dark at the edges to slightly lighter near the flames.
Step 5: Paint the Base Layer of Flames
Start with Yellow
Use a round brush to paint the base layer of the flames in yellow. Follow the shape of your sketch, creating loose, flowing strokes.
Add Orange
Layer orange over the yellow, blending as you go. Focus on areas further from the center of the flames.
Step 6: Add Details to the Flames
Use Red for Depth
Add red to the outer edges of the flames to create depth and intensity.
Create Highlights
Use white paint to add highlights to the hottest parts of the flames, typically near the center.
Step 7: Blend for Realism
Smooth Transitions
Blend the colors where they meet to create a natural gradient. Use a clean, dry brush or your finger for seamless transitions.
Enhance Contrast
Darken the background near the base of the flames to emphasize the glow effect.
Step 8: Add Texture and Motion
Flick the Brush
For a dynamic effect, flick your brush upward to create small, flickering flames.
Use a Palette Knife
For added texture, use a palette knife to apply thick paint strokes to the flames.
Step 9: Final Touches
Define the Edges
Use a detail brush to sharpen the edges of the flames, adding clarity and movement.
Adjust Highlights and Shadows
Enhance the brightness of the highlights and deepen the shadows for a more dramatic effect.
Tips for Painting Fire
Experiment with Color
Try adding blue or green tones for unique flame effects, such as gas or mystical fire.
Practice on Paper
Before painting on your canvas, practice fire shapes and blending techniques on scrap paper.
Use Reference Images
Refer to photos or videos of fire to capture realistic shapes and color transitions.
Common Mistakes to Avoid
Overblending
Too much blending can make your flames look muddy. Preserve distinct color transitions for vibrancy.
Ignoring Light Interaction
Don’t forget to add highlights and reflections on nearby objects to convey the fire’s light.
Advanced Techniques
Glowing Embers
Add small, glowing dots around the base of the fire to mimic embers. Use orange and red with subtle highlights.
Smoke Effects
Incorporate thin layers of gray and black paint to suggest smoke rising from the flames.
Conclusion
Painting fire is an exciting way to bring energy and warmth to your artwork. With careful observation, blending techniques, and attention to light and color, you can create realistic and mesmerizing flames.
Practice these steps, and soon you’ll master the art of painting fire in any medium.
