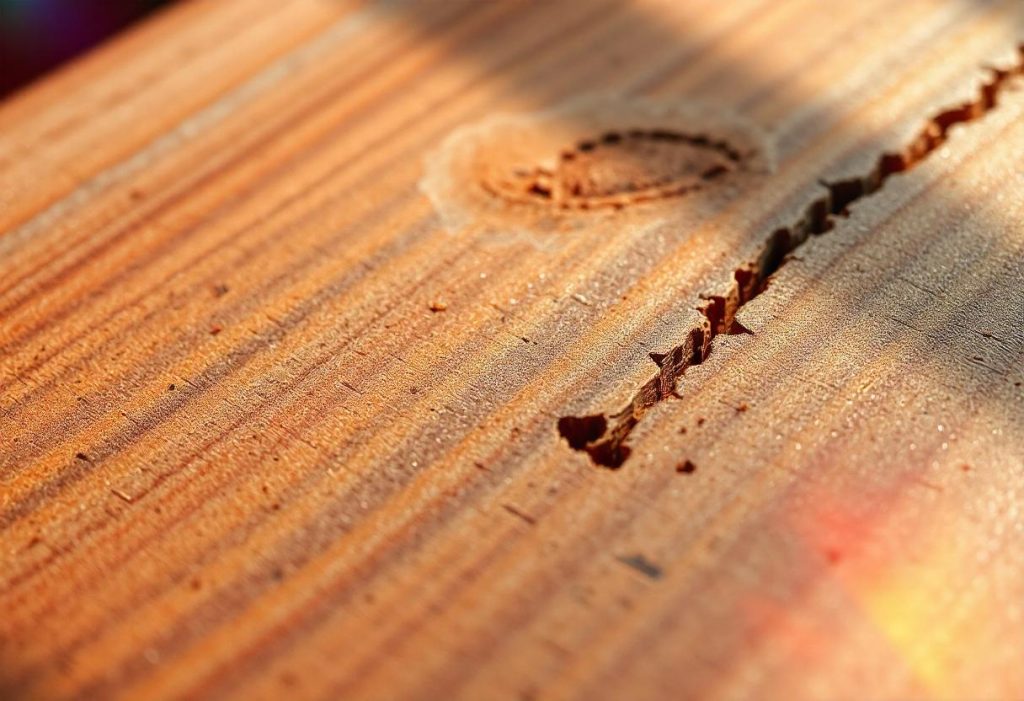
Painting cardboard to look like wood is an excellent way to create realistic props, home decor, or DIY projects on a budget. Whether you’re working on a theater set, photography backdrop, furniture model, or craft project, learning how to mimic wood grain on cardboard can elevate your project and make it look professional.

This guide will cover everything from choosing the right paint and tools to creating realistic wood textures and finishes. Follow these steps, and you’ll have a convincing wood effect on cardboard in no time.
Contents
Why Paint Cardboard to Look Like Wood?
Budget-Friendly Alternative to Wood
- Cardboard is cheap and easily accessible compared to real wood.
- Perfect for temporary projects where using actual wood is impractical.
Lightweight and Easy to Handle
- Ideal for stage props, displays, and home decor that need a wooden look but require a lighter material.
Versatile for DIY and Crafts
- You can customize the color, grain, and finish to match any type of wood.
- Works well for faux wood signs, costume accessories, and furniture replicas.
Materials Needed
Paint and Stains
- Acrylic paint (brown, black, tan, white, and gray)
- Wood stain (optional) for an authentic look
- Spray paint (optional) for a smooth base coat
Brushes and Tools
- Wide paintbrush for base coats
- Small paintbrushes for detail work
- Foam brush for soft blending
- Dry brush for creating wood grain texture
- Wood grain rocker or comb (optional but helpful)
- Sponge or rag for blending
Other Supplies
- Cardboard sheets or boxes
- Painter’s tape for clean edges
- Clear sealer or varnish for a durable finish
- Sandpaper (fine-grit) for prepping the surface
Preparing the Cardboard
Step 1: Choose the Right Cardboard
- Use thick, sturdy cardboard to prevent warping when painting.
- If using thinner cardboard, reinforce it with extra layers or a backing board.
Step 2: Flatten and Smooth the Surface
- Cut the cardboard to the desired size and shape.
- If the surface has printed designs or textures, lightly sand it for better paint adhesion.
Step 3: Prime the Cardboard
- Apply a thin layer of white or tan primer to prevent paint from soaking into the cardboard.
- Let it dry completely before adding paint.
Painting Techniques to Mimic Wood
Step 1: Base Coat for the Wood Color
- Choose a light brown, tan, or gray base color depending on the type of wood you want to mimic.
- Apply a smooth, even coat and let it dry.
Step 2: Creating Wood Grain Patterns
Dry Brush Technique
- Dip a dry brush in a darker shade of brown or gray.
- Drag the brush across the cardboard in long, uneven strokes.
- Repeat with different shades for depth.
Wood Grain Rocker Technique
- While the paint is still slightly wet, drag a wood grain rocker or comb through it.
- Vary the pressure to create natural-looking knots and streaks.
Rag or Sponge Blending
- Use a damp rag or sponge to blend colors softly.
- This works well for weathered or aged wood effects.
Step 3: Adding Depth with Shadows and Highlights
- Use a small brush to paint darker streaks where shadows would naturally fall.
- Highlight certain areas with a lighter brown or white to create depth.
Step 4: Enhancing the Wood Look with Details
- Paint knots, cracks, and imperfections to make the wood effect more convincing.
- Use a fine brush or detailing pen to outline fine wood textures.
Creating Different Wood Finishes
Dark Stained Wood
- Apply a dark brown or black wash over the painted surface.
- Blend with a sponge for a rich, polished look.
Weathered or Aged Wood
- Dry brush with gray and white tones to create a distressed effect.
- Lightly sand areas for a worn appearance.
Rustic or Barn Wood
- Use a combination of grays, browns, and dry-brushing techniques.
- Add streaks of white or faded colors for a weathered touch.
Sealing and Protecting Your Painted Cardboard
Step 1: Let the Paint Dry Completely
- Avoid smudging by letting the paint dry for several hours.
Step 2: Apply a Protective Sealer
- Use a clear acrylic spray sealer or Mod Podge to protect the paint.
- If the project will be handled frequently, apply multiple coats.
Step 3: Optional Finishing Touches
- For a glossy finish, use a clear polyurethane or varnish.
- For a matte, natural look, choose a satin or matte sealer.
Common Mistakes and How to Avoid Them
Using Too Much Paint at Once
- Avoid heavy application to prevent warping.
- Use thin layers and let each layer dry before adding another.
Skipping the Base Coat
- Always use a base coat to prevent cardboard from absorbing too much paint.
Overworking the Wood Grain
- Too many brush strokes can make the texture look artificial.
- Work in long, natural strokes and vary pressure for realism.
Project Ideas Using Painted Cardboard Wood
DIY Home Decor
- Faux wooden signs for wall art
- Rustic picture frames
- Wood-like tabletops for displays
Props and Costumes
- Wooden crates for theater sets
- Imitation wood armor or accessories
- Background pieces for photography
Holiday and Event Decorations
- Faux wooden gift boxes
- Fake wooden backdrops for weddings or parties
- DIY Halloween tombstones with a weathered wood look
Conclusion
Painting cardboard to look like wood is an easy and cost-effective way to create realistic textures for crafts, props, and home decor. By using the right base color, wood grain techniques, and sealing methods, you can achieve a stunning wood-like finish on any cardboard surface.
Try experimenting with different wood styles, distressing techniques, and finishes to match your project’s aesthetic. With a little patience and creativity, you can transform simple cardboard into convincing faux wood pieces!
What project will you try first? Let us know in the comments!
