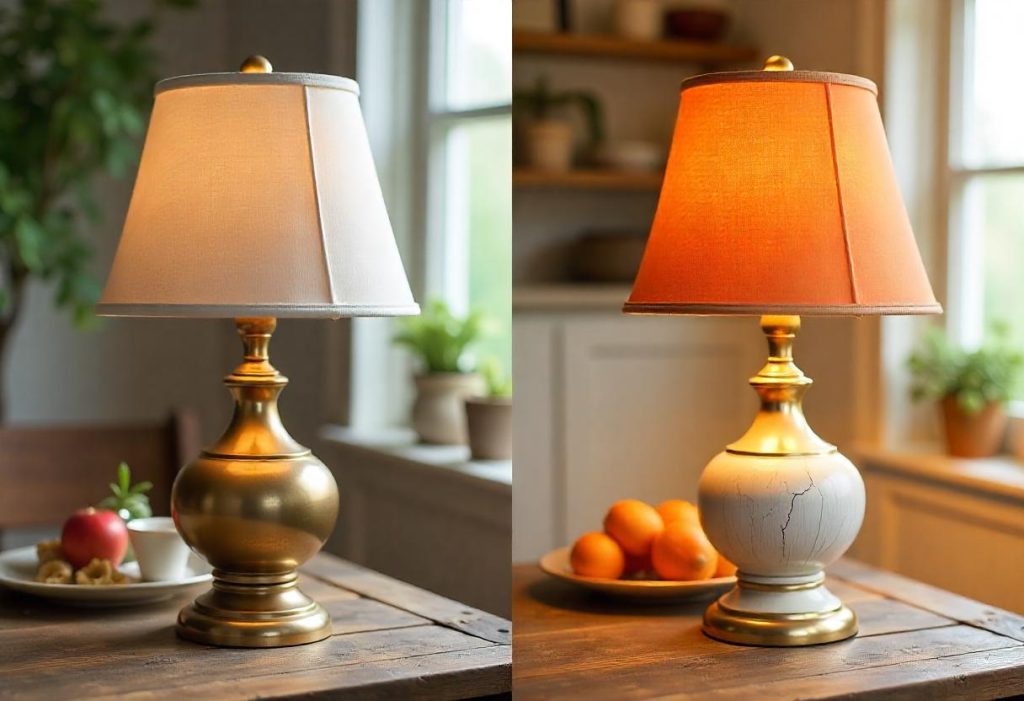
Brass lamps are beautiful and timeless, but over time, they can become outdated or lose their shine. Instead of replacing them, painting a brass lamp is an easy and affordable way to give it a fresh, modern look. Whether you want a sleek black finish, a bold pop of color, or a soft matte texture, painting brass lamps can transform your home décor.
This guide will walk you through the entire process, from prepping the brass surface to choosing the best paint and applying a long-lasting finish.
Contents
Choosing the Right Paint for Brass Lamps
Spray Paint vs. Brush-On Paint
- Spray paint: Provides a smooth, even coat with minimal brush marks. Ideal for metallic finishes or matte colors.
- Brush-on paint: Offers more control, especially for detailed lamps with intricate designs. Best for chalk paint or acrylic-based finishes.
Best Types of Paint for Brass
- Acrylic paint: Works well for a decorative, hand-painted look.
- Chalk paint: Creates a soft, matte, vintage effect.
- Enamel paint: Durable and provides a glossy or satin finish.
- Metallic spray paint: Maintains a metal-like appearance with updated tones like black, bronze, or silver.
Paint Finishes to Consider
- Matte: Modern and subtle.
- Satin: A slight sheen that enhances details.
- Glossy: Reflective and elegant for a polished look.
Prepping the Brass Lamp for Painting
Cleaning the Surface
- Use warm water, mild dish soap, and a sponge to remove dust, dirt, and grease.
- Wipe the lamp with rubbing alcohol to remove any remaining oils.
- Dry the lamp completely before moving to the next step.
Removing Old Finishes and Lacquer
- If your lamp has a lacquered surface, use acetone or lacquer thinner to strip it off.
- Lightly sand the brass with fine-grit sandpaper (220-400 grit) to help the paint adhere better.
- Wipe off dust with a damp cloth and let it dry completely.
Protecting the Lamp’s Electrical Parts
- If the lamp is wired, remove the bulb and cover the socket with painter’s tape.
- If possible, detach the lampshade and disassemble any removable parts before painting.
- Use a drop cloth or plastic sheet to protect your work area.
Applying Primer for a Long-Lasting Finish
Why Primer is Important
- Helps paint stick better to metal surfaces.
- Prevents chipping and peeling over time.
- Provides an even base coat for smooth coverage.
Best Primer for Brass
- Self-etching primer: Ideal for metal surfaces, as it chemically bonds with the brass.
- Spray primer for metal: Creates an even coat and dries quickly.
- Bonding primer: Ensures adhesion, especially for high-gloss or lacquered brass.
How to Apply Primer
- Shake the spray primer well.
- Hold the can 6-8 inches away and spray in light, even coats.
- Let the primer dry for at least an hour before applying paint.
Painting Your Brass Lamp
Spray Painting Method
- Choose a well-ventilated area (preferably outdoors or in a garage).
- Hold the spray can 8-10 inches away and apply light, even coats.
- Let each coat dry for 15-20 minutes before adding another.
- Apply 2-3 coats for full coverage.
- Allow the lamp to dry for 24 hours before handling.
Brush-On Paint Method
- Use a small foam brush or synthetic bristle brush for smooth application.
- Apply thin layers of paint, allowing each layer to dry completely.
- Sand lightly between coats with fine-grit sandpaper for an ultra-smooth finish.
- Let the final coat dry for 24-48 hours before use.
Sealing and Protecting the Paint
Why You Need a Sealant
- Prevents scratches, chips, and fading.
- Enhances the durability and longevity of the painted finish.
- Provides a glossy, satin, or matte topcoat depending on your preference.
Best Sealers for Painted Brass Lamps
- Clear spray sealer (matte, satin, or gloss): Easy to apply and long-lasting.
- Polycrylic sealer: Water-based and won’t yellow over time.
- Lacquer spray: Provides a hard, protective finish for high-traffic areas.
How to Apply a Clear Coat
- Ensure the paint is fully dry before sealing.
- Hold the spray sealer 6-8 inches away and apply light, even coats.
- Let the sealant dry for 24 hours before reassembling and using the lamp.
DIY Design Ideas for Painted Brass Lamps
Vintage Distressed Look
- Apply chalk paint and lightly sand the edges for a worn, aged effect.
- Use dark wax or glaze to enhance details and crevices.
Modern Matte Black Lamp
- Use matte black spray paint for a bold and sophisticated finish.
- Pair with gold or brass accents for a trendy contrast.
Metallic Gold or Silver Finish
- Spray paint the lamp with metallic gold, bronze, or silver for an updated classic look.
- Seal with a glossy topcoat to enhance the metallic shine.
Two-Tone Lamp
- Paint the base one color and the lampshade another for a modern, artistic touch.
- Use gold leaf accents for a stylish, high-end look.
Common Mistakes to Avoid
Not Sanding the Brass Before Painting
- Without sanding, the paint may not adhere properly and could peel off.
Skipping the Primer
- Paint may chip or scratch easily without a strong base coat.
Applying Too Much Paint at Once
- Heavy coats can cause drips and uneven texture. Always use thin layers.
Not Sealing the Paint
- Without a protective finish, the paint may wear off over time.
Final Thoughts
Painting a brass lamp is a simple, affordable way to refresh your décor without buying new lighting. Whether you prefer a modern matte black, a vintage distressed look, or a sleek metallic finish, the right paint and technique can completely transform your lamp.
By following these steps—cleaning, priming, painting, and sealing—you’ll achieve a beautiful, long-lasting finish that enhances your home’s style.
Would you try painting a brass lamp? Let us know your favorite color and finish ideas in the comments!