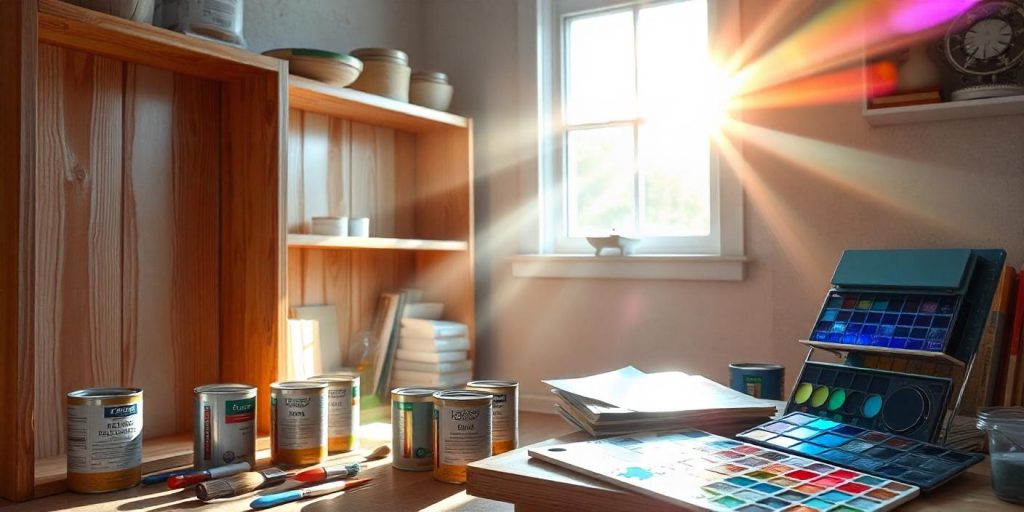
Painting bookshelves is a simple yet transformative project that can rejuvenate old furniture or add personality to your space.

Whether you’re working with wood, laminate, or MDF, painting bookshelves requires the right preparation and techniques to achieve professional-looking results. This guide will walk you through easy steps to paint bookshelves like a pro.
Contents
- Why Paint Bookshelves?
- Materials and Tools You’ll Need
- Preparing Bookshelves for Painting
- Priming Bookshelves
- Painting Techniques for Bookshelves
- Painting Different Types of Bookshelves
- Drying and Curing
- Adding Finishing Touches
- Tips for a Professional Finish
- Creative Painting Ideas
- Common Mistakes to Avoid
- Frequently Asked Questions
- Final Thoughts
Why Paint Bookshelves?
Customize Your Space
Painting bookshelves allows you to match the furniture to your room’s decor and create a cohesive look.
Revive Old Furniture
A fresh coat of paint can restore life to worn or outdated bookshelves, saving you the cost of buying new ones.
Protect the Material
Paint acts as a protective barrier, preventing damage from moisture, scratches, and daily wear and tear.
Materials and Tools You’ll Need
Basic Supplies
- Sandpaper (medium and fine grit)
- Paint primer suitable for your bookshelf material
- High-quality paint (latex, chalk, or enamel)
- Paintbrushes and foam rollers
- Painter’s tape
Optional Items
- Drop cloth or newspaper
- Tack cloth or vacuum for dust removal
- Wood filler (for repairs)
- Clear polyurethane (for sealing)
Preparing Bookshelves for Painting
Clean the Surface
- Remove all books and decorative items from the shelves.
- Wipe the entire surface with a damp cloth to remove dust, dirt, and grease.
- Allow the bookshelf to dry completely.
Remove Hardware and Shelves
- Take off any removable shelves and hardware like knobs or hinges.
- Label each piece if needed, making reassembly easier.
Sand the Surface
- Use medium-grit sandpaper to roughen the surface, ensuring paint adheres properly.
- Smooth out imperfections with fine-grit sandpaper.
- Wipe away sanding dust with a tack cloth or vacuum.
Repair Damage
- Fill any dents, scratches, or holes with wood filler.
- Let the filler dry and sand it smooth.
- Ensure the surface is even before proceeding to the next step.
Priming Bookshelves
Why Priming Is Essential
Primer helps the paint stick to the surface, covers stains, and prevents the original color from bleeding through.
Steps for Priming
- Apply a thin, even coat of primer using a brush or foam roller.
- Allow the primer to dry completely, following the manufacturer’s instructions.
- Lightly sand the primed surface with fine-grit sandpaper for a smooth finish.
Painting Techniques for Bookshelves
Choose the Right Paint
- Latex Paint: Ideal for bookshelves due to its durability and ease of application.
- Chalk Paint: Great for a matte, vintage look.
- Enamel Paint: Provides a hard, glossy finish that’s easy to clean.
Paint Application
- Use a paintbrush for corners and detailed areas.
- Use a foam roller for flat surfaces to achieve a streak-free finish.
- Apply thin, even coats, allowing each coat to dry before applying the next.
Number of Coats
Most bookshelves require two to three coats of paint for full coverage.
Painting Different Types of Bookshelves
Wooden Bookshelves
- Sand the wood to remove old finishes.
- Prime and paint as described above.
- Seal with clear polyurethane for added protection.
Laminate Bookshelves
- Clean the laminate thoroughly to remove oils.
- Use a primer designed for slick surfaces.
- Apply paint in light, even coats to avoid streaking.
MDF Bookshelves
- Seal the edges with a thin layer of wood glue to prevent swelling.
- Prime and paint the surface as usual.
Drying and Curing
Allow Sufficient Drying Time
- Let the bookshelf dry completely between coats to prevent smudging.
- Avoid placing books or decorations until the paint has fully cured, which can take up to a week.
Adding Finishing Touches
Reassemble the Bookshelf
- Reattach shelves and hardware once the paint is dry.
- Ensure all parts are securely fitted.
Seal the Paint
- Apply a clear polyurethane topcoat for added durability.
- Use a brush or foam roller to apply the sealant evenly.
Tips for a Professional Finish
Use Painter’s Tape
Apply painter’s tape along edges to create clean lines and avoid accidental paint smears.
Avoid Drips
Use thin coats of paint and inspect for drips as you work. Smooth out any drips before they dry.
Work in a Well-Ventilated Area
Proper ventilation speeds up drying and prevents fumes from accumulating.
Creative Painting Ideas
Two-Tone Bookshelves
Paint the exterior and interior in contrasting colors for a striking look.
Stenciled Designs
Add patterns or designs using stencils to give your bookshelf a unique touch.
Distressed Finish
Use sandpaper to lightly distress painted areas for a rustic, shabby-chic appearance.
Common Mistakes to Avoid
Skipping Primer
Without primer, the paint may not adhere well, leading to peeling or uneven coverage.
Using the Wrong Paint
Choose paint that’s suitable for your bookshelf material to ensure a long-lasting finish.
Rushing the Drying Process
Let each coat dry fully to avoid smudges and uneven layers.
Frequently Asked Questions
Can I Paint Over a Varnished Bookshelf?
Yes, but you’ll need to sand the varnish and apply a primer before painting.
How Long Does It Take to Paint a Bookshelf?
Depending on the size and number of coats, the process can take a day or two, including drying time.
What’s the Best Paint for a High-Gloss Finish?
Enamel paint is ideal for a glossy, durable finish.
Final Thoughts
Painting bookshelves is an easy and affordable way to update your space. With proper preparation, the right materials, and attention to detail, you can achieve a professional finish that enhances the beauty and functionality of your furniture.
Follow this guide to transform your bookshelves and enjoy a personalized touch in your home.
