Painting a plastic bathtub in a mobile home is a cost-effective way to refresh your bathroom without replacing the entire tub.
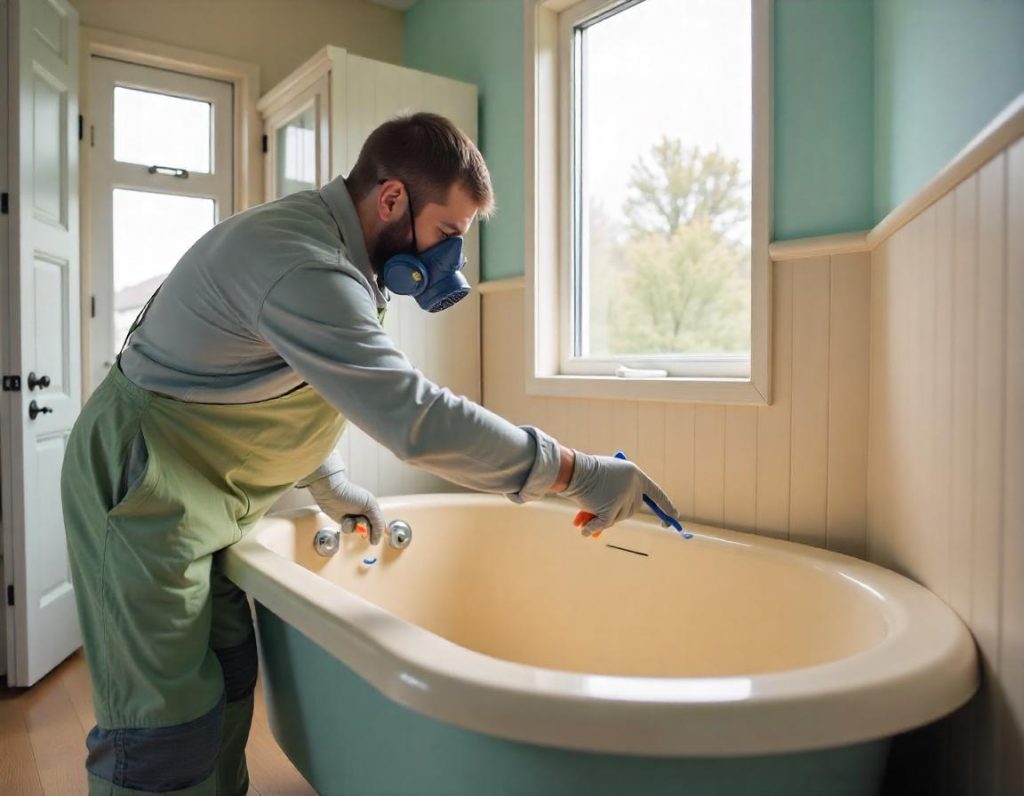
Over time, plastic tubs can become stained, scratched, or discolored, but with the right preparation and materials, you can restore their appearance with a fresh coat of paint.
In this guide, we’ll walk you through the entire process step-by-step, ensuring your DIY project results in a smooth, durable finish.
Contents
- Why Paint a Plastic Bathtub?
- Can You Paint a Plastic Bathtub?
- Best Types of Paint for a Plastic Bathtub
- Tools and Materials You’ll Need
- Preparation: The Key to a Long-Lasting Finish
- Priming the Bathtub (If Required)
- How to Paint a Plastic Bathtub: Step-by-Step
- Reapplying Caulk Around the Tub
- How Long Will a Painted Bathtub Last?
- Common Mistakes to Avoid
- Is Painting a Plastic Bathtub Worth It?
- Conclusion: Give Your Mobile Home Bathroom a Fresh Look
Why Paint a Plastic Bathtub?
Affordable Makeover
- Painting costs significantly less than replacing a bathtub, especially in a mobile home where tub sizes are often unique.
Extends the Tub’s Life
- A high-quality paint job can cover stains, scratches, and discoloration, giving your bathtub a new lease on life.
Customizable Look
- Painting allows you to choose your preferred color, matching your bathroom’s style.
Can You Paint a Plastic Bathtub?
Yes, you can! However, painting plastic requires proper preparation and the right type of paint. Plastic surfaces are smooth and non-porous, which means standard paint won’t adhere properly without a bonding agent or primer.
Best Types of Paint for a Plastic Bathtub
Two-Part Epoxy Paint
- Best Option: Extremely durable and resistant to moisture.
- Finish: High-gloss, similar to a factory finish.
- Cure Time: Typically 72 hours for full curing.
Acrylic Urethane Paint
- Alternative Option: Strong adhesion to plastic surfaces.
- Finish: Glossy and long-lasting.
- Cure Time: 24-48 hours.
Spray Paint for Plastic (With Clear Sealer)
- For Small Tubs or Repairs: Best for touch-ups or smaller bathtubs.
- Finish: Satin or glossy (depending on brand).
- Cure Time: 24 hours.
Tools and Materials You’ll Need
Tools
- Sandpaper (220-grit and 400-grit)
- Paint roller (high-density foam) or paint sprayer
- Paint tray
- Utility knife (for removing old caulk)
- Caulking gun
- Painter’s tape
- Plastic drop cloths
- Microfiber cloths
Materials
- Two-part epoxy paint or acrylic urethane paint
- Primer for plastic (if not using epoxy)
- Isopropyl alcohol (for cleaning)
- Painter’s tape
- Silicone caulk (mold-resistant)
- Respirator mask and gloves
Preparation: The Key to a Long-Lasting Finish
Step 1: Ventilate the Area
- Open windows and use an exhaust fan. The fumes from epoxy paint can be strong, so wear a respirator mask.
Step 2: Clean the Bathtub Thoroughly
- Remove Old Caulk: Use a utility knife to cut along the edges and peel off the old caulk.
- Scrub the Surface: Clean the entire bathtub with isopropyl alcohol or a commercial tub cleaner to remove soap scum, grease, and mold.
Step 3: Sand the Surface for Better Adhesion
- Use 220-grit Sandpaper: Lightly sand the entire surface to remove the glossy finish.
- Use 400-grit Sandpaper: Smooth the surface for better paint adhesion.
- Wipe Clean: Use a microfiber cloth to remove all dust.
Step 4: Tape Off Areas You Don’t Want to Paint
- Use painter’s tape to cover the drain, faucet, overflow, and surrounding walls.
Priming the Bathtub (If Required)
When to Use a Primer
- If You Are Using Acrylic Urethane Paint: A primer is necessary for proper adhesion.
- If You Are Using Two-Part Epoxy Paint: Primer is usually not required because epoxy is self-priming.
Applying Primer Correctly
- Use a High-Density Foam Roller: For a smooth, bubble-free finish.
- Drying Time: Allow the primer to dry completely (typically 4-6 hours) before applying paint.
How to Paint a Plastic Bathtub: Step-by-Step
Step 1: Mix the Epoxy Paint Properly
- Follow Manufacturer’s Instructions: Two-part epoxy requires mixing a hardener and base coat.
- Work Quickly: Epoxy has a limited working time, usually around 45 minutes to 1 hour.
Step 2: Apply the First Coat of Paint
- Use a Paint Sprayer or Foam Roller: A sprayer gives a more professional finish, but a high-density foam roller works well too.
- Paint Evenly: Use long, even strokes. Work from the top of the tub to the bottom.
Step 3: Allow to Dry Fully
- Drying Time: Let the first coat dry for at least 6 hours (follow the paint manufacturer’s recommendations).
Step 4: Lightly Sand Between Coats
- Use 400-grit sandpaper to smooth out any imperfections from the first coat. Wipe the surface clean with a microfiber cloth.
Step 5: Apply the Second Coat
- Repeat the painting process with a second coat, ensuring full coverage.
Step 6: Let the Paint Cure Completely
- Curing Time: 24 to 72 hours (depending on paint type). Avoid using the bathtub until the paint is fully cured to prevent damage.
Reapplying Caulk Around the Tub
Step 1: Select a Mold-Resistant Caulk
- Silicone caulk is best for bathrooms because it resists water and mold.
Step 2: Apply the Caulk
- Cut the tip of the caulk tube at a 45-degree angle.
- Apply a thin, even bead around the edges where the tub meets the wall.
- Smooth the bead with a caulk finishing tool or a damp finger.
How Long Will a Painted Bathtub Last?
A properly painted plastic bathtub can last 5 to 10 years, depending on the quality of the paint and how well you maintain it.
Maintenance Tips
- Use Non-Abrasive Cleaners: Harsh scrubbing can damage the paint.
- Avoid Bath Mats with Suction Cups: These can peel the paint.
- Wipe the Tub Dry: After use to prevent mildew and staining.
Common Mistakes to Avoid
Skipping Surface Preparation
- Failing to sand or clean thoroughly can cause the paint to peel.
Using the Wrong Type of Paint
- Only use paint specifically designed for plastic surfaces, such as two-part epoxy.
Ignoring Ventilation
- Epoxy fumes are strong and can be harmful without proper ventilation.
Is Painting a Plastic Bathtub Worth It?
Pros
- Cost-Effective: Saves money compared to a replacement.
- Quick Update: You can complete the project in a weekend.
- Customizable: Choose any color you like.
Cons
- Temporary Solution: Paint can wear over time, especially with heavy use.
- Requires Maintenance: Needs careful cleaning to prolong the finish.
Conclusion: Give Your Mobile Home Bathroom a Fresh Look
Painting a plastic bathtub in a mobile home is an achievable DIY project with the right tools, paint, and preparation. By following this step-by-step guide, you’ll save money and enjoy a refreshed bathroom that looks brand new. Take your time, follow best practices, and enjoy the results for years to come.
Are you ready to start your bathtub makeover? Grab your tools, and let’s paint!