Painting a mailbox is an excellent way to refresh its look and add a touch of personal style to your home’s curb appeal. Whether your mailbox is metal, plastic, or wooden, a fresh coat of paint can make a huge difference in its appearance.
In this step-by-step guide, we will walk you through the entire process of painting a mailbox, from preparation to finishing touches, to ensure you achieve professional-looking results.
Contents
Understanding Your Mailbox Material
Types of Mailbox Materials
- Metal Mailboxes: The most common type, usually made of galvanized steel or aluminum.
- Plastic Mailboxes: Lightweight and durable, often made of weather-resistant materials.
- Wooden Mailboxes: Less common, but offer a rustic and customizable option.
Importance of Knowing Your Mailbox Material
- Different materials require different primers and paints.
- The preparation process may vary depending on the material type.
Tools and Materials Needed
Essential Tools
- Sandpaper (medium and fine grit): For preparing the mailbox surface.
- Drop Cloth or Plastic Sheet: To protect the area around your workspace.
- Painter’s Tape: For masking areas you don’t want to be painted.
- Paint Brushes or Foam Rollers: For applying primer and paint.
Paint and Primer Selection
- Primer: Choose a primer suitable for the mailbox material (metal, plastic, or wood).
- Paint: Use outdoor, weather-resistant paint designed for your specific mailbox material.
- Clear Sealant (optional): To protect the paint and extend its lifespan.
Step-by-Step Guide to Painting a Mailbox
Step 1: Preparing the Workspace
- Choose a Well-Ventilated Area: Painting outdoors is ideal to avoid inhaling fumes.
- Lay Down a Drop Cloth: Protect the surrounding area from paint spills or splatters.
- Remove the Mailbox (if possible): Detaching the mailbox from its post will make it easier to paint.
Step 2: Cleaning the Mailbox
- Remove Dirt and Debris: Use a soft cloth or sponge with soapy water to clean the surface.
- Rinse and Dry: Thoroughly rinse with clean water and let the mailbox dry completely.
- Degrease the Surface: For metal mailboxes, use a degreaser to remove any oil or grease.
Step 3: Sanding the Surface
- Sand Lightly: Use medium-grit sandpaper to rough up the surface. This will help the primer adhere better.
- Smooth the Surface: Follow up with fine-grit sandpaper to create a smooth finish.
- Wipe Down: Use a damp cloth to remove any dust or residue from sanding.
Step 4: Priming the Mailbox
- Choose the Right Primer: Use a metal primer for metal mailboxes, plastic primer for plastic, and wood primer for wooden mailboxes.
- Apply the Primer: Use a brush or foam roller to apply a thin, even coat of primer.
- Allow to Dry: Let the primer dry completely according to the manufacturer’s instructions before proceeding.
Step 5: Painting the Mailbox
Choosing the Right Paint
- Acrylic or Enamel Paint: These types are durable and suitable for outdoor conditions.
- Weather-Resistant Paint: Ensure the paint is formulated to withstand rain, sunlight, and temperature changes.
Step-by-Step Painting Process
- First Coat: Apply a thin, even coat of paint using a foam roller or brush.
- Dry Time: Allow the first coat to dry completely (usually 4-6 hours).
- Second Coat: Apply a second coat of paint to ensure even coverage and vibrant color.
- Smooth Finish: Use a brush to touch up any areas that need more coverage or are streaky.
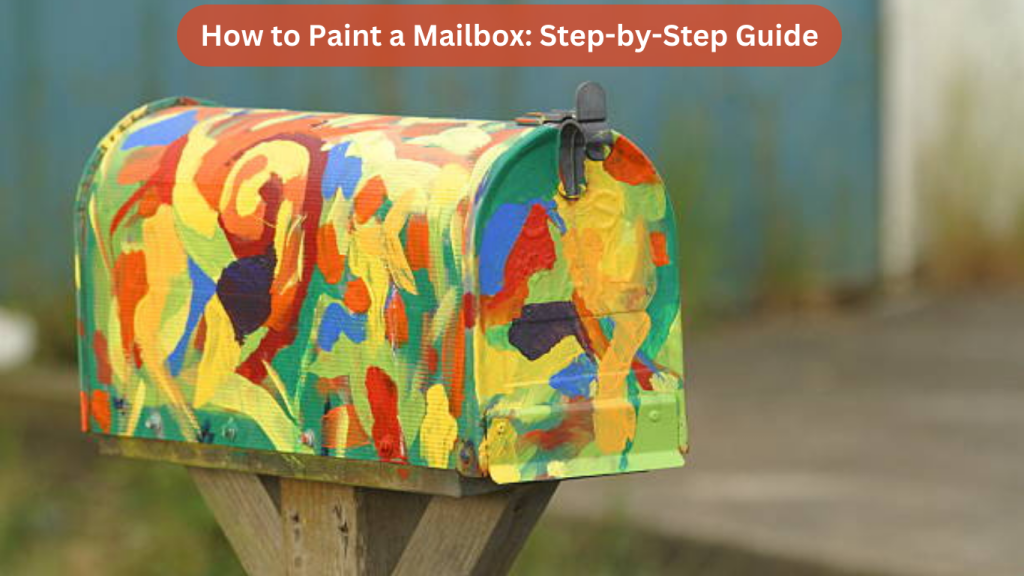
Step 6: Adding Decorative Elements (Optional)
- Stencils: Use stencils to add numbers, letters, or designs to your mailbox.
- Hand-Painted Designs: Get creative with florals, geometric patterns, or personalized art.
- Tape Off Areas: Use painter’s tape to create clean lines for color blocks or stripes.
Step 7: Sealing the Paint (Optional but Recommended)
- Use a Clear Sealant: A clear polyurethane sealant will help protect the paint from fading and chipping.
- Apply Evenly: Use a foam brush to apply the sealant in thin, even layers.
- Dry Completely: Allow the sealant to cure completely before reattaching the mailbox to its post.
Reattaching and Maintaining Your Mailbox
Reattaching the Mailbox
- Reinstall Carefully: Make sure the mailbox is securely attached to the post.
- Check Alignment: Ensure the mailbox is level and facing the correct direction.
Maintenance Tips
- Regular Cleaning: Wipe down the mailbox periodically to remove dirt and debris.
- Touch-Up Paint: Keep a small amount of leftover paint for touch-ups if the mailbox gets scratched.
- Inspect for Damage: Check for chips or peeling paint and address them promptly.
Common Mistakes to Avoid When Painting a Mailbox
Not Using Primer
- Primer helps the paint adhere better and last longer. Skipping this step can result in peeling paint.
Applying Thick Paint Coats
- Thick coats can lead to drips and uneven coverage. Always use thin, even layers for the best results.
Painting in Poor Weather Conditions
- Avoid painting in extreme temperatures or high humidity, as this can affect the paint’s drying and curing process.
Forgetting to Seal the Paint
- Sealant provides extra protection against weather elements. Without it, the paint may chip or fade faster.
FAQs About Painting a Mailbox
1. What kind of paint should I use on a metal mailbox?
- Use an enamel or acrylic paint specifically designed for metal surfaces to ensure durability.
2. How long does the paint take to dry?
- Paint typically dries to the touch in 4-6 hours, but full curing can take up to 24 hours.
3. Do I need to sand a plastic mailbox before painting?
- Yes, lightly sanding the plastic surface helps the primer and paint adhere better.
4. Can I paint a mailbox that is already painted?
- Yes, but you should sand off the old paint to ensure the new paint adheres properly.
5. How do I prevent my mailbox from rusting after painting?
- Applying a clear sealant or protective finish can help prevent rust and prolong the life of the paint.
Conclusion
Painting your mailbox is a simple yet effective way to enhance your home’s curb appeal. Whether you have a metal, plastic, or wooden mailbox, the steps outlined in this guide will help you achieve a professional-looking finish.
Remember to prepare the surface properly, use high-quality paint and primer, and consider sealing your work for long-lasting results. With a little creativity and effort, your mailbox can become a charming statement piece that adds personality to your property.