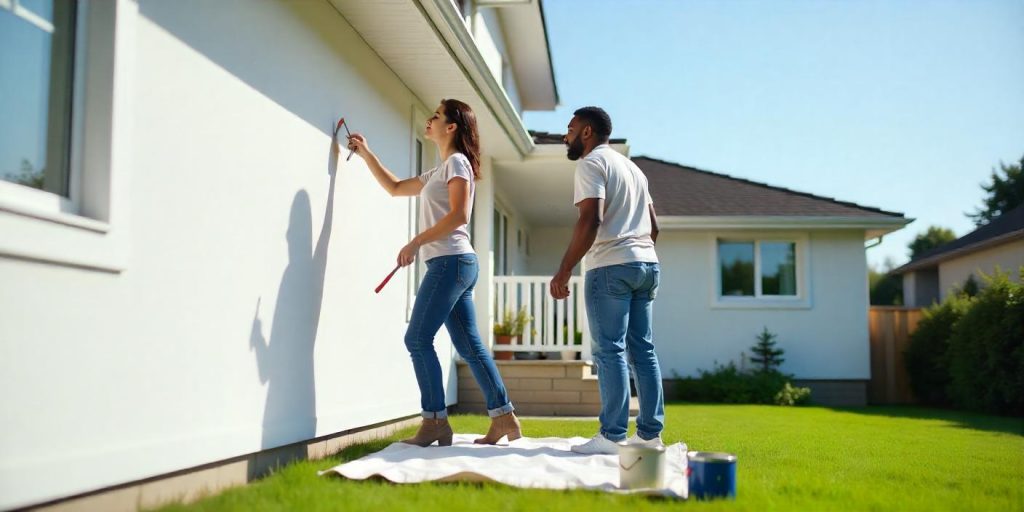
Painting a house is one of the most effective ways to refresh its appearance and protect it from the elements. Whether you’re updating the interior or exterior, a fresh coat of paint can add value and style to your home.

However, to achieve professional results, it’s essential to follow the right techniques and preparation steps. This step-by-step guide will walk you through the entire process of painting a house, ensuring your project is a success.
Contents
Planning Your Painting Project
Decide Between DIY and Hiring Professionals
Before starting, determine whether to tackle the job yourself or hire professional painters. Consider factors like time, budget, and the size of the project. While DIY painting can save money, professionals bring expertise and efficiency to the table.
Choose the Right Paint
- Type of Paint
- For exteriors, opt for weather-resistant paints.
- For interiors, choose between flat, satin, semi-gloss, or gloss finishes based on the room’s function.
- Color Selection
- Test paint samples on small sections to see how they look in different lighting.
- Use complementary colors for trim and accents.
- Quality of Paint
- Invest in high-quality paints that offer better coverage and durability.
Gather Tools and Materials
Essential supplies include:
- Paint rollers and brushes
- Painter’s tape
- Drop cloths
- Ladder or scaffolding
- Sandpaper
- Cleaning supplies
Preparing the Surface
Clean the Surface
Start by cleaning walls or exterior siding to remove dirt, grease, or mildew. For exteriors, a power washer works best. For interiors, use a damp cloth or mild detergent solution.
Repair Damage
Inspect the surfaces for cracks, holes, or peeling paint. Use caulk for sealing gaps and filler for patching holes. Sand rough areas to create a smooth surface.
Remove Loose Paint
Scrape off any loose or flaking paint using a putty knife or paint scraper. Sand the edges of peeled areas to blend them with the surrounding surface.
Protect Areas Not Being Painted
Use painter’s tape to cover edges, trim, and fixtures. Lay down drop cloths to protect floors, furniture, or landscaping.
Priming the Surface
When to Use Primer
Priming is essential when:
- Painting over a dark or bold color with a lighter shade.
- Painting new, bare surfaces like drywall or wood.
- Covering stains or uneven patches.
Applying Primer
- Choose a primer suited to your surface and paint type.
- Apply a thin, even coat using a roller or brush.
- Allow the primer to dry completely before painting.
Painting the House Exterior
Step 1: Start with the Trim
Begin by painting the trim, shutters, and other detailed areas. Use a brush for precision and let the trim dry before starting the walls.
Step 2: Paint the Walls
- Choose a Method Use a paint sprayer for large surfaces or rollers for more control.
- Work Top to Bottom Start at the top of the house and work your way down to avoid drips on freshly painted areas.
- Apply Multiple Coats Allow each coat to dry fully before applying the next for even coverage.
Step 3: Touch Up and Finalize
Inspect your work for missed spots or uneven areas. Use a brush for touch-ups.
Painting the House Interior
Step 1: Start with Ceilings
Begin by painting the ceiling to avoid drips on freshly painted walls. Use a roller with an extension pole for easy reach.
Step 2: Paint the Walls
- Cut in the Edges Use a brush to paint along the edges and corners where rollers can’t reach.
- Roll the Walls Load your roller with paint and apply it in a W-pattern for even distribution.
- Blend and Feather Overlap sections slightly to blend edges seamlessly.
Step 3: Paint Trim and Details
After the walls are dry, use a brush to paint baseboards, crown molding, and window frames. Apply painter’s tape for clean edges.
Cleanup and Maintenance
Remove Tape and Clean Up
- Remove painter’s tape before the paint fully dries to avoid peeling.
- Wash brushes and rollers immediately to prevent the paint from hardening.
Dispose of Paint Properly
Store leftover paint in airtight containers for future touch-ups. Dispose of empty cans and excess paint according to local regulations.
Regular Maintenance
- Wipe down interior walls periodically to remove dust and marks.
- Inspect exteriors annually for signs of wear and touch up as needed.
Tips for a Professional Finish
Avoid Common Mistakes
- Don’t skip surface preparation—it’s crucial for long-lasting results.
- Use the right tools for each area to ensure even application.
Work in Optimal Conditions
- For exteriors, choose a day with mild temperatures and low humidity.
- For interiors, ensure proper ventilation to speed up drying time.
Take Your Time
Rushing the process can lead to uneven finishes and mistakes. Allocate enough time for preparation, painting, and drying.
Conclusion
Painting a house is a rewarding project that enhances its appearance and value. By following this step-by-step guide, you can achieve a professional-quality finish that lasts for years.
Whether painting the interior or exterior, proper preparation, technique, and cleanup are the keys to success. With patience and attention to detail, your house will look as good as new.
