Painting your deck is an excellent way to revitalize its appearance and protect it from the elements. Whether you’re dealing with a weathered deck or just want to give it a fresh new look, painting is a straightforward project that can dramatically improve your outdoor space.
In this complete guide, we’ll walk you through the easy ways and step-by-step process to paint your deck.
Contents
Why Paint Your Deck?
Benefits of Painting a Deck
- Protection Against Weather: Paint provides a protective layer that shields the wood from moisture, UV rays, and other environmental factors.
- Enhanced Durability: A painted deck can last longer, as it prevents rot, mold, and mildew from taking hold.
- Improved Aesthetics: Painting your deck allows you to customize the color and create a clean, polished look that complements your home’s exterior.
- Conceals Flaws: If your deck has imperfections like stains, cracks, or other blemishes, a coat of paint can help cover them up.
Considerations Before Painting
- Wood Type: Different woods react differently to paint, so it’s essential to know your deck’s wood type.
- Previous Treatments: If the deck has previously been stained or treated, you may need to remove or sand the old finish.
- Weather Conditions: Painting should be done during dry weather conditions, ideally with temperatures between 50-85°F (10-29°C).
Tools and Materials You’ll Need
Essential Tools
- Pressure Washer or Garden Hose
- Deck Cleaner or Mild Detergent
- Sandpaper or Power Sander
- Paint Brushes and Rollers
- Paint Tray and Stir Sticks
- Painter’s Tape
- Drop Cloths or Plastic Sheeting
Materials Required
- Primer for Outdoor Use
- Exterior Paint or Deck Paint
- Wood Filler (if needed for repairs)
- Sealant (optional for extra protection)
Step-by-Step Guide to Painting a Deck
Step 1: Prepare the Deck Surface
Clean the Deck Thoroughly
- Remove Debris: Sweep away any leaves, dirt, or debris from the deck surface.
- Pressure Wash: Use a pressure washer or a garden hose to remove any remaining dirt or grime.
- Apply Deck Cleaner: Use a deck cleaner to scrub the surface and remove any mold, mildew, or stains.
- Rinse Well: Make sure to rinse the deck thoroughly and let it dry completely before proceeding.
Repair Any Damage
- Inspect the Deck: Look for cracks, splinters, or damaged areas that need repair.
- Fill Gaps: Use wood filler to fill in any cracks or holes in the deck.
- Sand Rough Areas: Once the filler is dry, sand any rough areas to ensure a smooth surface for painting.
Step 2: Sand the Deck
Why Sanding is Important
- Improves Paint Adhesion: Sanding helps the paint adhere better to the wood by creating a smooth, even surface.
- Removes Old Finish: It also removes any remaining bits of old paint or stain.
How to Sand the Deck
- Use the Right Grit: Start with medium-grit sandpaper (around 80-100 grit) for the first pass, then switch to a finer grit (150-180) for a smooth finish.
- Sand Evenly: Move the sander in the direction of the wood grain to avoid scratches.
- Clean the Surface: After sanding, sweep or vacuum the deck to remove all dust particles.
Step 3: Prime the Deck
Applying Primer
- Choose the Right Primer: Use a high-quality exterior primer that is compatible with your chosen paint.
- Brush and Roll: Use a paintbrush to cut in along the edges and a roller to cover the larger surface.
- Allow to Dry: Let the primer dry completely according to the manufacturer’s instructions before applying paint.
Benefits of Priming
- Better Adhesion: Primer helps the paint adhere to the deck surface more effectively.
- Even Coverage: It ensures that the paint goes on evenly without soaking too much into the wood.
- Increased Durability: A primed deck will resist chipping and peeling over time.
Step 4: Paint the Deck
Selecting the Paint
- Use Exterior Paint: Choose a paint designed specifically for outdoor use to ensure it stands up to weather conditions.
- Consider Color: Lighter colors can reflect heat and prevent the deck from getting too hot, while darker colors may hide imperfections better.
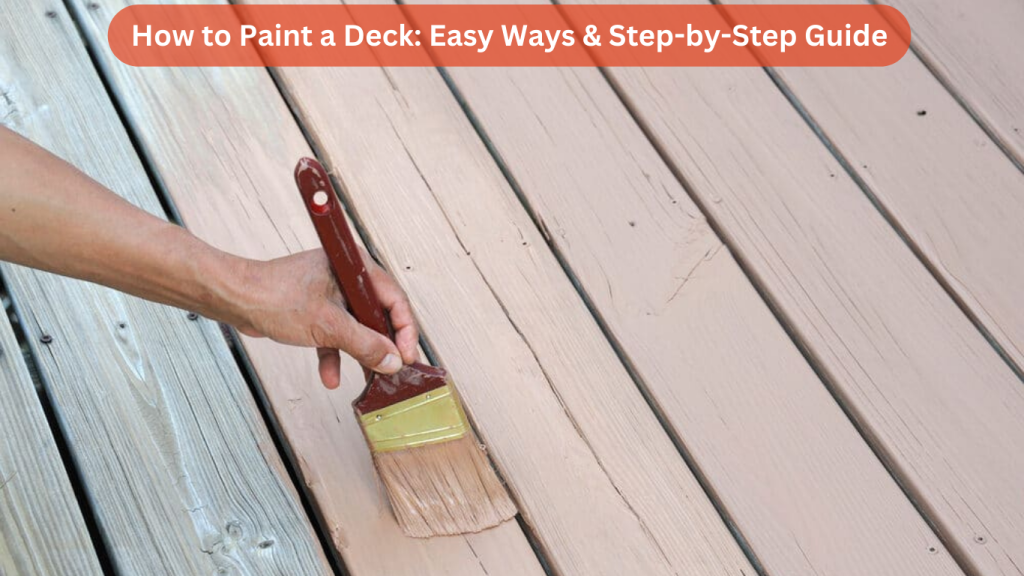
Painting Technique
- Start with the Edges: Use a paintbrush to cut in along the edges of the deck boards.
- Roll the Larger Areas: Use a paint roller to cover the deck surface quickly and evenly.
- Paint in Sections: Work in small sections to ensure even coverage and avoid missed spots.
- Apply Multiple Coats: Depending on the color and type of paint, you may need to apply two to three coats for full coverage.
Let the Paint Dry
- Drying Time: Allow each coat of paint to dry completely before applying the next. Follow the manufacturer’s guidelines for the drying time.
- Final Check: Inspect the deck for any touch-ups or missed areas once the final coat is dry.
Step 5: Seal the Deck (Optional)
Why Sealing is Important
- Added Protection: Sealing the deck adds an extra layer of protection against moisture and UV damage.
- Enhances Durability: It helps the paint last longer and keeps the deck looking fresh.
Applying the Sealant
- Use a Clear Sealant: Choose a sealant that is compatible with your paint type.
- Even Application: Apply the sealant evenly with a brush or roller.
- Dry Completely: Let the sealant dry thoroughly before using the deck.
Maintenance Tips for a Painted Deck
Regular Cleaning
- Sweep Frequently: Regularly sweep your deck to prevent dirt and debris buildup.
- Wash Seasonally: Wash the deck with a mild detergent and water at least once a season.
Inspect for Damage
- Check for Cracks: Look for any signs of peeling paint or cracks and address them immediately.
- Touch-Up as Needed: Keep some leftover paint on hand for touch-ups to maintain the deck’s appearance.
Reapply Sealant
- Re-seal Periodically: To extend the life of your painted deck, consider reapplying sealant every 1-2 years.
- Protect in Winter: Cover the deck or clear snow promptly to prevent moisture damage.
Frequently Asked Questions (FAQs)
1. How often should I repaint my deck?
- Generally, a well-painted deck can last between 2-4 years before needing a new coat, depending on weather conditions and maintenance.
2. Can I paint over a stained deck?
- Yes, you can paint over a stained deck, but you’ll need to sand the surface and apply a primer to ensure proper adhesion.
3. What type of paint is best for outdoor decks?
- Use an exterior-grade paint or deck paint specifically designed to withstand weather, moisture, and foot traffic.
4. Do I need to seal my deck after painting it?
- Sealing is optional but recommended for added protection against moisture and UV rays, which can extend the paint’s lifespan.
5. What is the best weather condition to paint a deck?
- The ideal weather for painting a deck is when temperatures are between 50-85°F (10-29°C) with low humidity and no rain in the forecast.
Conclusion
Painting a deck is a great way to refresh its look and protect it from the elements. By following these easy steps, from cleaning and sanding to painting and sealing, you can ensure that your deck remains beautiful and durable for years to come.
Regular maintenance and care will help extend the life of your paint job, keeping your outdoor space inviting and well-protected. With the right tools and techniques, your deck will be the envy of the neighborhood!