Microsoft Paint, commonly referred to as MS Paint, is a simple yet versatile graphics editing program that comes pre-installed with most versions of the Windows operating system. While it may lack the advanced features of professional software like Adobe Photoshop, it’s perfect for basic image editing tasks, including color replacement.
Color replacement is a useful technique for altering colors in an image without having to redraw or manually paint over sections. It’s particularly helpful when you want to change the color of an object, modify designs, or even correct mistakes. Although MS Paint doesn’t have a direct “color replacement” tool like some advanced editing software, you can still effectively replace colors using a combination of tools and techniques.
In this guide, we’ll walk you through how to replace colors in MS Paint, step by step, while also covering some tips and tricks to ensure a smooth editing process. By the end of this guide, you’ll be able to confidently use MS Paint to make color changes and enhance your images.
Contents
Why Use MS Paint for Color Replacement?
Despite its simplicity, MS Paint has a loyal user base for good reasons:
- User-Friendly Interface: MS Paint is intuitive and easy to navigate, making it perfect for beginners or those needing to make quick edits without a steep learning curve.
- Basic Tools for Quick Edits: Though MS Paint lacks advanced editing features, it has a few basic yet powerful tools that can handle color replacement and other edits effectively.
- Accessible: It’s free and pre-installed on Windows, so you don’t need to purchase or download any additional software.
Tools You’ll Need for Color Replacement in MS Paint
To replace colors in MS Paint, you’ll use the following tools:
- Eyedropper (Color Picker): This tool helps you pick the color you want to replace in the image.
- Fill Tool (Bucket): This tool allows you to fill areas with a new color.
- Brush Tool: The brush tool can be used for more precise edits if the fill tool doesn’t cover certain areas.
- Eraser Tool: For cleaning up areas that need refinement.
How to Replace Colors in MS Paint: Step-by-Step Guide
Step 1: Open the Image in MS Paint
To begin, open your image in MS Paint. If you’re working with an image file saved on your computer, you can do this by right-clicking the file, selecting Open With, and choosing Paint from the list of programs.
Alternatively, you can open MS Paint and load the image from within the program:
- Click on File in the top-left corner.
- Select Open.
- Browse to find the image you want to edit and click Open.
Step 2: Identify the Colors You Want to Replace
Once your image is open in MS Paint, you need to identify the color you want to replace and the new color you want to use.
- Eyedropper Tool: To select the color you want to replace, use the Eyedropper tool (also called the Color Picker tool). This tool allows you to sample a color directly from the image.
- Select the Eyedropper tool from the toolbar (it looks like a pipette or dropper).
- Click on the part of the image with the color you want to replace. The color will now appear as the Foreground Color in the color palette (the color in the top box of the two color boxes near the top-right corner).
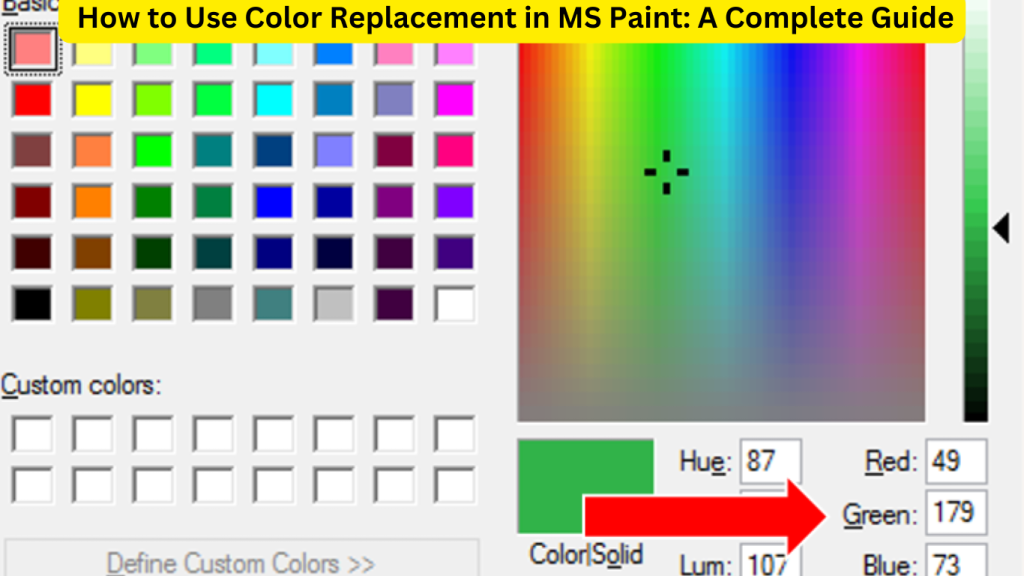
- Choose a New Color: Now, choose the new color you want to apply in place of the old one. You can select a color from the palette or create a custom color by clicking on the Edit Colors button and adjusting the hue, saturation, and brightness manually. Your new color should appear in the Background Color box.
Step 3: Use the Fill Tool for Large Areas
For large, contiguous areas of the same color, the Fill tool is the most efficient way to replace a color. The fill tool will automatically detect and replace all pixels that match the selected foreground color within a defined boundary.
- Select the Fill Tool: On the toolbar, click on the Fill tool (it looks like a bucket of paint being poured).
- Left-Click to Replace the Color: With the Fill tool selected, click on the area of the image where you want to replace the color. MS Paint will replace all connected pixels of the old color with the new one.
Tips for Using the Fill Tool Effectively:
- Tolerance: MS Paint’s fill tool works by replacing pixels of the same or similar colors. If the area you’re filling isn’t entirely uniform in color (e.g., some shading or gradient is present), the fill tool may not affect all pixels evenly. This may require additional cleanup using the brush or eraser tools.
- Zoom In for Detail: If you’re working on a small or intricate area, zooming in can help you be more precise.
Step 4: Handle Non-Contiguous Areas with the Brush Tool
If the area you’re working on has multiple shades or if the fill tool doesn’t completely replace all instances of the color, you can use the Brush tool for more detailed, manual replacement.
- Select the Brush Tool: Choose the Brush tool from the toolbar.
- Manually Paint Over the Area: Use the brush to paint over any remaining areas that the fill tool didn’t catch. You can adjust the size of the brush in the toolbar to suit the level of detail required.
Alternative: Use the Eraser Tool for Inaccurate Fill Areas
In some cases, using the fill tool may lead to overspray or color replacement in unwanted areas. If this happens, you can clean it up with the Eraser tool:
- Select the Eraser Tool: Choose the Eraser tool from the toolbar.
- Erase Overspray or Errors: Carefully erase any excess or unwanted changes to the image, restoring it to its original form.
Step 5: Save Your Work
Once you’re satisfied with the color replacement in your image, it’s essential to save your work. If you want to keep the original file intact, consider saving the edited version as a new file.
- Click on File in the upper-left corner of the screen.
- Select Save As to create a new version of your image.
- Choose a file format (e.g., JPEG, PNG, BMP) and give your file a name.
- Click Save.
Advanced Techniques for Color Replacement in MS Paint
While MS Paint is a basic program, there are a few advanced techniques and tricks you can use to enhance your color replacement process:
1. Using Transparency for More Accurate Color Replacement
If your image has a complex background or overlapping elements, transparency can be helpful in avoiding unwanted color changes. MS Paint allows you to work with transparent backgrounds to isolate the areas where you want to replace colors.
- To activate transparency in MS Paint, click on Select and then check the box next to Transparent Selection.
2. Use the Rectangle Select Tool for Targeted Changes
Sometimes, you only need to replace the color in a specific portion of the image. In these cases, the Rectangle Select tool allows you to isolate an area before using the fill or brush tool to replace the color.
- Select Rectangle from the selection tools.
- Click and drag to create a selection around the area where you want to replace the color.
3. Gradual Color Replacement for Complex Images
For images with gradients or multiple shades of a color, you may need to replace colors in stages. Begin with the base color, then repeat the process for darker or lighter shades. This step-by-step approach ensures that you capture all the variations in color and achieve a smooth result.
Common Mistakes to Avoid
While replacing colors in MS Paint is relatively straightforward, a few common mistakes can hinder your progress. Here’s what to watch out for:
- Using the Wrong Tool: Sometimes, people mistakenly try to replace colors using the brush tool alone, which can be time-consuming and lead to an uneven finish. Always use the fill tool for large, contiguous areas of color.
- Not Saving the Original Image: Always keep a copy of the original image. Accidental changes or oversights are difficult to undo if you don’t have a backup.
- Overusing the Fill Tool: The fill tool can sometimes bleed into areas you don’t want to modify. Use it carefully, especially when working with images that have complex patterns or textures.
Conclusion
Although MS Paint is a basic image editing tool, it offers surprisingly effective ways to replace colors with the help of the Eyedropper, Fill, and Brush tools.
By properly preparing your image and applying these tools, you can easily make significant color adjustments to a wide range of photos and illustrations.
Whether you’re working on a simple project or trying to tweak more detailed areas of an image, MS Paint’s capabilities are often sufficient for quick and easy color replacements.