Spray painting metal can be a rewarding DIY project, transforming dull, rusted, or outdated metal items into sleek, modern, and vibrant pieces. Whether you’re updating metal furniture, decorative objects, or appliances, spray paint offers a quick and efficient way to achieve a professional finish.
However, the key to success is proper preparation, technique, and using the right materials.
In this comprehensive guide, we’ll walk you through everything you need to know about spray painting metal, from choosing the right spray paint to applying smooth, even coats for long-lasting results.
Contents
Why Spray Paint Metal?
Spray painting metal offers several benefits:
- Speed: Spray painting covers surfaces quickly and evenly, especially with irregular shapes or textured items.
- Smooth finish: Unlike brushing, spray painting leaves a streak-free, even finish that’s perfect for metals.
- Durability: When done correctly, spray painting provides a durable layer that protects the metal from rust, weather, and wear.
- Wide range of colors and finishes: Spray paint comes in an array of colors and finishes (matte, gloss, satin, metallic) that give you creative freedom to customize your metal items.
What You Will Need
Before starting, gather all the necessary materials for your spray painting project. Having everything ready will ensure a smoother process and better results.
Materials:
- Spray paint designed for metal: Look for high-quality spray paint, ideally with a built-in primer or one specifically formulated for metal.
- Primer for metal: If your spray paint doesn’t include a primer, a separate rust-inhibiting metal primer is essential.
- Sandpaper or wire brush: For surface preparation and removing rust.
- Tack cloth: To wipe away dust and debris after sanding.
- Drop cloths or newspaper: To protect the surrounding area from overspray.
- Painter’s tape: To cover areas you don’t want painted.
- Safety gear: Gloves, a dust mask or respirator, and safety goggles.
Optional:
- Rust remover: For metal objects with significant rust buildup.
- Clear topcoat: For extra durability and protection after painting.
Step 1: Choose the Right Spray Paint for Metal
The first and most important step in spray painting metal is selecting the right paint. Not all spray paints are created equal, and metal requires specific formulas for adhesion, durability, and resistance to rust or corrosion.
Types of Spray Paint for Metal:
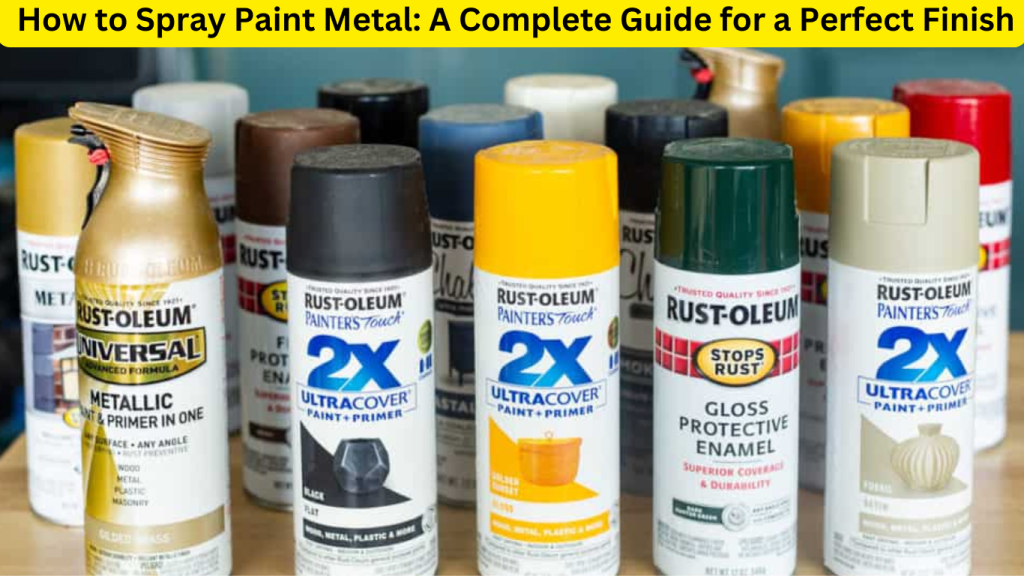
- Standard Spray Paint: Many brands offer spray paint designed for metal surfaces. Look for products labeled “for metal,” “all-purpose,” or “multi-surface.”
- Metallic Spray Paint: If you want a metallic finish, choose a paint that’s formulated with metallic pigments, which will give the surface a metal-like sheen.
- Rust-Inhibiting Paint: If you’re working with rusted metal, choose a rust-inhibiting paint or a paint with a rust-preventive primer. These formulas help prevent future rusting.
- High-Heat Spray Paint: For metal items exposed to heat (e.g., BBQ grills, fire pits, engine parts), opt for high-heat spray paint that can withstand extreme temperatures.
Step 2: Prepare the Metal Surface
Proper preparation is the key to achieving a smooth, long-lasting finish when spray painting metal. Even though spray paint adheres well to metal, any dirt, grease, or rust left on the surface can cause peeling, uneven coats, and poor adhesion.
Cleaning:
- Wash the surface: Start by cleaning the metal surface with soap and water to remove any dirt, grease, or dust. If the surface is greasy or oily, you may need to use a degreaser or rubbing alcohol for thorough cleaning.
- Rinse thoroughly: After washing, rinse the metal thoroughly with clean water to ensure no soap residue remains.
- Dry completely: Allow the metal surface to dry completely before moving on to sanding. Moisture can prevent the primer and paint from adhering properly.
Removing Rust and Old Paint:
If the metal object has rust or old paint, you’ll need to remove it to create a smooth base for the new spray paint.
- Light sanding: Use fine-grit sandpaper (around 120-150 grit) to sand the entire surface. This will remove minor rust spots, old paint, and create a slightly rough surface to help the primer and paint adhere.
- Wire brush for rust: If the surface has rust, use a wire brush or steel wool to scrub off any loose rust. For stubborn rust, you can use a rust remover to dissolve it.
- Wipe the surface: After sanding, use a tack cloth or a lint-free cloth to wipe down the metal and remove dust or debris. This ensures the surface is smooth and clean for painting.
Step 3: Apply Primer to the Metal Surface
Priming metal is a crucial step, especially for bare or rusted metal, as it ensures the paint will adhere properly and last longer. Primer also seals the metal, preventing rust and corrosion.
Applying Primer:
- Choose the right primer: Use a primer specifically designed for metal, preferably one that includes rust inhibitors if your metal is prone to rust.
- Shake the can: Shake the primer can vigorously for about 1-2 minutes to mix the contents properly.
- Test spray: Before applying the primer to the entire surface, test spray on a piece of scrap material to make sure the nozzle is functioning and the spray pattern is even.
- Apply in thin coats: Hold the spray can 10-12 inches from the surface and spray the primer in light, even coats. It’s better to apply several thin coats rather than one thick one to avoid drips or uneven texture.
- Allow drying time: Follow the primer’s instructions for drying time. Usually, it takes about 30 minutes to an hour, but it’s best to wait until the primer is fully dry before applying paint.
- Lightly sand between coats: For an extra-smooth finish, you can lightly sand the primed surface with fine-grit sandpaper and wipe it clean before applying the paint.
Step 4: Spray Paint the Metal
Now that your metal surface is clean, rust-free, and primed, it’s time to apply the spray paint. Proper technique is crucial for achieving an even, professional-looking finish.
Applying Spray Paint:
- Shake the paint can: Just like with the primer, shake the spray paint can for 1-2 minutes to ensure the paint is well-mixed.
- Test spray: Always test the spray on a piece of scrap material before starting on your project to ensure the paint is spraying evenly.
- Spray in thin coats: Hold the can about 10-12 inches from the surface and use smooth, even strokes to apply thin layers of paint. Move the can in a steady, sweeping motion across the surface, overlapping slightly with each pass.
- Multiple light coats: Apply 2-3 light coats of spray paint rather than one heavy coat. This will prevent drips and give a smoother, more even finish.
- Allow drying time: Let each coat dry for at least 10-15 minutes before applying the next one. Follow the paint manufacturer’s instructions for specific drying times between coats.
Step 5: Apply a Clear Topcoat (Optional)
Once the paint is fully dry, you may want to apply a clear topcoat for extra protection, especially if the metal object will be exposed to the elements or frequent handling.
Clear Topcoat Application:
- Shake the clear coat can: Shake the can for about a minute before use to mix the contents.
- Apply thin coats: Just like with the primer and paint, apply the clear coat in light, even coats to avoid drips or runs.
- Drying time: Allow the topcoat to dry completely according to the manufacturer’s instructions before using or handling the item. Some topcoats may require 24 hours to cure fully.
Step 6: Curing and Maintenance
After painting, the spray-painted metal item should be allowed to cure for at least 24 hours in a dry, dust-free environment before handling. If it’s an outdoor item, make sure it’s protected from moisture during the drying process.
To maintain the finish and prevent rust or chipping:
- Clean regularly: Dust or dirt can wear down the painted surface, so wipe it clean with a damp cloth as needed.
- Avoid harsh cleaners: Use mild soap and water to clean the painted surface instead of abrasive cleaners that can damage the finish.
- Reapply clear coat: For outdoor metal items, consider reapplying a clear coat every year or two to maintain durability and prevent rust.
Common Mistakes to Avoid
To achieve the best results, here are a few common mistakes to avoid:
- Skipping primer: Primer ensures proper adhesion and prevents rust. Don’t skip this step, especially for bare metal.
- Applying thick coats: Applying too much paint at once can cause drips and an uneven texture. Stick to thin, light coats.
- Not sanding or cleaning the surface: A dirty or rough surface can lead to poor paint adhesion, so always prep the metal properly.
- Rushing the drying process: Allow adequate drying time between coats to avoid smudging or uneven finishes.
Conclusion
Spray painting metal is a simple and cost-effective way to give metal items a fresh new look, whether it’s furniture, decor, or machinery. By following these steps—proper preparation, priming, and painting—you can achieve a professional finish that will last for years to come. Remember to take your time, apply thin coats, and use the right materials for the best results.
With patience and attention to detail, your spray-painted metal surfaces will be durable, beautiful, and ready to enhance any space. Happy painting!