Car paint chips are a common problem that can detract from your vehicle’s appearance, reduce its resale value, and, if left untreated, lead to rust and more serious damage. Whether caused by rocks, debris, or minor accidents, chips in your car’s paint can be repaired with a little time, effort, and the right tools.
In this detailed guide, we will cover step-by-step how to repair car paint chips, the tools you need, tips for achieving a flawless finish, and common mistakes to avoid.
By the end of this blog, you’ll be equipped with the knowledge to restore your car’s paint and protect it from future damage.
Contents
Why Repair Car Paint Chips?
Before diving into the repair process, it’s important to understand why repairing paint chips is essential. Even small chips in your car’s paint can lead to bigger problems down the road if they aren’t addressed.
1. Prevent Rust
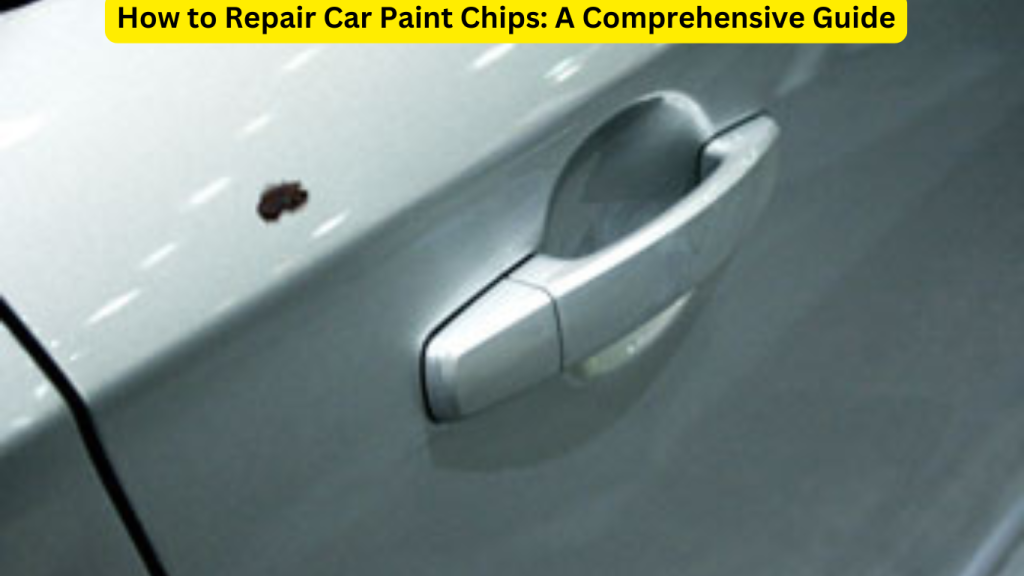
When the paint chips away, it exposes the metal surface of your car. Over time, moisture and air can reach the metal and cause rust. Rust not only damages the appearance of your vehicle but can also compromise the structural integrity of the bodywork.
2. Maintain Your Car’s Value
A car with visible paint damage can look worn and poorly maintained, which reduces its resale or trade-in value. Fixing paint chips keeps your car looking newer for longer and helps retain its market value.
3. Aesthetic Appeal
Chips and scratches make your car look unattractive. Repairing paint chips restores the smooth, glossy finish of your vehicle, enhancing its overall appearance.
Tools and Materials Needed for Repairing Paint Chips
To repair paint chips effectively, you will need the right tools and materials. Fortunately, these are relatively inexpensive and easy to find at most auto parts stores or online.
Essential Tools and Materials:
- Touch-Up Paint: This should match your car’s color code exactly. You can usually find this code on a sticker inside the driver’s side door or in the owner’s manual.
- Clear Coat: A clear coat protects the touch-up paint and gives it a glossy finish.
- Primer: If the chip has exposed bare metal, you’ll need a primer to protect the metal before applying paint.
- Fine-Grit Sandpaper (around 1500-2500 grit): To smooth the area around the chip and blend the repair with the surrounding paint.
- Rubbing Compound: This helps to polish and blend the repaired area for a seamless finish.
- Wax or Polish: Once the repair is complete, wax or polish adds shine and further protects the repaired surface.
- Microfiber Cloths: For cleaning, buffing, and polishing the repaired area.
- Small Paintbrush or Touch-Up Pen: These tools will help you apply the paint precisely to the chipped area.
- Isopropyl Alcohol or Pre-Paint Cleaner: To clean the area before starting the repair process.
- Gloves and Mask: Protective gear to keep your hands clean and protect yourself from harmful fumes.
Step-by-Step Guide to Repairing Car Paint Chips
Step 1: Clean the Area
Before you begin, thoroughly clean the chipped area and the surrounding paint. Dirt, grease, and debris can affect the quality of your repair, so this step is essential for a smooth finish.
- How to Clean: Wash the area with soap and water. Once dry, use isopropyl alcohol or a pre-paint cleaner to remove any remaining dirt, wax, or oil. Wipe the surface with a clean microfiber cloth.
Step 2: Sand the Edges of the Chip
Next, use fine-grit sandpaper (1500-2500 grit) to lightly sand around the edges of the chip. This helps smooth out any rough edges and ensures the paint adheres properly to the surface.
- How to Sand: Sand gently in circular motions, being careful not to damage the surrounding paint. You want to feather the edges of the chip so that the repair blends seamlessly with the rest of the paint.
Step 3: Apply Primer (If Necessary)
If the paint chip has exposed bare metal, it’s crucial to apply a primer before painting. The primer will protect the metal from rust and help the paint stick to the surface.
- How to Apply: Use a small brush to apply a thin layer of primer directly to the exposed metal. Be sure to apply it only within the chip and avoid overlapping onto the surrounding paint. Let it dry for the recommended time, usually about 30 minutes to an hour.
Step 4: Apply Touch-Up Paint
Once the primer is dry, it’s time to apply the touch-up paint. Be sure to use a color that matches your car’s factory paint code.
- How to Apply: Using a fine-tip brush or touch-up pen, carefully apply the paint inside the chipped area. Apply thin, even layers rather than trying to fill the chip in one go. Let each layer dry for 30 minutes to an hour before applying the next coat. You may need to apply 2-3 layers, depending on the depth of the chip.
Step 5: Apply Clear Coat
After the touch-up paint has dried, you’ll need to apply a clear coat to protect the paint and give it a glossy finish.
- How to Apply: Using a small brush, apply a thin layer of clear coat over the repaired area. This should overlap slightly with the surrounding paint to blend the repair. Allow it to dry for at least an hour.
Step 6: Sand the Repaired Area
Once the clear coat is fully dry, lightly sand the repaired area with very fine-grit sandpaper (2000-2500 grit) to smooth out any unevenness and blend the repair with the surrounding paint.
- How to Sand: Be gentle when sanding, and use water to lubricate the surface. Sand in small, circular motions, checking frequently to avoid over-sanding. The goal is to smooth the surface without damaging the repair.
Step 7: Polish and Wax
The final step is to polish the repaired area and apply wax to protect the new paint.
- How to Polish: Use a rubbing compound or car polish to buff the repaired area with a microfiber cloth. This will remove any small scratches and blend the repair with the original paint.
- How to Wax: Once polished, apply a layer of car wax to protect the repaired area from future damage. Waxing adds a glossy shine and seals the paint.
Tips for Achieving a Professional Finish
- Use Thin Layers: When applying paint or clear coat, always use thin layers and let each coat dry before applying the next. Thick layers can lead to uneven finishes or drips.
- Match the Paint Color Exactly: It’s essential to use the exact paint code for your car’s color. Even slight variations in color can make the repair noticeable. Check your car’s owner’s manual or the inside of the driver’s side door for the paint code.
- Work in a Well-Ventilated Area: Always repair paint chips in a well-ventilated space to avoid inhaling harmful fumes. Wearing a mask and gloves is also recommended for added protection.
- Test on a Small Area First: If you’re using touch-up paint or clear coat for the first time, test it on a small, inconspicuous area of your car to ensure the color and finish match.
Common Mistakes to Avoid
1. Skipping the Primer
If the paint chip has exposed bare metal, skipping the primer can lead to rust and poor adhesion of the paint. Always apply primer to protect the metal surface before painting.
2. Applying Paint Too Thick
Applying paint too thick can lead to a noticeable, uneven repair. Always apply multiple thin coats, allowing each layer to dry before adding the next.
3. Not Sanding Between Steps
Sanding is essential for smoothing the chipped area and blending the repair with the surrounding paint. Skipping this step can lead to a rough, unfinished look.
4. Ignoring Drying Times
It’s tempting to rush the process, but allowing each layer of paint and clear coat to dry fully is crucial for a long-lasting, smooth finish. Always follow the drying times recommended by the manufacturer.
When to Consider Professional Help
While DIY repairs can be effective for small chips and scratches, there are times when it’s best to seek professional help. Larger chips, deep scratches, or extensive damage may require more advanced techniques and tools. Additionally, if you’re not confident in your ability to achieve a smooth, seamless finish, a professional auto body shop can ensure your car looks as good as new.
Conclusion
Repairing car paint chips is a relatively simple process that can be done at home with the right tools and materials.
By following this step-by-step guide, you can restore your car’s appearance, prevent rust, and maintain its value.
Whether you’re dealing with a small chip or a larger area of damage, taking the time to repair paint chips will keep your vehicle looking great for years to come.