Microsoft Paint is a simple raster graphics editor that has been included with every version of Windows since its inception. However, it doesn’t have advanced tools like layers, masks, or automatic background removal, which makes removing a background more manual than in specialized software like GIMP or Photoshop. In Paint, the process involves making careful selections and using transparency features to remove backgrounds.
While removing the white background entirely is possible, the process requires some patience, precision, and possibly a bit of creative workarounds.
Contents
Method 1: Using Transparent Selection in MS Paint
Microsoft Paint comes with a “Transparent Selection” feature that can help when trying to isolate a foreground image from a white background. This method works best if you’re dealing with an image that has a simple, solid white background.
Step-by-Step Instructions:
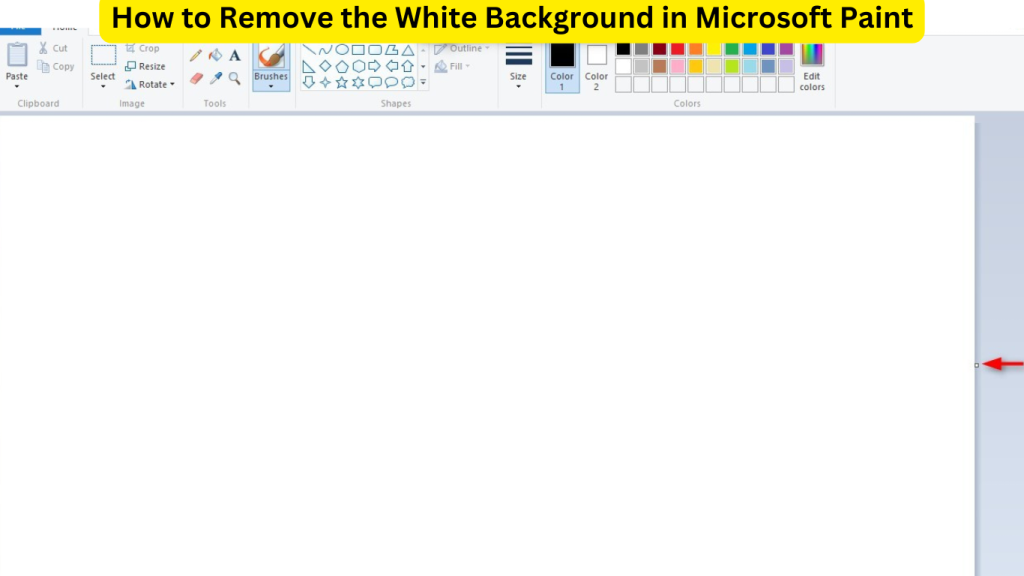
Step 1: Open Your Image
- Launch Microsoft Paint and open the image that you want to edit by clicking File > Open and selecting the image from your computer.
Step 2: Activate Transparent Selection
- Go to the Select tool at the top of the screen.
- From the drop-down menu, select Transparent Selection. This option allows the background to become transparent when copied or moved. However, it only works on white backgrounds.
Step 3: Use the Free-Form Selection Tool
- After enabling Transparent Selection, click on the arrow under the Select tool and choose Free-Form Selection.
- Free-form selection allows you to trace around your desired image.
- Click and drag the cursor to carefully outline the portion of the image you want to keep. Since this is manual, make sure to go as close as possible to the edges of the object.
Step 4: Copy and Paste the Selection
- Once you’ve completed the selection, press Ctrl + C to copy the selection.
- Open a new instance of MS Paint by pressing Ctrl + N (or go to File > New), and paste the selection by pressing Ctrl + V. The white background should now be removed, leaving only the object you selected.
Step 5: Save Your Image with a Transparent Background
- Unfortunately, Paint itself doesn’t support saving images with transparent backgrounds as a PNG file natively. So, while the background may look transparent in MS Paint, it will convert back to white when saved as a PNG or JPEG.
- If you want the background to stay transparent, you’ll need to use a more advanced image editor like Paint 3D or a third-party program.
Method 2: Manually Erasing the Background
Another option for removing the white background in MS Paint is manually erasing it using the Eraser Tool. This method can be tedious but works well for images with simple shapes or areas where you need more precision.
Step-by-Step Instructions:
Step 1: Open the Image in Paint
- Launch MS Paint and open your image (File > Open).
- Make sure the image is large enough to allow for detailed editing without too much zooming.
Step 2: Zoom In
- Use the Zoom Tool located in the toolbar or press Ctrl + Plus (+) to zoom in on the image. This will help you erase the white background more accurately, especially around the edges of your object.
Step 3: Select the Eraser Tool
- Choose the Eraser Tool from the toolbar, which looks like a small pink eraser.
- You can adjust the eraser size by clicking the drop-down arrow next to the eraser icon and choosing a larger or smaller brush size.
Step 4: Erase the White Background
- Now, start erasing the white background around the object you want to keep. Move slowly and carefully to avoid erasing parts of the object. If you make a mistake, press Ctrl + Z to undo the last action.
Step 5: Save the Image
- Once you’ve erased all the white background, save your image as a PNG file by going to File > Save As > PNG. This format is best for preserving transparency, though Paint itself will still render the background as white. If you need true transparency, you may need to import this file into another image editing software to add transparency.
Method 3: Using Paint 3D for Background Removal
In Windows 10, Microsoft introduced Paint 3D, a more advanced version of the traditional MS Paint. Paint 3D has more robust editing tools and allows you to work with transparent backgrounds. This is a better option for removing white backgrounds and saving the image with transparency.
Step-by-Step Instructions:
Step 1: Open Your Image in Paint 3D
- Right-click your image file and choose Open with Paint 3D.
- Alternatively, open Paint 3D and use the Menu option to import the image.
Step 2: Use the Magic Select Tool
- At the top, select the Magic Select tool. This is an automated feature that helps you remove backgrounds more easily compared to traditional Paint.
- Adjust the selection box around the object you want to keep, then click Next.
Step 3: Refine the Selection
- Once the Magic Select tool processes your image, you can add or remove areas from the selection using the “Add” or “Remove” buttons on the right-hand side. This allows you to perfect the selection so only your object remains.
- Click Done once you are satisfied with the selection.
Step 4: Remove the Background
- After clicking Done, the white background will be removed automatically. You can move the object around freely on the canvas, showing transparency behind it.
Step 5: Save the Image with Transparency
- To save the image with a transparent background, go to Menu > Save As > Image and select the PNG file format.
- Be sure to check the box labeled Transparent Canvas before saving the file.
Tips and Tricks for Best Results
1. Use High-Contrast Images
- When using MS Paint, the best results come from images where the object has high contrast against the white background. This makes manual selection easier and helps the program differentiate between what to keep and what to remove.
2. Zoom In for Precision
- Don’t hesitate to zoom in as much as you need for detailed areas. Removing backgrounds with precision is much easier when working up close.
3. Patience is Key
- Especially when using the manual eraser method, this process can be slow and tedious. Take your time and avoid rushing, as you might end up erasing parts of the image you want to keep.
4. Try Paint 3D for More Advanced Projects
- If you find that MS Paint’s background removal tools are too limited, Paint 3D is a significant improvement. The Magic Select tool can save a lot of time, especially for complex images, and it allows for true transparency.
Alternatives to Microsoft Paint
While Paint is useful for quick edits, it has limitations, especially regarding background removal. If you need more powerful tools for more intricate projects, consider using these free alternatives:
1. GIMP
- GIMP is a free and open-source graphics editor that offers advanced tools like layers, masks, and more precise background removal features.
2. Canva
- Canva is an online design platform that offers a background removal tool for premium users. It’s perfect for quick, easy background removal without needing complex editing skills.
3. Adobe Photoshop
- Photoshop is the industry-standard image editing software and provides the most advanced background removal tools. While it’s a paid program, it offers unparalleled control and precision for professional-quality results.
Conclusion
Although Microsoft Paint isn’t equipped with the sophisticated tools available in professional image editing software, it is possible to remove the white background with the methods described above. Whether you use the transparent selection feature, manually erase the background, or switch to Paint 3D for more advanced editing, you can achieve clean, professional-looking results with a bit of effort. For more complex images or professional needs, exploring other software options like GIMP or Photoshop might be worth considering.
By following these steps and utilizing the tips provided, you’ll be able to master the process of removing backgrounds in Microsoft Paint and apply these techniques to your future projects.