
Combining painting and stitching opens up endless creative possibilities, and learning how to paint watercolor on embroidery is a wonderful way to add depth, color, and artistic flair to embroidered projects. Watercolor effects can transform simple embroidery hoops, fabric art, wall hangings, and decorative textiles into unique mixed-media masterpieces. The soft washes of color create beautiful backgrounds and subtle shading that complement embroidered details without overpowering them.
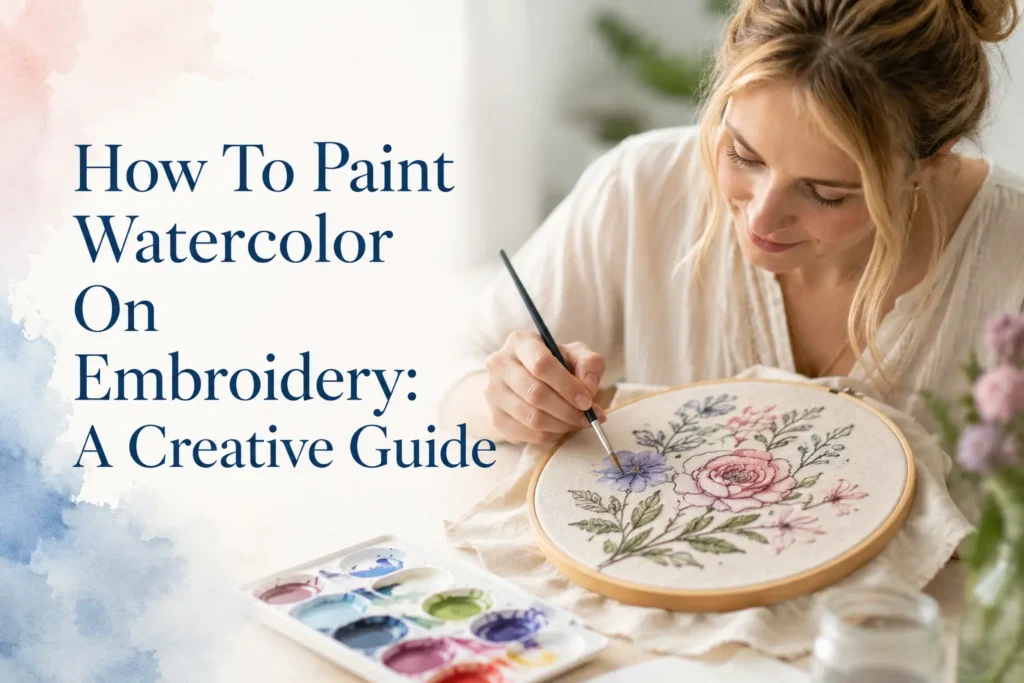
Whether you’re a beginner exploring textile art or an experienced embroiderer looking to try something new, watercolor embroidery is an enjoyable technique that allows you to blend the freedom of painting with the texture of thread. This guide covers everything you need to know, from choosing materials to creating stunning watercolor embroidery designs step by step.
Items to Buy
- Embroidery hoop
- Cotton fabric
- Linen fabric
- Watercolor paints
- Fabric watercolor paints
- Watercolor brushes
- Embroidery floss
- Embroidery needles
- Water container
- Paint palette
- Paper towels
- Pencil
- Fabric marker
- Transfer paper
- Masking tape
- Spray bottle
- White cotton cloth
- Fabric stabilizer
- Iron
- Ironing board
- Fabric protectant spray
What Is Watercolor Embroidery?
Watercolor embroidery is a mixed-media art technique that combines painted watercolor effects with traditional embroidery stitches. The watercolor typically serves as a background, shading element, or decorative feature, while the embroidery adds texture, dimension, and detail.
Unlike standard embroidery, which relies solely on thread for color and design, watercolor embroidery introduces soft transitions and painterly effects that would be difficult to achieve with stitching alone.
The combination creates artwork that feels both delicate and expressive, making it popular for wall art, personalized gifts, clothing embellishments, and decorative home accessories.
Why Watercolor and Embroidery Work Well Together
Watercolor and embroidery complement each other beautifully because they provide contrasting visual qualities. Watercolor offers soft, flowing color transitions, while embroidery introduces structure and texture.
Paint can establish mood, create backgrounds, and define large areas quickly. Embroidery then enhances the design with intricate details, outlines, highlights, and decorative accents.
This balance allows artists to achieve a level of depth and complexity that would be difficult using either technique alone.
Many crafters enjoy watercolor embroidery because it encourages creativity while remaining approachable for beginners.
Choosing the Right Fabric
Fabric selection plays a major role in the success of watercolor embroidery.
Natural fabrics such as cotton and linen are often the best choices because they absorb watercolor more effectively than synthetic materials. They also provide a stable surface for embroidery stitches.
Tightly woven fabrics help prevent paint from spreading excessively, while loosely woven materials may produce softer and more unpredictable effects.
Before beginning a project, test your watercolor technique on a fabric scrap to see how the material responds to moisture and pigment.
Selecting the Best Paint
Not all watercolor products behave the same way on fabric.
Traditional watercolor paints can be used for decorative embroidery projects that won’t be washed frequently. However, fabric-specific watercolor paints generally provide better durability and colorfastness.
Fabric watercolors are designed to bond more effectively with textiles and often remain vibrant after drying.
Reading product instructions carefully helps ensure compatibility with your chosen project and intended use.
Planning Your Design
Successful watercolor embroidery often begins with thoughtful planning.
Consider how the painted areas and stitched elements will work together. Some artists paint floral petals and use embroidery for stems and outlines. Others create watercolor backgrounds and add detailed stitched focal points.
Sketching the design before painting helps establish balance and prevents important stitched areas from becoming obscured by color.
A simple plan also makes the painting and stitching process more efficient.
Preparing Fabric for Watercolor Embroidery
Preparation can significantly improve your results.
Wash and iron the fabric before starting to remove sizing agents and wrinkles. Stretch the fabric in an embroidery hoop or secure it to a flat surface using masking tape.
Having a smooth, stable surface helps control paint application and makes embroidery easier later.
Testing paint colors on fabric scraps can also help you predict how the finished artwork will appear once dry.
How To Paint Watercolor On Embroidery Step by Step Guide
Step 1: Prepare Your Workspace
Set up a clean workspace with good lighting.
Arrange your paints, brushes, water container, embroidery supplies, and paper towels within easy reach. Protect your work surface from moisture and paint spills.
An organized workspace allows you to focus on creativity rather than searching for supplies during the process.
Step 2: Transfer the Design
Lightly sketch or transfer your design onto the fabric.
Use a pencil or fabric marker that can be removed or covered easily. Keep the lines light so they do not show through the finished artwork.
This outline serves as a guide for both the painting and embroidery stages.
Step 3: Secure the Fabric
Place the fabric in an embroidery hoop or tape it securely to a flat board.
Keeping the fabric taut helps prevent wrinkles and allows paint to distribute more evenly across the surface.
A stable foundation also makes stitching easier once the painting is complete.
Step 4: Prepare Your Watercolors
Mix the desired colors on your palette.
Test them on a fabric scrap before applying them to the project. Fabric often absorbs pigment differently than watercolor paper, so testing helps avoid surprises.
Adjust the pigment concentration until you achieve the desired intensity.
Step 5: Apply the First Wash
Using a soft brush, apply a light watercolor wash to the designated areas.
Work gradually and build color in layers rather than applying heavy pigment immediately. Gentle washes often create the most beautiful watercolor effects on fabric.
Allow colors to blend naturally where appropriate.
Step 6: Build Depth With Additional Layers
Once the first layer begins to dry, add additional washes to create shading and dimension.
Layering helps produce richer colors and more dynamic compositions. Focus on areas that would naturally contain shadows or visual emphasis.
Allow each layer to dry partially before adding the next to maintain control.
Step 7: Create Special Effects
Experiment with watercolor techniques such as wet-on-wet blending, color gradients, splattering, or soft edges.
These effects can add movement and visual interest to the painted portions of the design.
Avoid excessive water, as oversaturation may weaken the fabric or cause unwanted spreading.
Step 8: Let the Paint Dry Completely
Allow the fabric to dry thoroughly before beginning embroidery.
This step is essential because stitching through damp fabric can distort the design and complicate the embroidery process.
Drying times vary depending on paint application and humidity levels.
Step 9: Begin Embroidering
Once dry, start stitching the design using your preferred embroidery techniques.
Common stitches include backstitch, satin stitch, stem stitch, French knots, and split stitch.
The embroidery should complement the watercolor rather than completely cover it.
Step 10: Add Details and Highlights
Use embroidery floss to create fine details, outlines, textures, and highlights.
Thread can define flower centers, leaves, lettering, facial features, and other focal points within the design.
Combining painted and stitched details creates depth and visual complexity.
Step 11: Refine the Composition
Evaluate the balance between paint and embroidery.
Add additional stitches if certain areas need more texture or visual emphasis. If necessary, carefully apply small touches of paint to enhance specific sections.
The goal is a harmonious integration of both artistic techniques.
Step 12: Finish and Protect the Artwork
Once the project is complete, trim loose threads and inspect the design for final adjustments.
Depending on the paint used, heat-setting may be recommended. Follow the paint manufacturer’s instructions if applicable.
Framing or displaying the finished piece in an embroidery hoop can help preserve and showcase your work.
Popular Watercolor Embroidery Ideas
Watercolor embroidery works well with a wide variety of subjects.
Floral designs are particularly popular because watercolor creates soft petals while embroidery adds texture and detail. Botanical illustrations, landscapes, animals, and inspirational quotes also lend themselves beautifully to this technique.
Abstract watercolor backgrounds paired with minimalist embroidery can create modern and sophisticated artwork.
Experimenting with different themes helps expand your creative skills and artistic style.
Common Mistakes to Avoid
One common mistake is using too much water. Excess moisture can cause uncontrolled spreading and weaken the fabric.
Another issue is beginning embroidery before the paint has dried completely. This can distort both the painted and stitched elements.
Many beginners also over-embroider the design, covering most of the watercolor effects. Remember that the paint is meant to remain visible and contribute to the overall composition.
Testing materials beforehand can help prevent many common problems.
Tips for Better Results
Work with light watercolor washes and gradually build intensity through layers.
Choose embroidery thread colors that complement the painted areas rather than competing with them. Using multiple thread shades can add dimension and realism.
Maintaining a balance between painted and stitched elements creates the most visually appealing results.
Taking reference photos of successful projects can also help you refine your technique over time.
How to Care for Watercolor Embroidery
Proper care helps preserve both the paint and stitching.
If traditional watercolor paints were used, the project is generally best displayed rather than washed. Fabric-specific watercolor paints may offer greater durability but should still be handled gently.
Keep finished artwork away from prolonged direct sunlight to minimize fading. Framing pieces behind glass can provide additional protection.
Regular dusting and careful storage help maintain the artwork’s appearance for years.
FAQs
Can you use watercolor paint on embroidery fabric?
Yes. Many artists apply watercolor to fabric before stitching, especially when creating decorative embroidery artwork.
What fabric works best for watercolor embroidery?
Cotton and linen are among the most popular choices because they absorb paint well and support embroidery stitches effectively.
Should I paint before or after embroidering?
Most artists paint first and embroider afterward. This allows the watercolor to serve as a background without interfering with stitches.
Can watercolor embroidery be washed?
Projects made with traditional watercolor paint are generally not washable. Fabric-specific paints may offer better durability.
Do I need special watercolor paints?
Fabric watercolors are recommended for the best durability, although traditional watercolors can be used for decorative projects.
What embroidery stitches work best?
Backstitch, satin stitch, stem stitch, French knots, and split stitch are commonly used in watercolor embroidery.
How do I prevent paint from spreading too much?
Use less water, test on fabric scraps, and work with controlled brush applications.
Is watercolor embroidery suitable for beginners?
Yes. The technique is accessible to beginners and offers plenty of opportunities for experimentation and creativity.
Final Words
Learning how to paint watercolor on embroidery is a wonderful way to combine two beautiful art forms into one expressive project. The softness of watercolor paired with the texture of embroidery creates artwork that feels unique, dimensional, and full of personality.
By choosing the right fabric, using controlled watercolor techniques, and thoughtfully integrating embroidery stitches, you can create stunning mixed-media pieces that showcase your creativity. Whether you’re making floral wall art, personalized gifts, or decorative textile projects, watercolor embroidery offers endless opportunities for artistic exploration and enjoyment.