To paint snowboards, start by cleaning the surface thoroughly. Use high-quality spray paint or acrylic paint designed for plastic surfaces.
Painting a snowboard not only enhances its appearance but also allows for personal expression on the slopes. Whether you’re a professional rider or a casual enthusiast, customizing your board can make it stand out. The process involves careful preparation and the right materials to ensure durability.
Proper techniques will also help the paint adhere better and resist the elements. With a little creativity and effort, you can transform your snowboard into a unique work of art. This guide will walk you through the essential steps for a successful paint job, ensuring your board looks great and performs well.
Contents
- Introduction To Snowboard Art
- Materials And Tools Required
- Prepping Your Snowboard
- Designing Your Masterpiece
- Applying The Base Coat
- Adding Details And Layers
- Sealing And Protecting Your Design
- Aftercare And Maintenance
- Safety Tips For Diy Painting
- Showcasing Your Snowboard
- Creative Ideas And Trends
- Frequently Asked Questions
- Conclusion
Introduction To Snowboard Art
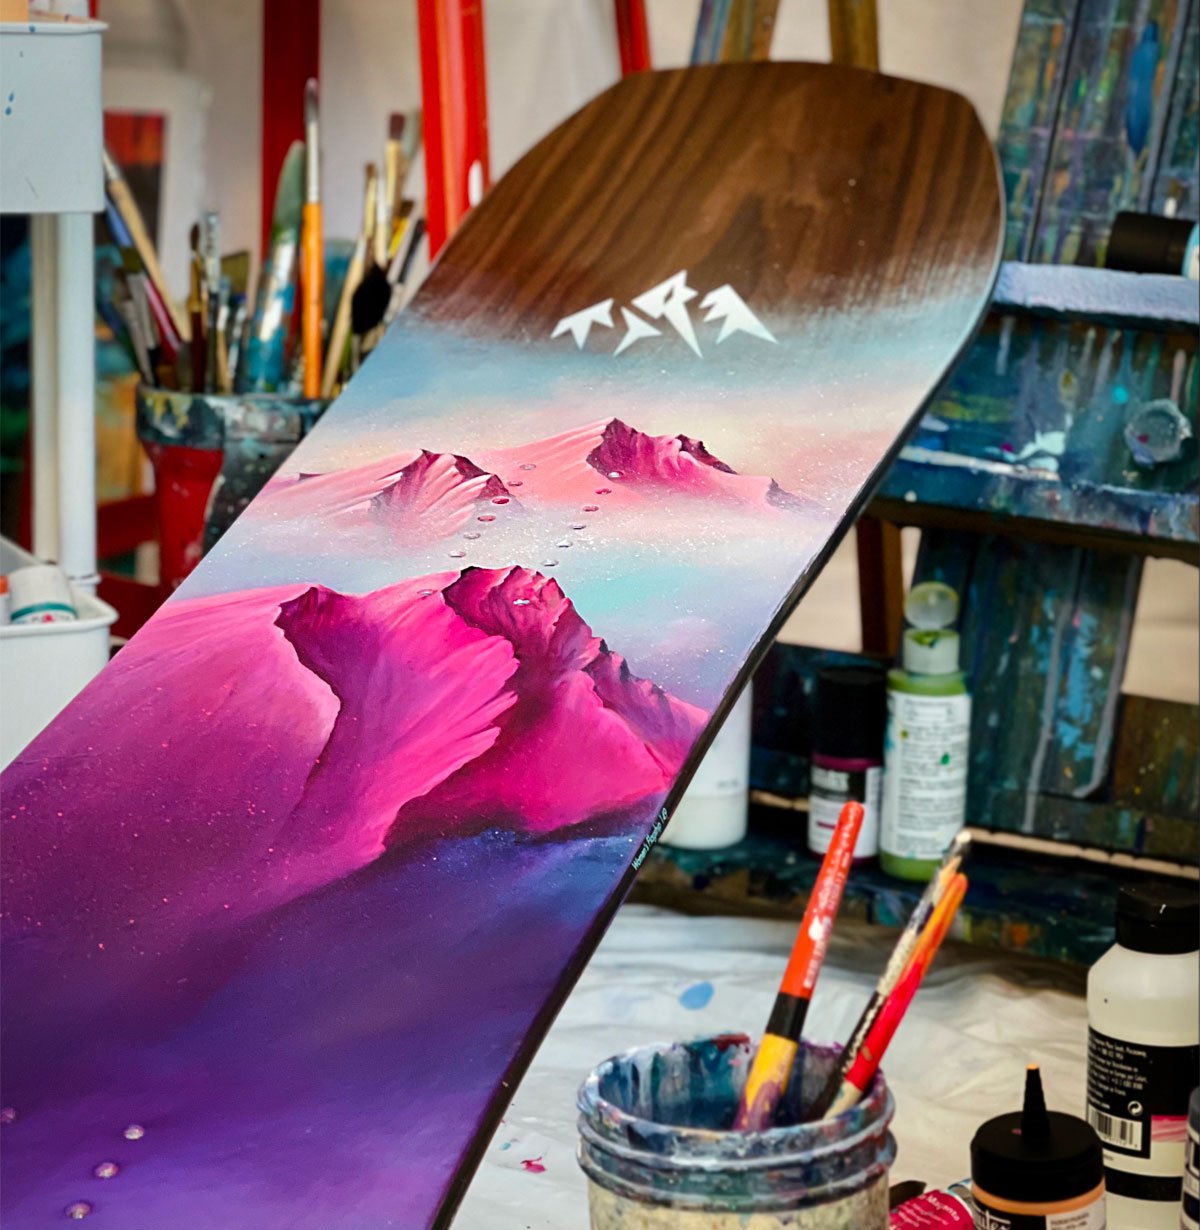
Snowboard art is a fun way to express your style. Custom designs make your snowboard stand out. Painting your snowboard adds personality and flair. It transforms a plain board into a unique masterpiece.
Why Customize Your Snowboard
Customizing your snowboard offers many benefits:
- Personal Expression: Show off your personality.
- Unique Style: Make your board one-of-a-kind.
- Enhanced Visibility: Easier to spot on the slopes.
- Creative Outlet: Enjoy the painting process.
- Community Connection: Share your art with others.
The Rise Of Diy Snowboard Design
DIY snowboard design is growing in popularity. More riders want to create their own art. It allows for complete control over the design process.
Many resources are available for beginners:
- Tutorials: Online videos and blogs offer guidance.
- Supplies: Paints, brushes, and sealants are easy to find.
- Community: Join forums for tips and inspiration.
DIY designs can be simple or complex. Choose what fits your skill level:
| Skill Level | Design Ideas |
|---|---|
| Beginner | Stencils and simple patterns |
| Intermediate | Layered colors and gradients |
| Advanced | Detailed illustrations and custom artwork |
Creating your snowboard art brings joy. It makes the sport even more enjoyable.
Materials And Tools Required
Painting snowboards is a fun and creative task. You need the right materials and tools for the best results. This section covers what you need to get started.
Choosing The Right Paints
Selecting the right paint is crucial. Use paints that adhere well to the snowboard material. Here are some recommended types:
- Acrylic Paint: Good for detailed designs.
- Spray Paint: Great for larger areas.
- Enamel Paint: Durable and weather-resistant.
Always check for non-toxic options. These are safer for you and the environment.
Essential Tools For The Job
Gathering the right tools makes painting easier. Here’s a list of essential tools:
| Tool | Purpose |
|---|---|
| Sandpaper | To prepare the snowboard surface. |
| Paint Brushes | For precision work. |
| Masking Tape | To create sharp lines. |
| Drop Cloth | To protect your workspace. |
| Clear Coat | To seal and protect the paint. |
Having these tools ready makes the process smoother. You can focus on creating unique designs.
Prepping Your Snowboard
Prepping your snowboard is essential for a great paint job. Proper preparation ensures the paint sticks well and lasts longer. Follow these steps to get your snowboard ready for painting.
Cleaning The Surface
Start by cleaning the snowboard. Dust, dirt, and oils can affect the paint. Use these steps:
- Gather your supplies: a soft cloth, mild soap, and water.
- Mix soap with water in a bowl.
- Dip the cloth in the soapy water.
- Wipe the entire snowboard surface.
- Rinse with clean water.
- Dry the snowboard with a clean cloth.
Make sure the board is completely dry before moving to the next step.
Sanding For Better Adhesion
Sanding helps the paint stick better. Follow these steps:
- Use fine-grit sandpaper (around 220-grit).
- Lightly sand the entire surface.
- Focus on areas that may have scratches.
Be gentle. You want to roughen the surface, not damage it.
After sanding, wipe the board with a damp cloth. This removes dust. Let it dry completely.
Your snowboard is now ready for painting. Enjoy customizing your ride!
Credit: www.jonessnowboards.com
Designing Your Masterpiece
Painting your snowboard is a fun way to express yourself. Your design can showcase your personality. Let’s explore how to create a unique masterpiece.
Finding Inspiration
Start by gathering inspiration from various sources:
- Nature: Look at mountains, trees, and snow.
- Art: Check out paintings, graffiti, or digital art.
- Culture: Explore different styles from around the world.
- Personal Interests: Use your hobbies or favorite colors.
Collect images and ideas in a notebook or digital folder. This collection will guide your design process.
Sketching Your Design
Once you have inspiration, it’s time to sketch. Follow these steps:
- Grab a pencil and paper.
- Draw a basic outline of your snowboard.
- Add shapes and lines for your design.
- Experiment with colors and patterns.
- Refine your sketch until you love it.
Use bold colors to make elements stand out. Don’t worry about perfection; focus on creativity.
Applying The Base Coat
Applying the base coat is crucial for a stunning snowboard design. A solid base color sets the stage for your artwork. It enhances the overall look and durability of your paint job.
Selecting A Base Color
Choosing the right base color is essential. Here are some tips:
- Consider Your Style: Think about your personal style.
- Choose Bold Colors: Bright colors stand out on the slopes.
- Think About Visibility: Lighter colors are easy to spot in snow.
- Mix and Match: Use multiple colors for a unique look.
Techniques For Even Application
Applying paint evenly ensures a professional finish. Follow these techniques:
- Prepare the Surface: Clean the snowboard thoroughly.
- Use a Primer: Apply a primer for better adhesion.
- Choose the Right Tools: Use a spray gun or brush.
- Apply in Thin Layers: Thin layers prevent drips and runs.
- Keep a Steady Hand: Move smoothly and consistently.
Let each layer dry completely before applying the next one. This ensures an even finish. With patience and practice, your snowboard will look fantastic.
Adding Details And Layers
Painting snowboards allows for creativity. Adding details and layers enhances the design. This section will cover how to layer colors and add precise details.
Layering Colors
Layering colors creates depth and richness. Follow these steps for effective color layering:
- Choose a Base Color: Start with a solid base color.
- Apply Thin Coats: Use thin coats to avoid drips.
- Dry Between Layers: Let each layer dry completely.
- Add Accent Colors: Use contrasting colors to pop.
Consider using a color wheel to select complementary shades. This helps achieve a balanced look.
Detailing With Precision
Details make your snowboard unique. Use these techniques for precision:
- Fine Brushes: Use small brushes for intricate designs.
- Stencils: Create shapes with stencils for sharp edges.
- Masking Tape: Use tape to protect areas from paint.
- Dot Technique: Add dots for texture and interest.
Practice on paper first. This helps build your skills before working on the snowboard.
Sealing And Protecting Your Design
After painting your snowboard, sealing and protecting your design is crucial. A good sealant keeps your artwork vibrant. It also helps prevent scratches, chips, and fading. Follow these steps for the best results.
Choosing A Sealant
Selecting the right sealant is essential. Here are some options:
- Acrylic Sealant: Water-based and easy to apply.
- Polyurethane: Offers strong protection against wear.
- Epoxy Resin: Provides a glossy finish and durability.
Consider the following factors:
| Sealant Type | Durability | Finish |
|---|---|---|
| Acrylic Sealant | Medium | Matte |
| Polyurethane | High | Glossy |
| Epoxy Resin | Very High | High Gloss |
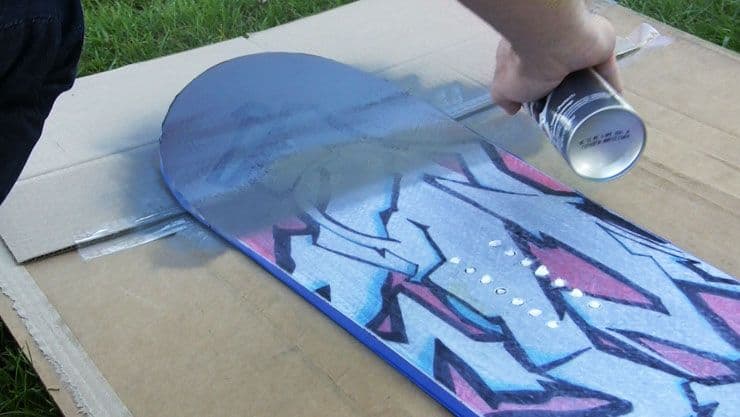
Applying The Protective Layer
Follow these steps to apply your chosen sealant:
- Prepare the area. Work in a well-ventilated space.
- Shake the sealant well. Ensure even distribution.
- Use a clean brush or spray can. Apply a thin layer.
- Allow the first coat to dry. Check the manufacturer’s instructions.
- Apply additional coats. Two to three coats give better protection.
- Let the snowboard cure. Follow the recommended drying time.
Wait at least 24 hours before using the snowboard. This ensures the sealant is fully set. Your design will be safe and stunning on the slopes!
Aftercare And Maintenance
Proper aftercare and maintenance keep your snowboard looking great. A well-maintained board lasts longer and performs better. Follow these tips for the best results.
Caring For Your Painted Snowboard
Painted snowboards need special care. Here are some tips to help:
- Clean Regularly: Use a soft cloth to wipe off dirt.
- Avoid Harsh Chemicals: Use gentle cleaners only.
- Store Properly: Keep in a cool, dry place.
- Use a Board Bag: Protect it from scratches.
Always inspect your board for damage. Early detection helps prevent bigger issues.
Touch-ups And Repairs
Small scratches and chips are common. Touch-ups keep your board looking new.
- Identify Damage: Look for scratches or paint loss.
- Clean the Area: Use a gentle cleaner and cloth.
- Apply Paint: Use matching paint for touch-ups.
- Seal the Paint: Use a clear coat for protection.
For larger repairs, consider professional help. This ensures your board stays in top shape.
| Repair Type | Description | Tools Needed |
|---|---|---|
| Scratch Repair | Fill in scratches with paint. | Matching paint, brush |
| Chip Repair | Cover chips with touch-up paint. | Touch-up paint, clear coat |
| Professional Repair | For major damage, seek help. | Repair shop services |
Regular care and timely touch-ups keep your snowboard looking fresh. Enjoy the slopes with confidence.
Safety Tips For Diy Painting
Painting your snowboard can be a fun project. Safety should always come first. Here are essential tips to keep you safe while painting.
Ventilation And Health Precautions
Proper ventilation is key during painting. It prevents harmful fumes from building up.
- Open windows and doors to let fresh air in.
- Use fans to increase airflow.
- Wear a mask to protect your lungs.
Always check paint labels. Look for non-toxic options. Avoid oil-based paints. They have strong fumes.
Safe Drying And Curing Practices
Drying your snowboard correctly is crucial. Follow these practices to ensure safety:
- Place the board in a well-ventilated area.
- Avoid direct sunlight to prevent damage.
- Keep pets and children away from the drying area.
Wait for the paint to cure fully. This may take several days. Do not touch the paint until it’s completely dry.
Use a timer or reminder to check on the board. This helps you avoid accidental contact.
Showcasing Your Snowboard
After painting your snowboard, it’s time to show it off. A unique design can reflect your personality. Sharing your snowboard’s beauty is fun and exciting.
Photographing Your Snowboard
Capturing your snowboard in photographs is essential. Great photos highlight your hard work. Follow these tips to take stunning pictures:
- Choose a bright and clear day.
- Use a simple background.
- Get close to show details.
- Experiment with different angles.
- Use natural light for best results.
Consider using a tripod. This keeps the camera steady. Take multiple shots to find the best one.
Sharing On Social Media
Once you have great photos, it’s time to share them. Social media is perfect for showcasing your snowboard.
Use these platforms:
| Platform | Best Use |
|---|---|
| Visual storytelling with hashtags | |
| Sharing with friends and family | |
| Quick updates and links |
Use hashtags like #SnowboardArt or #SnowboardDesign. Engage with other snowboard enthusiasts. Comment on their posts and share your experiences.
Creative Ideas And Trends
Painting snowboards is a fantastic way to express your style. Unique designs make your snowboard stand out on the slopes. Let’s dive into some creative ideas and trends that can inspire your next project.
Popular Themes And Patterns
Choosing a theme adds personality to your snowboard. Here are some popular themes:
- Nature: Mountains, trees, and wildlife designs.
- Geometric: Bold shapes and lines for a modern look.
- Abstract: Use colors and swirls for a unique feel.
- Pop Culture: Characters and icons from movies and games.
Patterns can enhance your design. Consider these:
- Stripes: Classic and easy to apply.
- Polka Dots: Fun and playful.
- Floral: Bright flowers for a fresh look.
Innovative Techniques To Try
Try new techniques for exciting results. Here are some ideas:
| Technique | Description |
|---|---|
| Stenciling: | Use stencils for clean, sharp designs. |
| Spray Painting: | Create gradients and layers easily. |
| Airbrushing: | Achieve smooth finishes with fine details. |
| Decals: | Apply pre-made designs for quick art. |
Experiment with mixing techniques. Use stencils with spray paint. Add decals for extra flair.

Credit: www.summitdaily.com
Credit: blanksnowboards.com
Frequently Asked Questions
Can You Paint Over A Snowboard?
Yes, you can paint over a snowboard. Use high-quality acrylic or spray paint designed for plastic surfaces. Ensure the surface is clean and dry before painting. Allow proper drying time and consider applying a clear coat for durability. Enjoy customizing your snowboard while maintaining its performance!
What Paint Do You Use To Paint Tires?
Use a flexible, durable paint designed for rubber surfaces, such as spray paint or specialized tire paint. These options ensure proper adhesion and longevity. Always clean the tires thoroughly before painting for the best results.
How To Customise A Snowboard?
To customize a snowboard, choose your graphics, adjust the stance width, and select bindings that fit your style. You can also experiment with base wax and edge tuning for better performance. Personalize your gear for a unique riding experience that reflects your personality and preferences.
How To Get Paint Off A Snowboard?
To remove paint from a snowboard, use a plastic scraper to gently lift it off. Apply rubbing alcohol or a paint remover to soften stubborn areas. Wipe with a soft cloth, ensuring no residue remains. Rinse the board with water and dry it thoroughly before using.
Conclusion
Painting your snowboard can be a fun and creative way to express yourself. With the right techniques and materials, you can achieve a stunning design. Remember to take your time and allow the paint to cure properly. Enjoy the process and hit the slopes with your personalized snowboard ready to shine!