Painting mugs is a creative and fun way to personalize your drinkware. Whether you’re creating a unique gift or simply adding a touch of your personality to your morning coffee, painted mugs can make a great addition to your kitchen. With the right techniques and a few essential supplies, you can turn a plain ceramic mug into a work of art.
In this comprehensive guide, we will cover different methods for painting mugs, step-by-step instructions, and tips to ensure that your design lasts for a long time.
Contents
Understanding Mug Painting Basics
Why Paint Mugs?
- Personalization: Create custom designs that reflect your style or make a thoughtful gift.
- Creative Expression: Painting is a great way to express your creativity and make a unique piece of art.
- Cost-Effective: Upcycling plain mugs into decorative items can be more affordable than buying new, custom-designed mugs.
Choosing the Right Mug
- Material: Ceramic mugs are the best choice for painting as they provide a smooth surface that holds the paint well.
- Color: A white or light-colored mug works best to make your designs stand out.
- Surface: Ensure that the mug’s surface is clean, dry, and smooth for the best results.
Tools and Materials for Painting Mugs
Essential Supplies
- Ceramic Mug: The base for your painting project.
- Acrylic Paint or Paint Pens: Suitable for ceramic surfaces and available in a variety of colors.
- Brushes: Small detail brushes or foam brushes for applying paint.
- Rubbing Alcohol: To clean the mug before painting.
- Painter’s Tape: For creating clean lines and protecting areas you don’t want to paint.
- Clear Acrylic Sealant: To seal your design and protect it from wear and tear.
- Oven (optional): For heat-setting the paint to make it dishwasher-safe.
Optional Supplies
- Stencils: For creating consistent patterns and shapes.
- Paint Medium: To mix with acrylic paint for a smoother finish.
- Glitter or Metallic Paints: For adding a decorative touch to your design.
Different Methods for Painting Mugs
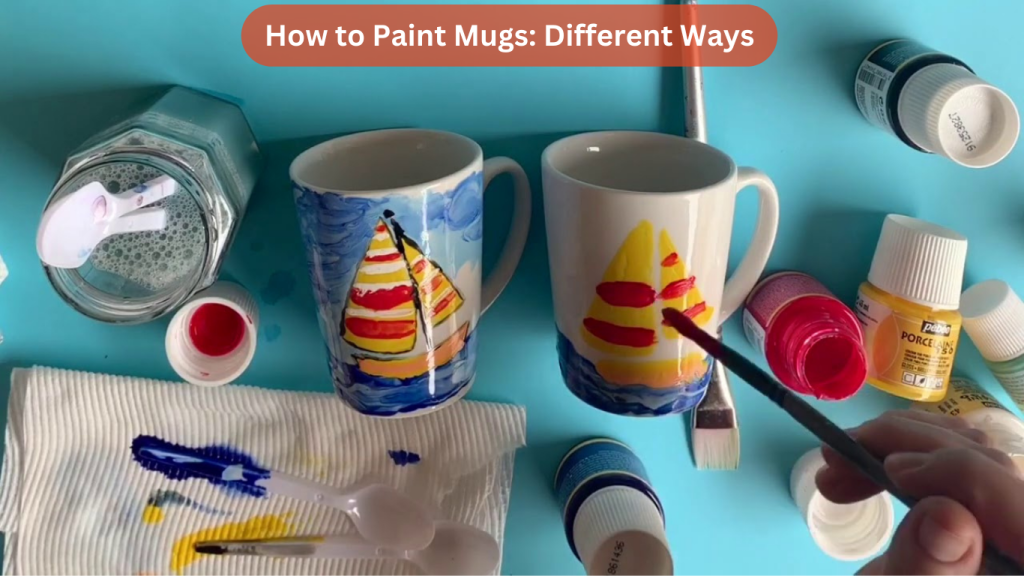
Method 1: Using Acrylic Paint
Step 1: Clean the Mug
- Use Rubbing Alcohol: Wipe the surface of the mug with rubbing alcohol to remove any oils or dirt.
- Dry Completely: Make sure the mug is completely dry before starting to paint.
Step 2: Paint Your Design
- Use a Brush: Dip your brush in acrylic paint and start creating your design on the mug.
- Layer the Colors: Allow each color to dry before applying another to prevent smudging.
- Add Details: Use fine brushes for intricate details and patterns.
Step 3: Seal the Design
- Let the Paint Dry: Allow the mug to dry for at least 24 hours.
- Heat Set: Place the mug in a cool oven, heat to 350°F (175°C), and bake for 30 minutes. Let it cool in the oven to set the paint.
- Apply Sealant: Once cool, apply a clear acrylic sealant to protect your design.
Method 2: Using Paint Pens
Step 1: Prepare the Mug
- Clean with Alcohol: Wipe the mug with rubbing alcohol to ensure a clean surface.
- Mark the Area: Use painter’s tape to section off areas if needed.
Step 2: Draw Your Design
- Use Paint Pens: These pens are great for precision and detailed work.
- Create Patterns: Draw your design directly on the mug using bold lines and patterns.
- Layer Colors: Let each color dry before adding more to avoid smearing.
Step 3: Bake the Mug
- Heat Set: Place the mug in a cold oven, set it to 350°F, and bake for 30 minutes.
- Cool Down: Turn off the oven and let the mug cool completely before removing it.
Method 3: Using Nail Polish for a Marbled Effect
Step 1: Prepare the Water Bath
- Fill a Container: Use a container large enough to submerge the mug.
- Add Nail Polish: Drip various colors of nail polish into the water.
Step 2: Create the Design
- Swirl the Colors: Use a toothpick to gently swirl the colors together to create a marbled effect.
- Dip the Mug: Carefully dip the mug into the water, rotating it to cover the surface.
Step 3: Seal the Design
- Dry Completely: Let the mug dry thoroughly.
- Apply Sealant: Use a clear sealant to protect the marbled design from chipping.
Tips for Successful Mug Painting
Color Selection
- Bright Colors: Use bright colors that stand out against the white mug.
- Contrast: Dark colors on light mugs and light colors on dark mugs work best.
- Test Colors: Test the colors on a piece of paper before applying them to the mug.
Handling and Care
- Hand Wash Only: To maintain your design, it’s best to hand wash the mug even if it’s heat-set.
- Avoid the Lip Area: Keep paint away from the lip of the mug where your mouth touches to ensure safety.
- Let It Cure: Allow the painted mug to cure for at least 72 hours before use.
Creative Ideas for Mug Designs
- Quotes and Messages: Write motivational quotes, funny messages, or names on your mug.
- Geometric Patterns: Use painter’s tape to create geometric designs for a modern look.
- Floral Designs: Paint simple flowers or intricate botanical designs for a classic touch.
- Holiday Themes: Decorate your mug with seasonal themes for holidays like Christmas, Halloween, or birthdays.
Painting Mugs with Advanced Techniques
Technique 1: Layering with Acrylic Paint
- Base Layer: Start with a solid base color on your mug.
- Detail Work: Add layers of details like leaves, flowers, or geometric shapes.
- Depth: Create depth by layering colors from light to dark.
Technique 2: Dot Painting
- Dotting Tools: Use dotting tools or the back of a brush to create uniform dots.
- Pattern Creation: Arrange the dots in patterns or mandala designs.
- Varying Sizes: Use different sizes of dots for a textured look.
Technique 3: Watercolor Effect
- Dilute Acrylic Paint: Mix acrylic paint with water to create a watercolor-like effect.
- Brush Strokes: Use loose brush strokes to mimic the soft look of watercolors.
- Blend Colors: Allow the colors to blend slightly for a natural, flowing design.
Sealing and Protecting Your Painted Mugs
Importance of Sealing
- Durability: Sealing your mug ensures the paint will last longer and won’t chip easily.
- Waterproofing: Protects the paint from water and keeps your design looking fresh.
Types of Sealants
- Clear Acrylic Spray: Easy to apply and gives a glossy finish.
- Dishwasher-Safe Mod Podge: Ideal for mugs you plan to wash regularly.
- Varnish: Provides a high-gloss, durable finish to your painted mug.
Troubleshooting Common Mug Painting Issues
Paint Smudging
- Wait Between Layers: Allow each layer of paint to dry completely before adding the next.
- Avoid Touching: Handle the mug carefully to avoid smudging the wet paint.
Paint Chipping
- Seal Properly: Make sure to use a good quality sealant to prevent chipping.
- Heat Set Thoroughly: Properly bake the mug to make the paint more durable.
Uneven Paint Coverage
- Multiple Coats: Apply multiple thin coats of paint instead of one thick coat.
- Brush Strokes: Use smooth, even strokes to avoid visible brush lines.
Conclusion
Painting mugs is a rewarding and enjoyable way to create personalized drinkware that reflects your unique style. Whether you choose to use acrylic paints, paint pens, or nail polish for a marbled effect, the possibilities are endless.
By following the different methods outlined in this guide, you can easily transform a plain mug into a beautiful and functional piece of art. With the right tools, techniques, and a little creativity, you can make stunning custom mugs that you’ll love to use or give as gifts.