Painting metal surfaces can transform your home, vehicle, or outdoor furniture, making old or rusted metal look brand new. However, metal is a smooth, non-porous surface that requires special preparation to ensure paint adheres well. Whether you’re working on small items like metal railings, or large surfaces like garage doors, there are several methods to successfully paint metal and achieve a durable, professional finish.
This guide will cover different methods of painting metal, the materials you’ll need, and the steps involved in various approaches.
Contents
Why Painting Metal is Different
Metal surfaces don’t absorb paint in the same way that wood or porous materials do, making it more challenging to achieve a long-lasting bond. Additionally, metal is prone to rust and corrosion, which must be dealt with before painting.
Preparing the Metal Surface for Painting
Preparation is key when painting metal. A properly prepped surface ensures that the paint adheres well and lasts for years to come. This includes cleaning, sanding, and priming the surface.
1. Cleaning the Surface
Dirt, grime, oil, and grease can prevent paint from sticking to metal. A clean surface is essential for the paint to bond properly.
Steps for Cleaning:
- Use a degreaser or mild detergent: Mix a solution of water and mild soap, or use a commercial degreaser. Apply with a cloth or sponge.
- Scrub away any dirt or grease: Use a wire brush or sponge to scrub the surface.
- Rinse thoroughly: Make sure to rinse off any soap or degreaser residue with clean water.
- Allow the metal to dry completely before proceeding.
2. Removing Rust
Rust is a common issue when working with metal, especially for outdoor projects. If not removed, rust can compromise the paint job.
Methods for Rust Removal:
- Sandpaper: Use medium-grit sandpaper (around 120-grit) to remove surface rust.
- Wire Brush: A wire brush attachment on a drill can make rust removal faster and more efficient.
- Chemical Rust Remover: You can also use a rust converter or chemical rust remover to dissolve rust.
3. Sanding the Metal Surface
Even if the surface isn’t rusty, sanding is necessary to create a rough texture for the paint to adhere to.
Steps for Sanding:
- Use medium-grit sandpaper (120- to 180-grit): Sand the entire surface to remove any gloss or smooth areas.
- Finish with finer grit sandpaper (200- to 400-grit): For a smoother finish, use finer sandpaper after the initial sanding.
- Wipe away dust: Use a clean, damp cloth to remove any dust from sanding.
4. Priming the Metal Surface
Primer is crucial when painting metal because it creates a solid foundation for the paint to adhere to. Some metals are prone to oxidation, and primer helps prevent this.
Types of Primer for Metal:
- Rust-inhibiting primer: For outdoor or rust-prone surfaces.
- Self-etching primer: Contains acid to create a good bond with bare metal surfaces.
- General-purpose primer: Suitable for non-rusting, indoor surfaces.
Steps for Priming:
- Apply a thin, even coat: Use a spray primer or brush primer, depending on the size of the surface.
- Let the primer dry completely: Follow the manufacturer’s drying times.
- Sand lightly between coats: If applying multiple coats, lightly sand with fine-grit sandpaper between applications for a smooth finish.
Different Ways to Paint Metal
Now that your surface is prepped, it’s time to choose a painting method. The method you choose depends on the size of the metal object, the desired finish, and the tools you have available.
1. Spray Painting Metal
Spray painting is one of the most popular ways to paint metal surfaces, especially for small- to medium-sized items. It provides an even, professional finish and is suitable for intricate designs or hard-to-reach areas.
Tools and Materials:
- Spray paint designed for metal surfaces
- Masking tape or painter’s tape
- Drop cloth or newspaper to protect surrounding areas
- Respirator mask (for ventilation)
Step-by-Step Guide:
- Shake the spray can: Shake the spray paint can vigorously for at least one minute to mix the paint thoroughly.
- Test on scrap material: Before applying the paint to the metal surface, test it on a piece of scrap material to check the spray consistency.
- Apply in thin, even coats: Hold the spray can about 8-12 inches away from the surface and apply a light, even coat. Avoid applying too much paint at once to prevent drips.
- Allow paint to dry: Let the first coat dry according to the manufacturer’s instructions before applying a second coat.
- Repeat as necessary: For a smooth, even finish, apply multiple thin coats, allowing each coat to dry between applications.
- Seal with clear coat (optional): If desired, apply a clear coat to protect the paint from chipping and wear.
2. Brush Painting Metal
For larger projects or items where precision is needed, using a paintbrush might be the best option. This method is ideal for surfaces with detailed or raised textures.
Tools and Materials:
- Paint formulated for metal surfaces
- High-quality synthetic or natural bristle brush
- Painter’s tape to mask off areas
- Paint thinner for clean-up
Step-by-Step Guide:
- Dip the brush lightly into the paint: Load the brush with a small amount of paint, but avoid overloading to prevent dripping.
- Apply in long, even strokes: Start painting with smooth, even strokes, following the direction of the metal’s grain or texture.
- Allow the paint to dry: Let the first coat dry completely before applying a second one.
- Apply a second coat: Depending on the paint coverage, a second coat may be necessary. Allow the paint to dry thoroughly between coats.
- Seal with a clear topcoat (optional): To extend the life of the paint, apply a clear protective coat.
3. Using a Paint Sprayer
A paint sprayer is ideal for large metal surfaces like fences, garage doors, or metal furniture. It provides a smooth finish similar to spray paint but allows for better control over large areas.
Tools and Materials:
- Paint sprayer
- Paint suitable for metal
- Drop cloths to protect surroundings
- Mask or respirator
Step-by-Step Guide:
- Prepare the sprayer: Fill the paint sprayer’s reservoir with paint, ensuring the paint is thinned according to the manufacturer’s instructions.
- Test the sprayer: Always test the sprayer on a scrap surface to adjust the spray pattern and pressure.
- Apply in even passes: Spray the paint in even passes, keeping the sprayer 6-12 inches away from the surface.
- Overlap strokes: To avoid streaks or lines, slightly overlap each pass with the previous one.
- Apply multiple coats: As with spray paint, apply thin, even coats, allowing each to dry before applying the next.
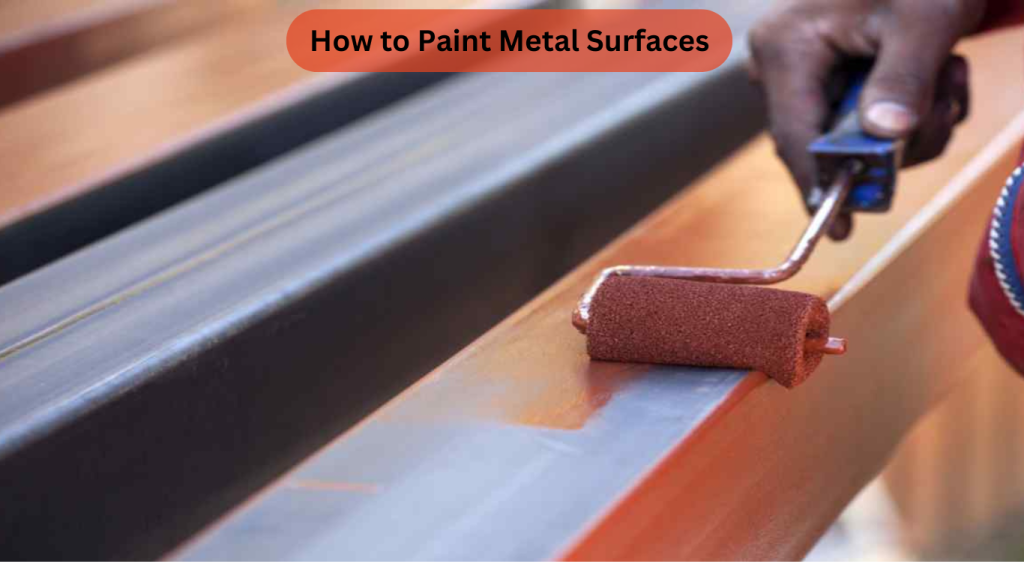
4. Using Rollers for Metal Surfaces
For flat or large metal surfaces, using a roller can be an efficient and easy way to apply paint. Rollers provide good coverage and a smooth finish.
Tools and Materials:
- Foam roller or short-nap roller
- Paint designed for metal
- Painter’s tape
- Paint tray
Step-by-Step Guide:
- Dip the roller in the paint: Load the roller with paint, but avoid oversaturating it.
- Apply the paint evenly: Roll the paint onto the surface using long, even strokes.
- Work in small sections: Start from one corner and work your way across the metal surface.
- Allow the paint to dry: Let the first coat dry before applying a second one.
- Apply a second coat: Roll the second coat on once the first coat is dry for a smooth finish.
Paint Types for Metal Surfaces
When painting metal, choosing the right paint is crucial. Some paints are specifically formulated to adhere to metal surfaces and resist rust, fading, or chipping.
1. Oil-Based Paints
Oil-based paints are highly durable and offer excellent protection for metal surfaces. They resist moisture, making them a great choice for outdoor projects. However, they take longer to dry and require paint thinner for cleanup.
2. Acrylic Paints
Acrylic paints are water-based, quick-drying, and easy to clean up. However, they may not be as durable as oil-based paints for outdoor metal surfaces, so a clear topcoat is recommended.
3. Enamel Paints
Enamel paints dry to a hard, glossy finish and are extremely durable. They are often used on metal surfaces that require a tough, protective coating, such as appliances, tools, and outdoor furniture.
Tips for Painting Metal Surfaces
- Always apply primer: Never skip primer, as it helps the paint adhere better and last longer.
- Use rust-inhibiting paints for outdoor projects: If painting metal that will be exposed to the elements, use rust-resistant paints or topcoats.
- Work in a well-ventilated area: When working with spray paint, oil-based paints, or paint sprayers, ensure the area is well-ventilated.
- Apply thin, even coats: Applying too much paint at once can result in drips or an uneven finish. It’s better to apply multiple thin coats for a professional look.
Troubleshooting Common Problems
1. Peeling Paint
If paint starts peeling after drying, it’s usually due to inadequate surface preparation. Make sure the surface is clean, sanded, and primed properly before painting.
2. Drips and Runs
To avoid drips, apply thin coats of paint and always move your spray can, brush, or roller in smooth, continuous motions. If drips occur, sand them down after drying and apply another coat.
Conclusion
Painting metal surfaces requires careful preparation and the right tools. Whether you choose spray painting, brush painting, or using a roller, the key to a successful project is cleaning, sanding, and priming the metal surface.
With the appropriate paint type and application technique, you can give any metal surface a fresh, long-lasting finish. Follow the steps outlined in this guide to ensure a smooth, durable paint job that will stand the test of time.