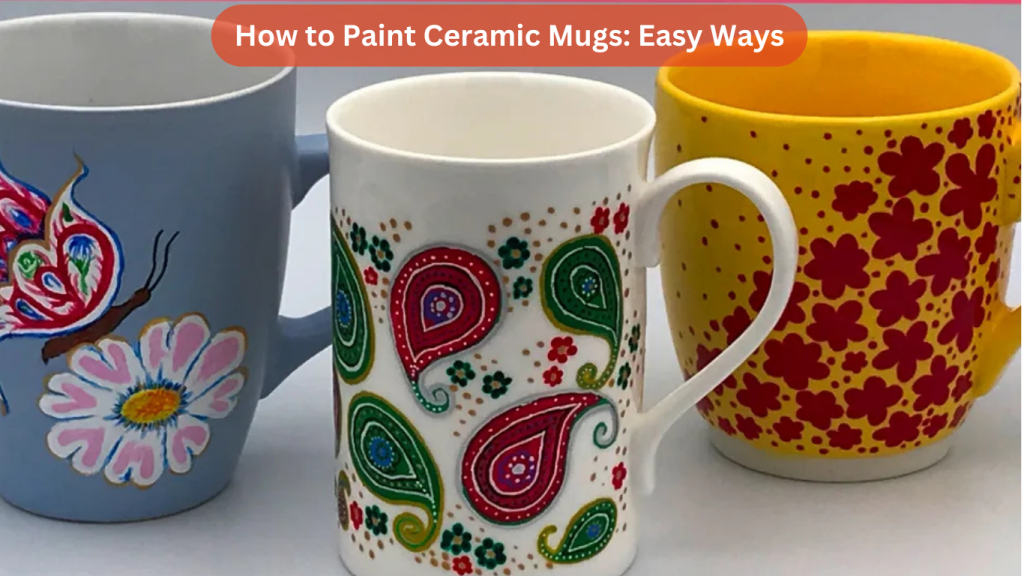
Painting ceramic mugs is a fun and creative way to personalize your kitchenware or create unique, handmade gifts for your friends and family. With a few supplies and techniques, you can transform plain ceramic mugs into beautiful pieces of art.
In this guide, we’ll walk you through the step-by-step process of painting ceramic mugs, the best materials to use, and tips to ensure your designs last.
Contents
Why Paint Ceramic Mugs?
Benefits of Painting Ceramic Mugs
Painting ceramic mugs has many benefits, including:
- Personalization: Create custom designs that reflect your personality or match your kitchen décor.
- Gifting: Painted mugs make thoughtful and personalized gifts for any occasion.
- Creative Expression: It’s an excellent way to express your creativity and try out new artistic techniques.
- Cost-Effective: You can turn inexpensive plain mugs into one-of-a-kind pieces.
Who Can Paint Ceramic Mugs?
This guide is perfect for beginners, experienced artists, and anyone looking for a fun and creative DIY project. Whether you’re doing this on your own, with friends, or as a family activity, painting ceramic mugs is a project everyone can enjoy.
Materials Needed
Before you get started, gather the following materials:
Essential Supplies
- Plain Ceramic Mugs: White or light-colored mugs are best for showing off your designs.
- Porcelain Paint or Paint Pens: Specially designed for ceramic surfaces to ensure durability.
- Brushes: Small, fine-tip brushes for detailed designs.
- Painter’s Tape: To create clean lines or block off areas you don’t want to paint.
- Rubbing Alcohol: For cleaning the mug before painting.
- Oven: For curing the paint (if required by the type of paint you use).
Optional Supplies
- Stencils: For creating more intricate designs.
- Cotton Swabs: For touch-ups and removing mistakes.
- Sealant (Optional): To add an extra layer of protection to your design.
Step 1: Prepare the Mug
Clean the Mug
- Wash the Mug: Clean the mug with warm soapy water and dry it completely.
- Remove Oils: Wipe the mug down with rubbing alcohol to remove any oils or residues that could prevent the paint from sticking properly.
Plan Your Design
- Sketch your design on paper first to visualize it.
- Decide if you want to use stencils or if you’ll paint freehand.
- Use painter’s tape to create straight lines or block off areas.
Step 2: Choose the Right Paint
Types of Paint for Ceramic Mugs
Choosing the right paint is crucial to ensure your design lasts through washing. Here are the most common types of paint for ceramic mugs:
- Porcelain Paint: Durable and specifically made for use on ceramics.
- Acrylic Paint Pens: Easy to control and perfect for detailed designs. Make sure they are labeled as suitable for ceramics.
- Oil-Based Paint Markers: Provide a smooth finish and vibrant colors.
Pros and Cons of Each Paint Type
| Paint Type | Pros | Cons |
|---|---|---|
| Porcelain Paint | Long-lasting, vibrant colors | Requires curing in an oven |
| Acrylic Paint Pens | Easy to use, great for beginners | May fade over time if not properly sealed |
| Oil-Based Markers | Smooth application, durable finish | Can be harder to remove mistakes |
Step 3: Start Painting the Mug
Techniques for Painting
- Freehand Design: For those with a steady hand and creative flair. Draw directly onto the mug using your paint pens or brushes.
- Stencil Design: Use stencils to create neat and consistent patterns. Hold the stencil firmly against the mug or secure it with painter’s tape.
- Dot Painting: Create dot designs using the tip of a brush or a paint pen. This technique works well for creating mandala-like designs.
Tips for a Clean Design
- Use Light Strokes: Apply light, even strokes for a smooth finish.
- Correct Mistakes Quickly: If you make a mistake, use a cotton swab dipped in rubbing alcohol to clean up the error before the paint dries.
- Layering Colors: Allow each layer of paint to dry completely before applying another color to avoid smudging.
Step 4: Curing the Painted Mug
Oven-Baking Method
To ensure your painted mug design is permanent, you will need to cure it. Follow these steps for oven-baking:
- Preheat the Oven: Place the mug in a cold oven and set it to 350°F (175°C). This prevents the ceramic from cracking due to sudden temperature changes.
- Bake the Mug: Once the oven reaches the desired temperature, bake the mug for 30 minutes.
- Cool Down: Turn off the oven and allow the mug to cool down inside. This gradual cooling helps the paint set properly.
Air-Drying Method
If your paint type doesn’t require baking, let the mug air-dry for at least 24-48 hours in a cool, dry place. Check the manufacturer’s instructions for specific drying times.
Step 5: Seal the Design (Optional)
Applying a Sealant
For added durability, you can apply a clear acrylic or ceramic sealant over the design. This step is optional but recommended if you want to protect the design from chipping or fading.
- Spray or Brush-On Sealant: Apply a thin, even layer of sealant over the painted area.
- Let It Dry: Allow the sealant to dry completely before using or washing the mug.
Choosing the Right Sealant
Make sure the sealant is labeled as food-safe if it will come into contact with the mug’s drinking area. Always follow the instructions on the product for the best results.
Step 6: Care and Maintenance
Washing the Painted Mug
- Hand Wash Only: Even if your design is cured, it’s best to wash the mug by hand using a gentle sponge.
- Avoid Dishwashers: Dishwashers can be too abrasive and cause the paint to fade or chip over time.
Storing the Mug
Store your painted mug in a safe place, away from other items that might scratch or damage the surface. Avoid stacking it with other mugs unless they are wrapped in a protective layer.
Common Mistakes to Avoid
Mistake 1: Not Cleaning the Mug Properly
- Problem: The paint may not adhere properly to a dirty mug.
- Solution: Always clean the mug thoroughly with rubbing alcohol before painting.
Mistake 2: Skipping the Curing Step
- Problem: The paint will easily wash off or fade.
- Solution: Always cure your mug in the oven or follow the air-drying instructions as per the paint guidelines.
Mistake 3: Using the Wrong Paint
- Problem: Regular acrylic paint will not last on ceramic surfaces.
- Solution: Use porcelain or ceramic-specific paints and markers for durability.
FAQs About Painting Ceramic Mugs
1. Can I use regular acrylic paint on ceramic mugs?
No, regular acrylic paint does not adhere well to ceramic and may wash off. It’s best to use paint specifically made for ceramics.
2. Is it safe to drink from a painted mug?
Yes, as long as the paint and sealant are labeled as food-safe. Avoid painting the rim or interior of the mug to be extra cautious.
3. How do I remove paint from the mug if I make a mistake?
You can use a cotton swab dipped in rubbing alcohol to remove paint before it dries. Once the paint is cured, it will be much more difficult to remove.
4. Can I put a painted ceramic mug in the microwave?
It depends on the paint and sealant used. Check the manufacturer’s instructions to see if the paint is microwave-safe.
5. How long will the painted design last?
With proper care, a painted ceramic mug can last for years. Hand washing and avoiding dishwashers will help preserve the design.
Conclusion
Painting ceramic mugs is a fun and creative activity that allows you to make personalized gifts or unique pieces for your home. With the right materials and techniques, you can create a lasting design that won’t wash away.
Follow these easy steps to transform plain mugs into beautiful works of art that you can enjoy or share with others. Happy painting!