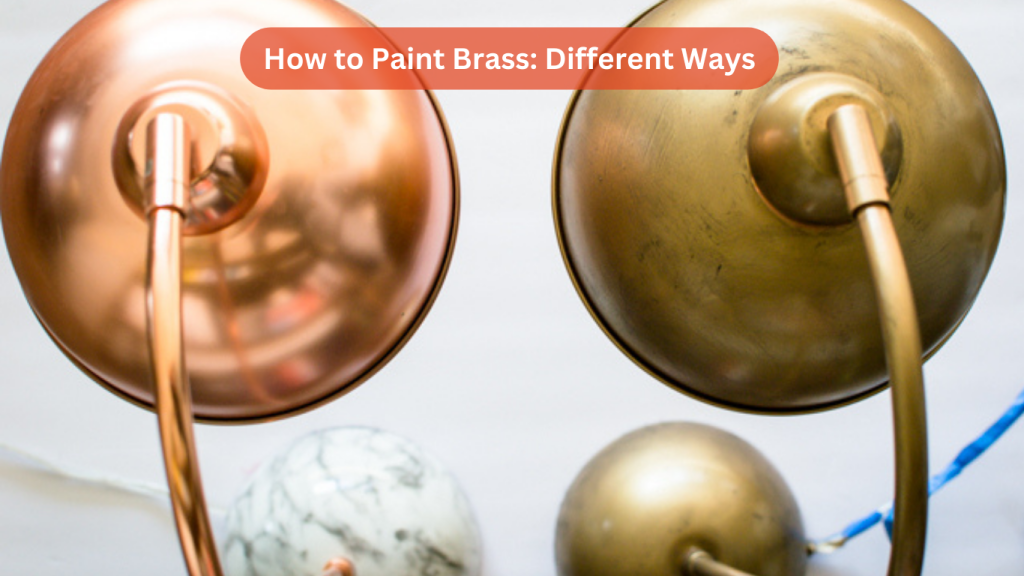
Brass is a durable and decorative metal, often found in home fixtures, hardware, and decorative items. While brass has a timeless appeal with its shiny, golden hue, there are times when you might want to refresh or change the look by painting over it.
Painting brass can be a little tricky, but with the right tools and techniques, it’s entirely possible to get a smooth, professional-looking finish.
In this blog post, we’ll explore the various ways to paint brass, with step-by-step instructions for each method.
Contents
Why Paint Brass?
1. Changing Aesthetic
Brass can sometimes look outdated, especially in modern or minimalist home designs. Painting brass can help update its look without needing to replace it entirely.
2. Matching Décor
Painting brass is a quick and cost-effective way to make it match other elements in your home, like light fixtures, door handles, or furniture.
3. Tarnish and Wear
Over time, brass can tarnish and lose its shine. Painting can help cover imperfections, scratches, or areas that have lost their luster.
Preparing Brass for Painting
Before you begin painting, proper preparation is key to ensuring that the paint adheres well to the brass surface and lasts for a long time.
Step 1: Clean the Brass
Brass often accumulates dust, grime, or oils from handling. Cleaning the brass thoroughly ensures that the paint will stick properly.
- Use a Mild Detergent: Mix warm water with a mild detergent. Use a soft cloth or sponge to clean the brass surface.
- Rinse: After scrubbing, rinse the brass with clean water.
- Dry: Make sure to dry the brass completely with a lint-free cloth to avoid any water spots.
Step 2: Remove Lacquer or Coating
Many brass items are coated with lacquer to prevent tarnishing. This layer must be removed before painting, or the paint won’t adhere well.
- Use a Lacquer Thinner: Apply lacquer thinner to the brass using a soft cloth. Work in a well-ventilated area to avoid inhaling fumes.
- Scrape Gently: After the lacquer starts to break down, use a plastic scraper to gently remove it from the brass surface.
- Rinse and Dry: Once the lacquer is gone, clean the surface again with warm water and dry it thoroughly.
Step 3: Sand the Surface
Sanding the brass surface helps to roughen it up slightly, giving the paint a better surface to grip onto.
- Choose Fine Grit Sandpaper: Use 220-grit sandpaper to lightly sand the brass. Be careful not to scratch it too much, as deep gouges can show through the paint.
- Sand Evenly: Sand all surfaces of the brass item evenly to ensure uniform adhesion.
- Wipe Away Dust: Use a damp cloth or tack cloth to wipe away any sanding dust before moving on to painting.
Different Methods for Painting Brass
Method 1: Spray Painting Brass
Spray painting is one of the easiest and most popular methods for painting brass, especially for items with intricate details like handles, knobs, or light fixtures.
Step-by-Step Guide:
1: Prime the Surface
- Use a Metal Primer: Choose a metal primer that is specifically formulated for use on brass or other metals. Spray the primer evenly across the brass surface in thin, light coats.
- Dry Completely: Let the primer dry according to the manufacturer’s instructions, usually for about 30 minutes to an hour.
2: Apply Spray Paint
- Choose the Right Paint: Opt for a spray paint that is made for metal surfaces. Popular choices include oil-based enamel spray paint.
- Spray in Light Coats: Hold the can about 8-12 inches away from the brass surface. Apply light, even coats, allowing each coat to dry for about 10-15 minutes before applying the next.
- Avoid Drips: Spraying too heavily can cause drips or uneven coverage. Be patient and apply several light coats for the best result.
3: Seal the Paint
- Use a Clear Sealer: Once the paint is completely dry (after about 24 hours), apply a clear protective sealer to the surface. This will protect the paint from chipping or peeling over time.
- Let It Cure: Allow the sealer to cure for 48 hours before handling the painted brass.
Method 2: Hand Painting Brass
For smaller brass items or pieces with a lot of detail, hand painting with a brush is a great option. Hand painting allows for more precision, especially in areas that are difficult to reach with spray paint.
Step-by-Step Guide:
1: Apply Primer
- Choose a Metal Primer: Use a primer formulated for brass or metal. Brush it onto the surface in thin, even layers.
- Let It Dry: Allow the primer to dry completely before moving on to the next step.
2: Use Acrylic or Oil-Based Paint
- Choose the Paint: Use a high-quality acrylic or oil-based paint that adheres to metal surfaces.
- Paint with a Fine Brush: Use a fine brush to apply the paint, working in smooth, even strokes. For smaller details, use a small, angled brush.
- Multiple Coats: Apply several thin coats for an even, durable finish. Allow each coat to dry before applying the next.
3: Apply a Clear Coat
- Seal the Paint: Finish with a clear protective sealer, either in a spray or liquid form, to ensure the paint stays in place.
- Dry and Cure: Let the paint dry thoroughly before handling.
Method 3: Electrostatic Painting
Electrostatic painting is a professional method that uses electrically charged particles to adhere the paint to the metal surface. This method is often used for industrial or commercial applications but can also be used for larger brass fixtures or outdoor items.
How It Works:
- Charged Particles: The paint is given a positive charge while the brass is given a negative charge. This causes the paint to cling to the brass surface with a strong bond.
- Professional Application: Electrostatic painting requires specialized equipment and is usually done by professionals. It results in a smooth, even finish with minimal overspray.
- Durability: This method is known for its durability, making it ideal for high-traffic areas like door handles or railings.
Special Tips for Painting Brass
1. Use a Quality Primer
A good-quality metal primer is essential when painting brass. It helps the paint adhere better and prevents it from peeling or flaking off over time.
2. Choose the Right Paint
Oil-based paints and metal-specific spray paints work best for brass. They provide a durable finish that can withstand wear and tear. Avoid water-based paints, as they don’t adhere well to metal surfaces.
3. Protect with a Clear Coat
Always finish with a clear coat to protect the paint and give it a longer lifespan. This is especially important for brass items that will be handled often, like doorknobs or light fixtures.
4. Patience is Key
Don’t rush the process. Allow each coat of paint and primer to dry thoroughly before applying the next. This will help prevent smudging, peeling, and uneven finishes.
Troubleshooting Common Issues
1. Paint Peeling or Chipping
If the paint is peeling or chipping soon after application, it may be due to improper surface preparation. Ensure that the brass surface is clean, sanded, and primed before applying paint.
2. Drips or Uneven Coats
Drips and uneven coats often happen when too much paint is applied at once. Always use light, even coats, whether you’re using a brush or spray paint.
3. Paint Not Adhering
If the paint isn’t sticking to the brass, you may not have removed the lacquer or protective coating properly. Make sure to strip any lacquer before starting the painting process.
Conclusion
Painting brass is a versatile and affordable way to update or refresh old hardware, fixtures, or décor. Whether you opt for spray painting, hand painting, or professional electrostatic painting, following proper preparation and using the right materials is key to achieving a smooth and durable finish.
By using the methods and tips in this guide, you’ll be well-equipped to tackle any brass painting project, giving your brass items a fresh new look tailored to your style.