To paint a ceramic Christmas tree, clean the surface and apply acrylic paint using a fine brush. Let each layer dry before adding new colors for detail.
As the holiday season approaches, crafting enthusiasts and DIY decorators turn their attention to personalizing their festive decor. Painting a ceramic Christmas tree offers a creative outlet and a touch of nostalgia, as these charming tabletop ornaments often evoke memories of traditional Christmas celebrations.
Tailoring your tree with a unique color scheme can become a cherished part of your holiday ritual. This task not only enhances your festive ambiance but also provides a fun activity that can be enjoyed by family members of all ages. With a steady hand and a dash of imagination, anyone can transform a plain ceramic tree into a masterpiece that shines throughout the season. Ready your paints, embrace your artistic spirit, and let’s give that ceramic tree a vibrant new life!
Contents
Introduction To Ceramic Christmas Trees
Ceramic Christmas trees light up homes with holiday spirit.
These vintage decorations are making a comeback.
Families love creating unique, festive trees.
Popularity Of Diy Holiday Crafts
DIY holiday crafts have surged in popularity.
They bring fun, creativity, and bonding.
Painting a ceramic tree is a perfect family project.
- Easy to start with kits
- Freedom to choose colors
- Great for all ages
Benefits Of Personalizing Your Decor
Personalized decor adds warmth to your home.
It reflects your style and taste.
A unique ceramic tree can be a centerpiece.
- Makes your space feel special
- Creates lasting memories
- Boosts holiday cheer
Credit: southernadoornmentsdecor.com
Gathering Your Materials
Before the festive painting begins, gather the right materials.
Start with these steps to ensure a merry and bright ceramic tree.
Types Of Ceramic Trees
Different ceramic trees suit various styles and preferences.
- Traditional Trees: Classic designs, often with detailed branches.
- Modern Trees: Sleek lines and minimalistic features.
- Tabletop Trees: Perfect for small spaces, easy to display.
Choosing The Right Paints
Selecting paints is critical for a vibrant, long-lasting finish.
| Paint Type | Benefits |
|---|---|
| Acrylic Paints | Quick-drying, easy to use, and clean up with water. |
| Enamel Paints | Durable, glossy finish, ideal for a shiny look. |
| Glaze Paints | Creates a glass-like coating, perfect for a traditional feel. |
Additional Decorating Supplies
Enhance your tree with these extra touches.
- Paintbrushes: A variety of sizes for detailed work.
- Glitters: Adds sparkle to your tree.
- Sealers: Protects the paint and adds a professional finish.
- Light Kits: Illuminate your tree from within.
Setting Up Your Workspace
Before you start painting your ceramic Christmas tree, setting up your workspace is crucial. This step ensures a smooth painting process and easy cleanup. Follow these tips to create an ideal workspace for your project.
Protecting Surfaces
Keep paint spills at bay with the right preparation. Start by laying down newspaper or a plastic sheet over your work surface. Make sure it covers a wide area around your workspace to catch any drips or splatters. Use painter’s tape to secure the edges and prevent the covering from sliding.
Organizing Your Tools
Having all your tools within reach makes the painting process smoother. Arrange your brushes, paints, and water on one side of your workspace. If you’re using multiple colors, consider using a palette or small dishes to separate them. Keep a cloth or paper towels handy for quick cleanups.
Ensuring Proper Ventilation
Paint fumes can be harmful, so proper ventilation is essential. Open windows or use a fan to circulate fresh air in your workspace. If possible, work in a well-ventilated area or outdoors. This not only keeps you safe but also helps the paint dry faster.
Prepping The Ceramic Tree
Before you dip your brush into vibrant colors, prepping the ceramic Christmas tree is vital. Proper preparation ensures your holiday masterpiece will shine brightly for years to come. Let’s guide you through each essential step, from cleaning to sanding, so your tree’s surface is flawless and ready for painting.
Cleaning The Surface
A clean surface is key to a smooth finish. Begin by:
- Wiping down your tree with a damp cloth to remove dust.
- Using mild soap and water for any stubborn residue.
- Rinsing thoroughly and letting it dry completely.
Applying A Base Coat
Next, apply a base coat:
- Select a quality primer suitable for ceramics.
- Use a soft brush to apply an even layer.
- Allow the base coat to dry fully before moving on.
Sanding For Smoothness
Finally, ensure your tree is perfectly smooth:
- Gently sand the surface with fine-grit sandpaper.
- Wipe away any dust with a clean, dry cloth.
- Repeat if necessary until the surface feels smooth to the touch.
With these steps, your ceramic Christmas tree will be prepped and primed for a beautiful paint job. Let’s get ready to add some color!
Painting Techniques
Embracing the festive spirit includes crafting projects like painting a ceramic Christmas tree. This section provides detailed painting techniques. The right approach will bring your ceramic tree to life. Let’s dive into the methods that ensure a stunning finish.
Brush Selection And Care
Choosing the right brush is crucial. Each brush has a role in your painting project.
- Detail brushes – Perfect for small areas and delicate lines.
- Flat brushes – Ideal for broader strokes and filling larger spaces.
- Round brushes – Versatile for various painting techniques.
Always clean brushes with mild soap and water after use. Store them flat or hang them to dry to maintain shape and longevity.
Layering Colors
Layering colors add depth to your ceramic Christmas tree. Start with lighter colors and gradually add darker shades. Allow each layer to dry before applying the next.
- Apply a base coat.
- Wait for it to dry completely.
- Add secondary colors for highlights and shadows.
Remember, patience is key to prevent colors from blending unintentionally.
Creating Texture And Dimension
Texture makes your tree feel lifelike. Use different techniques to achieve this.
- Sponging – Dab a sponge lightly for a textured look.
- Dry brushing – Brush lightly over the surface to highlight details.
- Stippling – Create texture by applying small dots of paint.
Combine these techniques to give your tree character and dimension. Your finished product will gleam with a touch of Christmas magic!
Adding Details And Accents
Once the base coat on your ceramic Christmas tree dries, it’s time to add personality. Details and accents turn a plain tree into a holiday masterpiece. This section guides you through the hand-painting techniques, use of stencils, and how to add sparkle to your creation.
Hand-painting Fine Details
Hand-painting is a precise way to add unique touches. Start with a fine brush. Dip it into paint and gently add lines for tinsel or outline ornaments. Mix colors directly on the tree for a custom shade. Keep a steady hand for clean, crisp lines.
Using Stencils And Tapes
Stencils and painter’s tape create sharp patterns and shapes. Press stencils firmly against the tree. Use a sponge or brush to apply paint. Peel away to reveal the design. Tape works well for stripes or chevrons. Apply tape, paint over it, then remove it once dry.
Incorporating Glitter And Shine
- Choose glitter that complements your tree’s colors.
- Apply a thin layer of glue to areas where you want sparkle.
- Shake glitter over the glue, then tap off the excess.
For a more subtle shine, use metallic paint to highlight edges and tips. A light brush over raised details catches the light beautifully.
Finishing Touches
Applying the final touches to your ceramic Christmas tree transforms it into a festive masterpiece. After hours of painting, it’s time to seal, decorate, and care for your tree. These steps will ensure your tree shines brightly for many holiday seasons.
Sealing The Paint
Sealing is crucial for protecting your paintwork. It prevents chips and peeling. Here’s what to do:
- Choose a clear sealant, either matte or glossy.
- Ensure the paint is completely dry.
- Apply the sealant in a well-ventilated area.
- Let the sealant dry as per the product instructions.
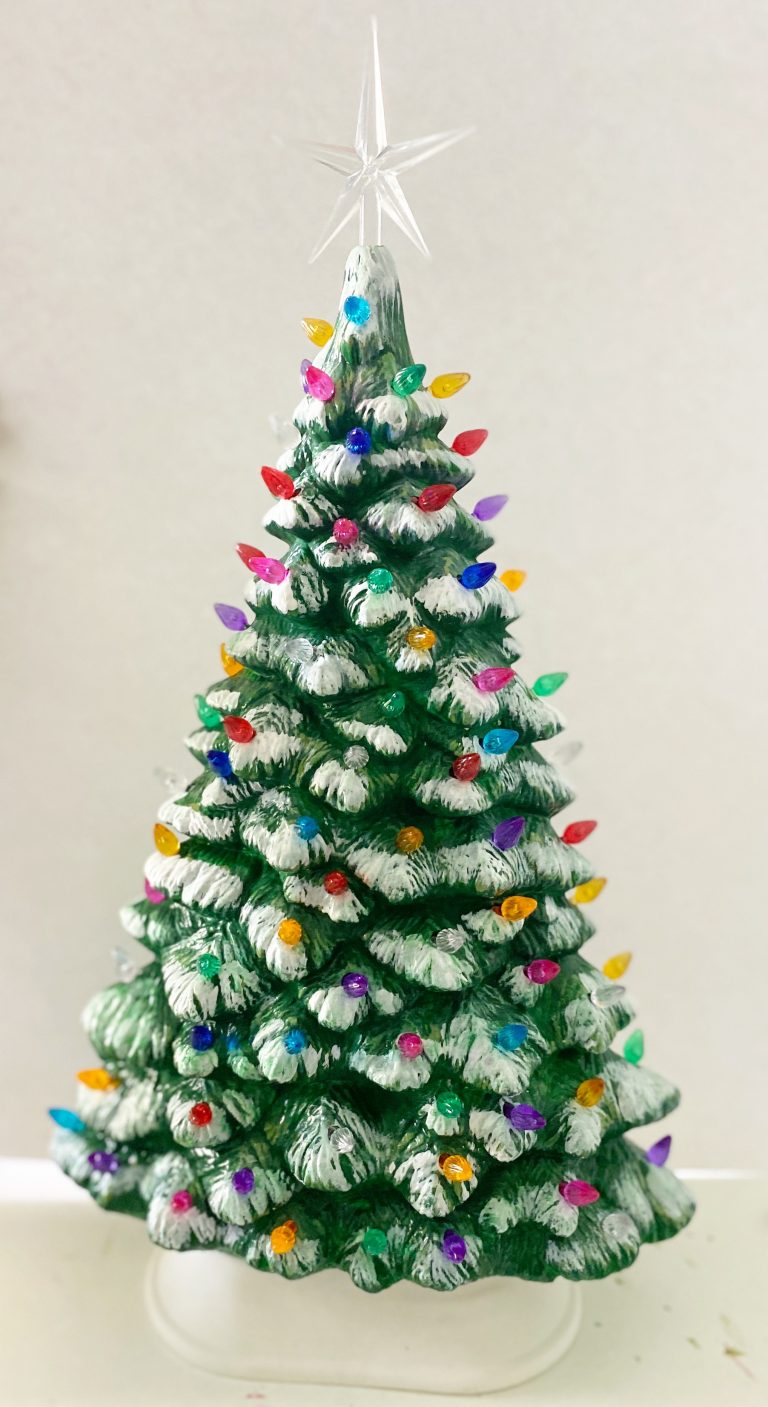
Attaching Bulbs And Decorations
Now, it’s time to add sparkle with bulbs and decorations. Follow these steps:
- Gather small, colorful plastic bulbs.
- Place a dot of glue on the base of each bulb.
- Press bulbs gently into the holes of the tree.
- Add a star on top for a classic look.
Caring For Your Finished Tree
Proper care keeps your tree looking new every year. Remember these tips:
| Care Tip | Details |
|---|---|
| Storage | Store in a cool, dry place in a padded box. |
| Cleaning | Use a soft brush to dust off surfaces. |
| Handling | Handle with care to avoid dropping. |

Credit: texasartandsoul.com
Displaying Your Masterpiece
Crafting a ceramic Christmas tree brings joy and a sense of accomplishment. Once the painting is complete, it’s time to showcase your work. A well-displayed tree becomes a conversation piece and a festive highlight in your home.
Choosing The Perfect Spot
The right location will enhance your tree’s beauty. Look for a spot with good lighting. It should be visible to everyone. Ensure it’s away from busy areas to avoid accidents. A mantle or a sturdy shelf often makes an ideal stage.
Pairing With Other Holiday Decor
Complement your tree with other decorations for a cohesive look. Think about color schemes and themes. Group items with similar hues. Mix textures for depth. Remember, less is often more for an elegant display.
Storage Tips For Off-season
When holidays end, store your tree safely. Wrap it in soft fabric. Use a sturdy box. Fill gaps with bubble wrap to prevent movement. Keep the box in a cool, dry place. This care ensures your masterpiece lasts for years.

Credit: m.youtube.com
Frequently Asked Questions
Can You Paint A Ceramic Christmas Tree?
Yes, you can paint a ceramic Christmas tree. Use acrylic paints for best results and seal with a clear coat for durability.
What Kind Of Paint Do You Use On Ceramic Pottery?
Use acrylic paint for ceramic pottery, which adheres well and offers a wide color range. Seal with a clear glaze to protect the finish.
How To Paint Snow On Ceramic Trees?
Begin by choosing white acrylic paint for a realistic snow effect. Apply the paint with a small brush, dabbing lightly to create a textured appearance. Allow the painted snow to dry completely before handling the ceramic trees.
Can I Spray Paint My Fake Christmas Tree?
Yes, you can spray paint your fake Christmas tree. Choose spray paint suitable for plastic, ventilate the area well, and apply light, even coats to avoid drips. Allow ample drying time between layers.
Conclusion
Wrapping up, painting a ceramic Christmas tree can unleash your creativity and add a personal touch to your holiday decor. Remember, the right brushes, paints, and sealants make all the difference. So go ahead, give it a try and watch your festive centerpiece come to life with every stroke.
Happy painting and merry Christmas!