Painting a bathroom can transform the look and feel of the space, making it brighter, fresher, and more modern. However, due to the unique environment of a bathroom—where moisture, steam, and temperature changes are common—it’s essential to take specific steps to ensure a successful and long-lasting paint job.
This comprehensive guide will take you through everything you need to know to paint your bathroom like a pro, from choosing the right paint to applying the final coat.
Contents
Why Paint Your Bathroom?
Benefits of Painting a Bathroom
- Aesthetic Improvement: A fresh coat of paint can make your bathroom look brand new, giving it a clean and updated appearance.
- Moisture Resistance: Proper bathroom paint helps protect walls from the high humidity and moisture levels that can cause mildew and mold.
- Increased Property Value: A well-maintained and updated bathroom can boost the value of your home.
Common Challenges in Painting a Bathroom
- Humidity: Bathrooms tend to be damp and moist, which can cause paint to peel or blister.
- Small Spaces: Tight areas around fixtures like sinks, toilets, and bathtubs can be difficult to reach.
- Preparation: Cleaning and prepping the bathroom walls is essential to ensure the paint adheres properly.
Step-by-Step Guide to Painting a Bathroom
Step 1: Gather Your Supplies
Essential Tools and Materials
- Paint: Choose a moisture-resistant, mildew-resistant paint in your desired color.
- Primer: A good primer is necessary for bathroom walls to ensure the paint adheres properly and lasts longer.
- Painter’s Tape: For clean lines around trim, tiles, and fixtures.
- Drop Cloths: To protect floors and surfaces from paint splatters.
- Paintbrushes and Rollers: Different sizes for cutting in and applying paint to larger areas.
- Sandpaper: To smooth any rough areas on the walls.
- Cleaning Supplies: Such as a sponge, mild detergent, and water to clean the walls before painting.
Step 2: Choose the Right Paint and Primer
Selecting the Best Paint
- Type of Paint: Use semi-gloss or satin paint for bathroom walls. These finishes are more resistant to moisture and easier to clean.
- Mildew-Resistant: Opt for a paint with mildew-resistant properties to prevent mold growth.
- Color Choice: Lighter colors can make a small bathroom look more spacious, while darker shades can add a touch of elegance.
Choosing a Primer
- Stain-Blocking Primer: If your walls have stains, use a stain-blocking primer to prevent them from bleeding through the new paint.
- Mildew-Resistant Primer: For areas prone to dampness, this type of primer will provide extra protection against mold and mildew.
Step 3: Prepare the Bathroom
Clean the Walls
- Wipe Down: Clean the walls with a sponge, mild detergent, and water to remove dirt, dust, and soap scum.
- Rinse: Rinse the walls with clean water and let them dry completely.
Sand and Repair
- Fill Holes and Cracks: Use a wall filler or spackle to repair any holes, cracks, or imperfections.
- Sand Smooth: Once the filler is dry, sand the area smooth with fine-grit sandpaper.
Protect Surfaces
- Tape Off Edges: Use painter’s tape to cover areas you don’t want to paint, such as trim, tiles, light switches, and fixtures.
- Cover the Floor: Lay down drop cloths or plastic sheets to protect the floor from drips and spills.
Step 4: Prime the Walls
- Apply Primer: Using a paintbrush for the edges and a roller for larger areas, apply a coat of primer to the walls.
- Let It Dry: Allow the primer to dry according to the manufacturer’s instructions before applying paint.
Step 5: Paint the Bathroom
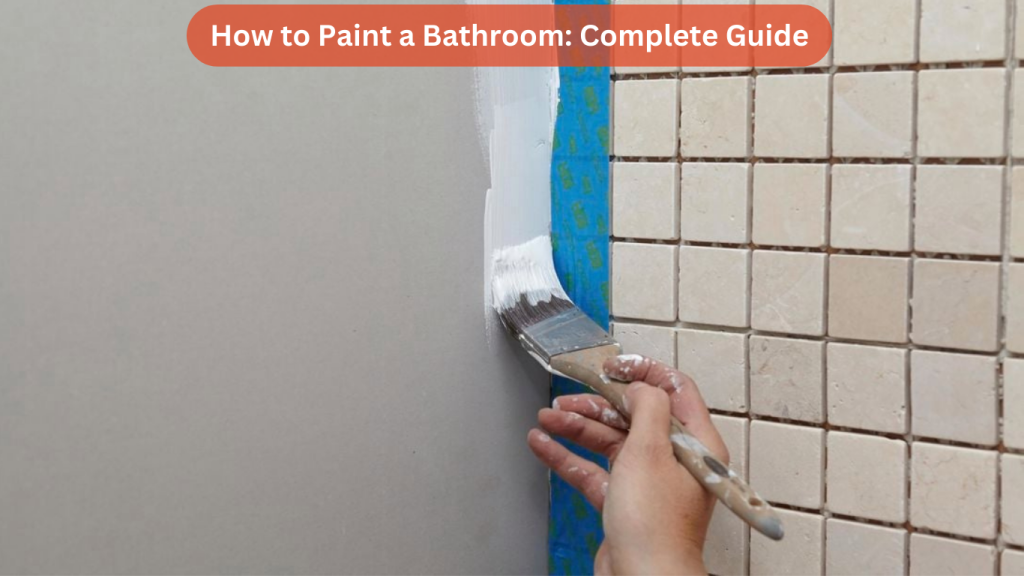
Cut in the Edges
- Use a Brush: Start by painting the edges and corners of the walls with a paintbrush. This technique is called “cutting in.”
- Take Your Time: Be precise to avoid getting paint on the ceiling, trim, or other areas.
Roll the Paint
- First Coat: Use a roller to apply the first coat of paint to the larger wall areas. Roll in a “W” or “M” pattern to ensure even coverage.
- Let It Dry: Allow the first coat to dry completely before applying a second coat.
Apply the Second Coat
- Smooth Finish: Apply a second coat of paint for a smooth, even finish. This layer will also enhance the paint’s durability.
- Final Touch-Ups: Inspect the walls for any missed spots and touch them up as needed.
Step 6: Remove Painter’s Tape and Clean Up
- Remove Tape: Carefully remove the painter’s tape while the paint is still slightly wet to prevent peeling.
- Clean Brushes: Wash your brushes and rollers immediately after use to keep them in good condition for future projects.
Tips for Painting a Bathroom Like a Pro
Ventilation is Key
- Use Exhaust Fans: Keep the exhaust fan running while painting and for several days afterward to help the paint dry and reduce fumes.
- Open Windows: If possible, open windows to allow fresh air to circulate and help the drying process.
Paint in the Right Conditions
- Avoid Humid Days: Painting in high humidity can affect how the paint dries, so choose a dry day for the best results.
- Temperature Control: Maintain a moderate temperature in the room to ensure the paint dries evenly.
Avoid Common Mistakes
- Skipping Primer: Never skip the primer, especially in a bathroom, as it helps the paint adhere better and resist moisture.
- Rushing the Process: Allow each coat of paint to dry fully before applying the next to avoid uneven coverage.
Troubleshooting Common Bathroom Painting Problems
Paint Peeling or Bubbling
- Causes: This usually happens due to moisture or not using the right primer.
- Solution: Sand the area, reapply primer, and paint with moisture-resistant paint.
Mildew Growth on Painted Walls
- Causes: High humidity and lack of ventilation can cause mildew growth.
- Solution: Clean the affected area with a mixture of water and bleach, let it dry, and repaint using mildew-resistant paint.
Uneven Finish
- Causes: Uneven application of paint or not enough coats.
- Solution: Apply an additional coat and use a roller with a high-quality cover for a smoother finish.
Best Practices for Maintaining Painted Bathroom Walls
Regular Cleaning
- Wipe Down Walls: Regularly wipe down bathroom walls with a damp cloth to remove moisture and prevent mold growth.
- Use Gentle Cleaners: Avoid harsh chemicals that can damage the paint; use mild detergents instead.
Keep the Bathroom Ventilated
- Use Vent Fans: Run the fan after every shower to help reduce moisture levels.
- Reduce Humidity: Consider using a dehumidifier in your bathroom to minimize the chances of paint peeling.
Repaint When Necessary
- Touch Up Regularly: If you notice any small chips or discoloration, touch up the paint to keep your bathroom looking fresh.
- Full Repaint Every 3-5 Years: Depending on the wear and tear, a bathroom may need a full repaint every few years.
Choosing the Best Color Scheme for Your Bathroom
Popular Bathroom Colors
- Light Neutrals: Whites, beiges, and light grays are perfect for creating a clean, airy feel.
- Bold Colors: Dark blues, greens, or even black can add drama to larger bathrooms.
- Soft Pastels: Shades like lavender, mint, or baby blue are soothing and make the space feel more inviting.
Accent Walls and Finishing Touches
- Accent Wall: Consider painting one wall a different color to create a focal point.
- Decorative Trim: Adding a border or trim in a contrasting color can give your bathroom a sophisticated look.
Conclusion
Painting a bathroom may seem like a simple task, but it requires careful planning and execution to achieve a durable, beautiful finish. With the right preparation, tools, and techniques, you can create a fresh, clean space that stands up to moisture and time.
By following this guide, you can transform your bathroom into a stylish and functional part of your home that you’ll enjoy for years to come. Whether you’re a DIY enthusiast or a beginner, these steps will help you achieve professional-quality results.