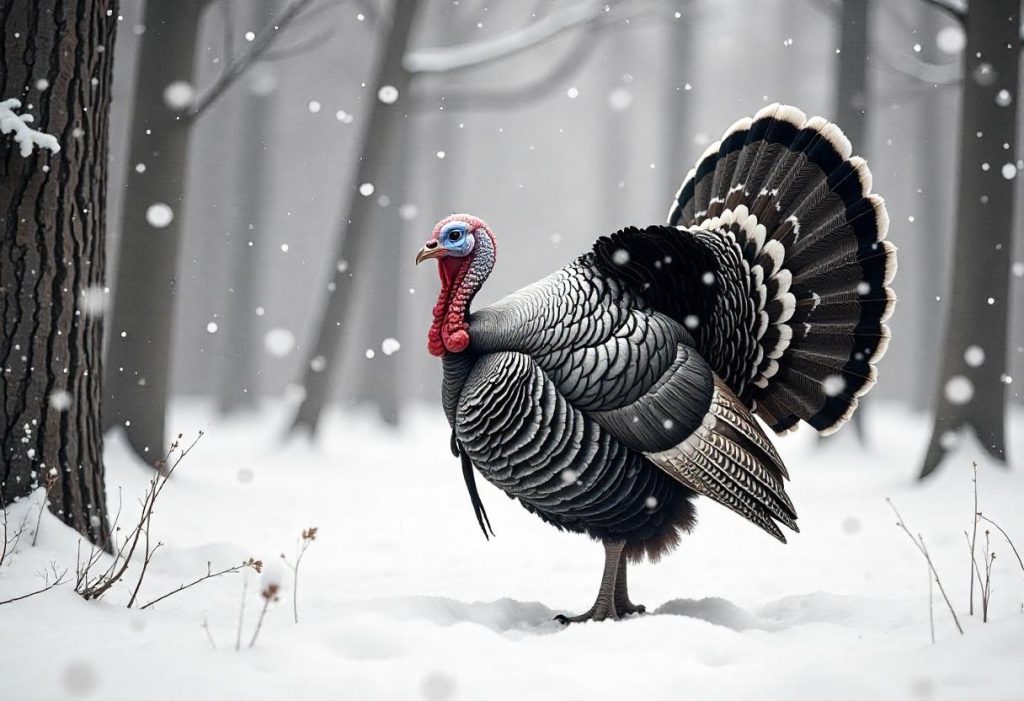
Drawing a turkey might seem like a challenging task, but with the right guidance, you can create a beautiful and realistic turkey drawing. Whether you’re preparing for Thanksgiving or just want to enhance your drawing skills, learning how to draw a turkey is a fun and rewarding activity. This detailed guide will walk you through every step, from understanding the basic shapes and anatomy of a turkey to adding details and shading for a lifelike effect.
In this comprehensive tutorial, we will explore how to break down the turkey’s form, create its body, feathers, and facial features, and add depth and texture to your drawing. By the end of this guide, you will be equipped with the skills to create your own turkey drawing from start to finish.
Contents
Understanding the Anatomy of a Turkey
Before jumping into the drawing process, it’s important to understand the basic anatomy of a turkey. This will help you draw it more accurately and ensure your sketch looks realistic.
Key Parts of a Turkey
- Head – A small, round shape with a wattle (the fleshy part that hangs from the neck) and a snood (the fleshy part on the beak).
- Neck – Long and slender, connecting the head to the body.
- Body – Rounded and large, extending from the neck and serving as the main mass of the turkey.
- Wings – Located on each side of the body, with feathers that fan out.
- Tail Feathers – Large, fanned feathers that make the turkey’s tail stand out.
- Legs and Feet – Strong and spindly, with a unique structure that is essential for the turkey’s stance.
Understanding these parts will help you break down the turkey’s structure into simple shapes and create a more realistic drawing.
Materials You Need for Drawing a Turkey
To create a beautiful turkey drawing, you’ll need a few basic materials:
Recommended Drawing Tools
- Pencils – A range of pencils (2H, HB, 2B, 4B, 6B) for sketching and shading.
- Eraser – A kneaded eraser for highlights and a precision eraser for small areas.
- Blending Stump – To help you blend pencil strokes for smoother shading.
- Paper – Choose a smooth or medium-textured sketchbook for easy pencil work.
These materials will ensure you can draw the turkey with clean lines and create detailed textures in your shading.
Step-by-Step Guide to Drawing a Turkey
Step 1: Draw the Basic Shapes
The first step in drawing a turkey is to start with basic shapes. This provides a foundation for the detailed features that will come later.
- Draw an oval for the body of the turkey. The body should be large, slightly tilted to create a dynamic stance.
- Add a smaller oval at the top for the turkey’s head, ensuring it’s proportionate to the body.
- Sketch a small rectangle connecting the head and body to represent the neck.
- Draw a long line extending from the back of the oval to form the base of the tail feathers.
These simple shapes will guide the placement of the turkey’s body, head, and tail feathers.
Step 2: Outline the Head and Neck
Now that the basic shapes are in place, begin outlining the head and neck in more detail:
- Refine the head shape into a more rounded or oval form.
- Add the wattle and snood on the head. The wattle hangs from the neck, while the snood extends from the beak.
- Outline the neck as a long, slightly curved line that leads from the head to the body.
At this stage, the turkey’s head and neck will begin to take form.
Step 3: Draw the Body and Wings
Next, focus on the turkey’s body and wings:
- Refine the body into a larger, more oval shape, adjusting the proportions so that it appears natural.
- Outline the wings by drawing two large, rounded shapes that extend from either side of the body. The wings should be large and fan-like.
- Add details to the wings by drawing feathers within the outline. Use curved lines to create the impression of individual feathers.
Now, the turkey’s body and wings should be clearly defined.
Step 4: Draw the Tail Feathers
The tail feathers are one of the most defining features of a turkey. To draw them correctly:
- Start with the central feathers by drawing a series of slightly curved lines extending outward from the body. These lines should be longest at the center and gradually decrease in length towards the edges.
- Draw the outer feathers by adding shorter lines to the sides. Ensure they fan out from the center.
- Add details by drawing individual feather shapes within the tail feathers, using slightly curved lines to give texture.
At this stage, the turkey’s tail feathers should be detailed and fanned out.
Step 5: Add Legs and Feet
Next, we’ll draw the turkey’s legs and feet, which are key elements for completing the drawing:
- Draw the legs by sketching two long, thin lines extending downward from the body.
- Outline the feet at the bottom of each leg, with sharp talons at the end. Turkeys have three toes facing forward and one facing backward, so make sure to depict them accurately.
Make sure the legs and feet appear strong and sturdy, as turkeys need them for balance.
Step 6: Add Facial Features
Now that the turkey’s body is complete, move on to the facial details:
- Draw the eye on the head, making sure it’s positioned just above the beak.
- Refine the beak by adding a sharp, triangular shape at the front of the head.
- Define the wattle and snood to give the face more personality. The wattle should be drawn as a fleshy, hanging shape, and the snood extends downward from the beak.
These facial features will bring the turkey to life and give it character.
Step 7: Add Shading and Texture
Shading is crucial for adding depth and realism to your turkey drawing. Follow these steps to add shading:
- Add shading on the underside of the turkey’s body to show where light is not hitting. Use a softer pencil (4B or 6B) for darker shading.
- Shade the wings by adding darker areas under the feathers. This will create a three-dimensional effect.
- Shade the tail feathers by applying light shading along the edges of the feathers and darker shading toward the center.
- Add texture to the feathers by using short, curved pencil strokes. Follow the natural direction of the feathers to make them look realistic.
Shading is an essential step for making your turkey drawing look lifelike and dynamic.
Step 8: Final Touches
Once you’ve completed the shading, it’s time to refine your drawing with the following final touches:
- Clean up any stray lines using an eraser.
- Enhance highlights by gently lifting some pencil marks with a kneaded eraser.
- Deepen the shadows where necessary to create contrast and depth.
By adding these final details, you’ll polish your turkey drawing and make it look more realistic.
Common Mistakes to Avoid
While drawing a turkey, there are a few common mistakes to watch out for:
Proportions
Ensure that the turkey’s body, head, and tail feathers are proportionate. If the head is too large or the tail feathers too small, it will throw off the balance of the drawing.
Over-Shading
Avoid over-shading the feathers and body. Too much shading can make the turkey look flat or overly dark. Use gentle strokes and build up layers gradually.
Incorrect Feather Placement
The feathers of the tail and wings should follow a natural, curved pattern. Avoid straight lines that don’t follow the natural flow of feathers.
Conclusion
Drawing a turkey is a fun and creative way to practice your drawing skills. By following this step-by-step guide, you’ll be able to create a lifelike turkey, whether it’s for a holiday card, a personal project, or simply for fun.
Remember to break the turkey down into simple shapes, add detail and texture gradually, and focus on shading to give it depth and dimension. With practice, you can refine your turkey drawing and create an impressive, realistic piece of art. Happy drawing!