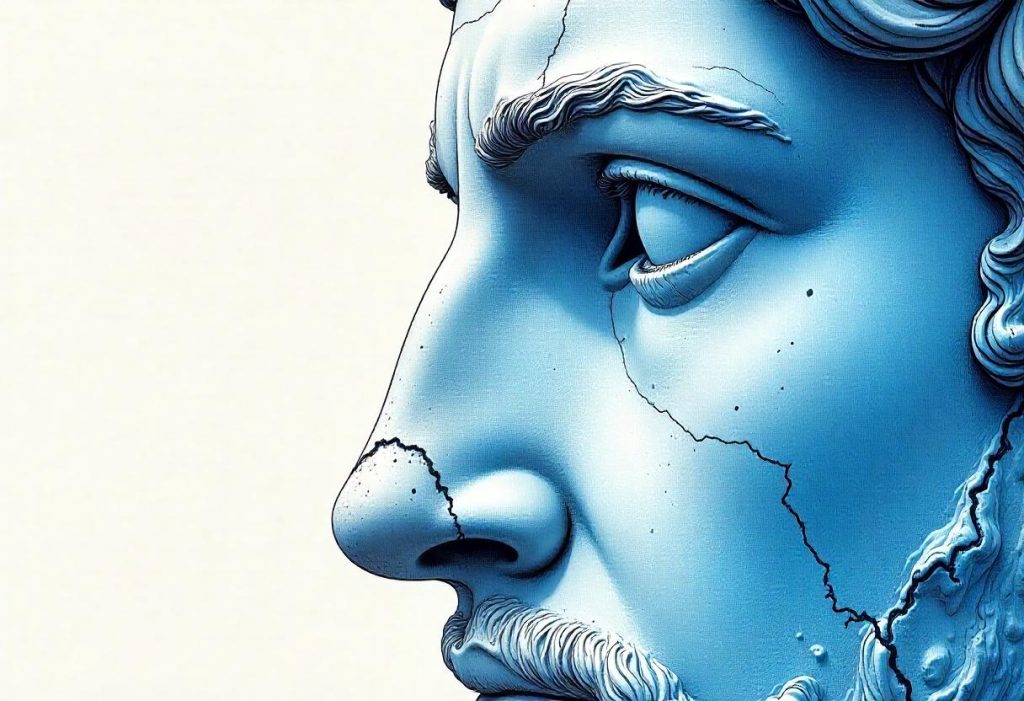
Drawing a nose may seem challenging due to its subtle shapes, soft edges, and complex structure. However, once you break it down into simple steps, mastering the art of drawing a realistic nose becomes much easier. Whether you’re sketching a human portrait or practicing facial features, this guide will help you understand the anatomy of the nose, shading techniques, and how to create different nose shapes.

In this comprehensive tutorial, we’ll cover everything from basic nose structure to advanced shading methods.
Contents
Understanding the Basic Structure of a Nose
Before diving into the drawing process, it’s important to understand the anatomy of the nose and how light interacts with its form. The nose is not just two nostrils and a bridge; it consists of several planes and shapes that define its overall structure.
Main Parts of the Nose
- Nasal Bridge – The top part of the nose that connects to the forehead.
- Nostrils – The openings at the bottom of the nose.
- Nasal Tip – The rounded end of the nose.
- Ala (Wings of the Nose) – The outer curved sides of the nostrils.
- Columella – The small strip of tissue separating the nostrils.
Understanding these parts will help you shape the nose realistically and add depth with shading.
Tools You Need for Drawing a Nose
To achieve a professional-looking nose drawing, you’ll need the right materials.
Recommended Drawing Tools
- Graphite pencils (2H, HB, 2B, 4B, 6B) – For sketching and shading.
- Eraser (kneaded eraser for highlights, precision eraser for small details).
- Blending tools (tissue, blending stumps, or cotton swabs).
- Sketchbook or drawing paper – Preferably smooth-textured paper for detailed shading.
Using these tools will help you create realistic textures and smooth transitions in shading.
Step-by-Step Guide to Drawing a Nose
Step 1: Start with Basic Shapes
Every complex drawing begins with simple shapes. The nose can be broken down into geometric forms:
- Draw a circle for the tip of the nose.
- Add two smaller circles on either side to represent the nostrils.
- Sketch a triangular shape extending from the tip upward to form the bridge.
- Lightly outline the nostrils and sides of the nose.
These shapes will serve as your guideline for the final nose drawing.
Step 2: Refine the Outline
Once you have the basic structure, start refining the nose’s shape:
- Smooth out the bridge and round out the nostrils.
- Adjust the size and symmetry of the nose to fit the perspective.
- Erase unnecessary guidelines to clean up your sketch.
At this stage, your nose should start looking more structured and less geometric.
How to Shade a Nose for Realism
Shading is the key to making your nose drawing look realistic. Instead of outlining the nose with hard lines, use shading techniques to define its form.
Understanding Light and Shadows
- The light source determines where highlights and shadows fall on the nose.
- The bridge typically has the lightest highlights.
- The sides and nostrils are darker due to shadowing.
- The tip has a soft highlight, but not as bright as the bridge.
Step 3: Applying the First Layer of Shading
- Use an HB or 2B pencil to lightly shade the sides of the nose.
- Blend softly using a tissue or blending stump to create smooth transitions.
- Leave the bridge lighter to create a natural highlight.
This first layer sets the foundation for a more detailed nose.
Step 4: Deepening the Shadows
- Darken the nostrils and the areas around them using a 4B or 6B pencil.
- Add soft shadows along the nose’s sides to enhance its three-dimensional shape.
- Use a kneaded eraser to lift highlights on the bridge and tip.
These details will make the nose appear more natural and proportional.
Different Nose Shapes and How to Draw Them
People have different nose shapes based on genetics, ethnicity, and personal features. Here are some common types and how to draw them.
Button Nose
- Small and slightly upturned.
- Draw a rounder nasal tip with soft, curved nostrils.
- Use minimal shading for a delicate appearance.
Roman Nose
- Has a prominent bridge with a slight curve.
- Use strong shading along the bridge for definition.
- Keep the nostrils slightly elongated.
Flat Nose
- Common in some ethnic groups, with a wider bridge and rounded tip.
- Use gentle shading to enhance width without making it look flat.
Crooked Nose
- Has a slight bend or asymmetry.
- Adjust the bridge to be slightly off-center.
- Keep the shading balanced to create a natural look.
Common Mistakes When Drawing a Nose
Avoid these mistakes to improve your nose drawings:
Over-Outlining the Nose
- Instead of hard outlines, use shading to define edges.
- Soft transitions make the nose look more realistic.
Ignoring Light Source
- A consistent light source ensures realistic shading.
- Highlight the bridge and tip, while darkening the nostrils and sides.
Making the Nostrils Too Dark
- Over-shading the nostrils can make the nose look unnatural.
- Use gradual shading instead of solid black spots.
Final Touches and Blending Techniques
Once the shading is complete, refine the drawing by:
- Blending smoothly for seamless transitions.
- Adjusting highlights and shadows using an eraser or darker pencil.
- Checking symmetry and proportions.
Taking time on these final details will make your nose drawing stand out.
Conclusion
Drawing a nose may seem difficult at first, but by breaking it down into basic shapes, refining the structure, and mastering shading techniques, you can create a realistic and well-proportioned nose.
Remember to practice different nose shapes, experiment with shading, and focus on the play of light and shadow. Over time, your ability to draw lifelike noses will improve, enhancing your portrait drawings. Keep practicing, and soon drawing noses will become second nature!
