Drawing a fish can be a fun and creative experience for both beginners and more advanced artists. Whether you’re sketching a fish for a school project, illustrating an underwater scene, or simply enjoying some leisure drawing time, this guide will walk you through the process step-by-step.
We’ll cover basic fish anatomy, types of fish you can draw, and the key techniques you need to make your fish drawings realistic or stylized. With these techniques, you’ll be able to create beautiful fish drawings every time.
Contents
Why Learn How to Draw a Fish?
Learning how to draw a fish is beneficial for improving your overall drawing skills. Fish are relatively simple creatures to draw, but they come with their own unique challenges. Drawing fish helps develop your understanding of shapes, lines, proportions, and textures, which can be applied to other types of drawing as well. Furthermore, fish are commonly seen in a variety of art forms, including nature sketches, realistic wildlife illustrations, or cartoonish drawings for fun projects. Whether you’re a beginner or an experienced artist, drawing fish is an enjoyable and rewarding skill to learn.
Essential Tools for Drawing a Fish
Before we dive into the step-by-step guide, let’s look at the essential tools you’ll need to create your fish drawing. Using the right materials can make the process smoother and more enjoyable.
Pencils and Erasers
- Pencils: A set of pencils with various hardness levels is important. Start with an HB pencil for sketching, and use 2B or 4B pencils for shading.
- Erasers: A regular eraser is good for larger mistakes, while a kneaded eraser is useful for lighter, more detailed corrections.
- Blending Stump: For smooth shading, a blending stump will help to softly blend pencil marks and create a more realistic texture.
Paper and Markers
- Drawing Paper: Use a good-quality sketchbook or drawing paper. Choose one with medium weight that can handle erasing and shading without tearing.
- Colored Pencils/Markers: If you want to add color to your fish, colored pencils or markers are great options for a vibrant finish.
Understanding Fish Anatomy
Before drawing a fish, it’s helpful to understand its basic anatomy. Fish come in many shapes and sizes, but their structure generally follows a few basic principles. Having a clear understanding of these can help you create more accurate fish drawings.
Fish Body Structure
- Head: The fish’s head is typically slightly triangular, with a prominent mouth, gills, and eyes. The size of the head can vary, but it should always be proportionate to the body.
- Body: The body of a fish is streamlined to aid in swimming. It’s usually elongated, with a more tapered shape towards the tail. The body shape can vary depending on the type of fish.
- Fins: Fins are essential for a fish’s movement. The fish typically has several fins:
- Dorsal fin: Located on top of the fish.
- Pelvic fins: Near the fish’s belly.
- Pectoral fins: Located on either side of the body.
- Caudal fin (tail): Located at the end of the fish’s body.
- Scales: Fish are typically covered with scales. These small, overlapping pieces of skin can be drawn as small curved lines on the fish’s body.
Basic Fish Shapes
- Oval Body: The body of a fish can be represented as an oval or elongated shape that tapers toward the tail.
- Triangular Head: The head of a fish is often triangular, with sharp features such as the mouth and gills.
- Tail: The tail can vary in shape, but it is often a forked or crescent-shaped fin that provides propulsion.
Step-by-Step Guide to Drawing a Fish
Now that we’ve covered the basics of fish anatomy and tools, let’s go step by step through the process of drawing a fish.
Step 1: Draw the Fish’s Basic Shape
Start by drawing the basic shapes that will form the structure of your fish. Draw an oval for the body and a small triangle or circle for the head. The oval represents the body of the fish, and the smaller shape will define the head.
- Draw the oval lightly, as this will form the fish’s body.
- Add the small circle or triangle at one end of the oval to represent the fish’s head. Make sure it aligns properly with the body shape.
Step 2: Add the Tail and Fins
Next, draw the tail and fins. This is where you define the fish’s features and shape more clearly.
- Draw the caudal fin (tail) at the opposite end of the head. The tail can either be triangular, forked, or crescent-shaped, depending on the type of fish you are drawing.
- Add the dorsal fin at the top of the fish’s body. It can be curved or spiked, depending on the fish species.
- Draw the pectoral fins on either side of the fish. These fins are typically located near the fish’s chest area.
- Finally, add the pelvic fins, which are positioned slightly further back, below the pectoral fins.
Step 3: Define the Fish’s Head and Gills
Now, focus on the fish’s head. Draw the gills on either side of the fish’s face. These can be drawn as curved lines just behind the fish’s eye. Also, define the mouth of the fish. Most fish have a simple curved or angled mouth, but some species have unique shapes.
- Add two curved lines on either side of the head for the gills.
- Draw the eye of the fish. Fish eyes are typically round or oval-shaped and located near the front of the head.
Step 4: Add Texture and Details
Now it’s time to add the texture and finer details of the fish’s body. Fish are covered in scales, and you can draw these in a pattern that follows the curvature of the fish’s body. Start at the top of the fish and work your way down.
- Use small curved lines to represent the fish’s scales. These should be arranged in rows, following the flow of the body.
- Add any other details, such as the fish’s fins being slightly jagged or smooth. You can also draw lines to show the fin structure.
Step 5: Finalize with Shading
Shading your fish drawing adds depth and dimension, making it appear more lifelike. Start shading lightly and build it up in layers.
- Add shadows under the fish’s body to show where light doesn’t hit directly.
- Blend the shading with a blending stump or your finger for smoother transitions between light and dark areas.
- Don’t forget to shade the fins to make them look more three-dimensional.
Types of Fish to Draw
There are many types of fish that you can choose to draw. Each type of fish has unique characteristics that make them distinct. Here are a few fish species that you can try drawing for variety:
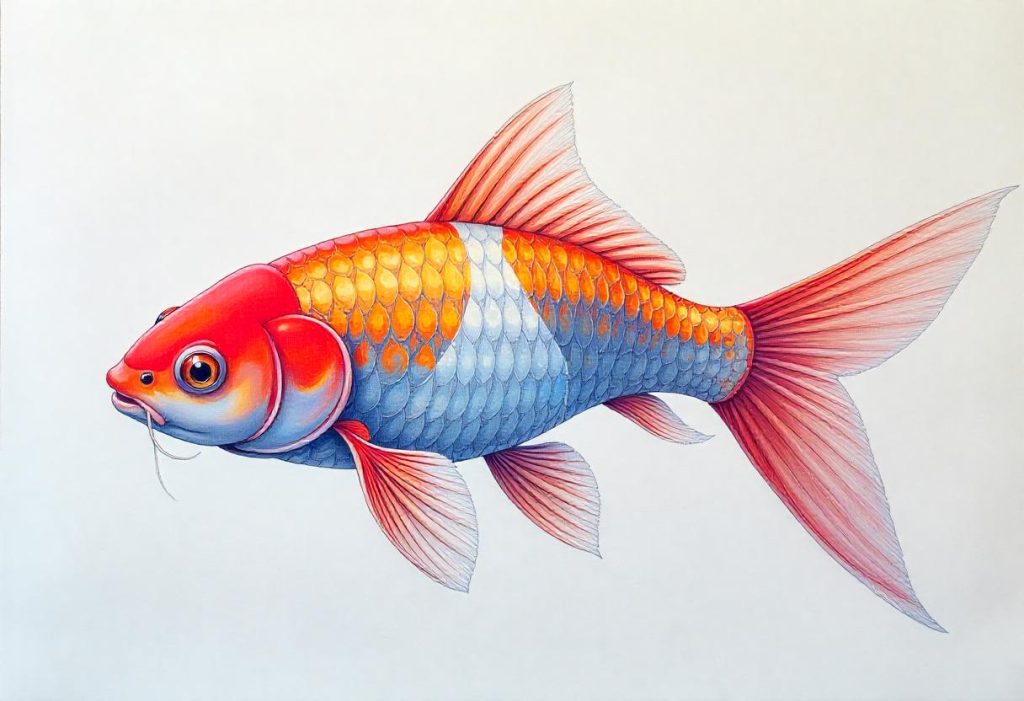
Drawing a Goldfish
Goldfish have a distinct body shape, with large, flowing fins and a round body. Their long, graceful fins and tail give them an elegant look.
- Focus on the curved body and the long fins.
- The tail fin should be large and flowing, which can be drawn with multiple curved lines.
Drawing a Betta Fish
Betta fish are known for their vibrant colors and extravagant fins. Their fins are often wide and flowing, making them a great subject for detailed drawings.
- Emphasize the flowing tail and fins, which can be drawn with curving lines.
- Use bold colors to make the betta’s body stand out.
Drawing a Shark
Sharks have a sleek, muscular body with a large triangular head and sharp features. When drawing a shark, focus on its sleek shape and large dorsal fin.
- Draw the shark’s body elongated, with a slight taper towards the tail.
- Use sharp angles to represent the teeth and fins.
Drawing a Clownfish
Clownfish are small and round with orange and white stripes. Their rounded body shape and unique color patterns make them a fun and simple fish to draw.
- Use curved lines to create the round body.
- Emphasize the distinctive stripes and the small fins.
Tips for Improving Your Fish Drawing Skills
- Practice basic shapes: Drawing a fish starts with understanding basic shapes. Practice drawing ovals, triangles, and circles before working on more detailed features.
- Observe real fish: Look at reference images of real fish to understand their body proportions and characteristics.
- Experiment with different fish: Try drawing different species of fish to challenge yourself with unique shapes, colors, and textures.
- Use color: Adding color to your fish drawings can make them more vibrant and lifelike.
Conclusion
Drawing a fish is a rewarding and fun exercise that improves your understanding of animal anatomy and artistic techniques. By following the steps outlined in this guide, you can confidently draw a fish with realistic proportions, details, and shading.
With practice, you’ll be able to draw various types of fish, from playful goldfish to sleek sharks, each with its own unique characteristics. Keep experimenting and refining your skills, and soon you’ll be drawing fish effortlessly!