Drawing a cow may seem like a simple task, but it involves understanding its anatomy, proportions, and unique features that make the cow instantly recognizable.
Whether you’re looking to draw a cartoon cow or a realistic farm animal, this guide will take you through each step to help you achieve your desired outcome. With practice, you’ll be able to draw a cow that captures its true nature.
Contents
Why Learn to Draw a Cow?
Drawing animals can help you improve your overall artistic skills, including understanding anatomy, proportions, and texture. Cows, with their distinct body shapes and proportions, are a great subject for beginners to practice. They can also be a fun challenge for more advanced artists looking to develop their skills in drawing animals. Cows are often seen in artwork related to rural life, farm scenes, or even stylized illustrations for children’s books.
In this tutorial, we will cover all the techniques necessary to draw a cow, from basic shapes to the finishing details.
Tools You’ll Need to Draw a Cow
Before you begin drawing, it’s important to gather the right tools. The materials you choose will help ensure your drawing is clear, well-defined, and visually appealing. Here are some essential tools for drawing a cow:
Essential Drawing Tools
- Pencils: Start with an HB pencil for general sketching. If you plan to shade your cow drawing, consider using softer pencils like 2B and 4B.
- Eraser: A kneaded eraser works well for subtle corrections, while a regular eraser is useful for larger mistakes.
- Paper: Use drawing paper or a sketchbook with medium weight for a sturdy surface that can handle erasing and shading.
- Blending Stump: For smooth shading, a blending stump helps you achieve soft gradients, particularly on the cow’s body and face.
- Colored Pencils or Markers: If you want to add color to your cow drawing, colored pencils or markers will help you bring the drawing to life.
Understanding Cow Anatomy
Before sketching, it’s crucial to have a basic understanding of the cow’s anatomy. This will help you maintain accurate proportions and perspective in your drawing. A cow’s body can be broken down into basic shapes, which makes it easier to draw. Here are the essential parts of a cow’s body to consider when sketching:
- Head: The cow’s head is relatively large and round, with the nose at the front. It has two ears on either side, and a pair of eyes positioned just above the nose.
- Body: The cow’s body is large and rectangular with a broad chest. Its sides are muscular, and the back should slope gently down from the shoulders to the hindquarters.
- Legs: Cows have four legs with sturdy hooves. The legs should be relatively straight with joints at the knees and hocks.
- Tail: A cow’s tail is long and ends in a tuft of hair, resembling a brush.
By breaking down the cow’s body into basic shapes, such as circles and rectangles, you’ll be able to create a more accurate and structured drawing.
Step-by-Step Guide to Drawing a Cow
Step 1: Start with Basic Shapes
To create a well-proportioned cow drawing, begin by sketching basic shapes. Start by drawing a large oval for the body and a smaller circle for the head. Draw a straight line between the two to guide where the neck will go.
- Sketch a large oval to represent the cow’s body. This will serve as the foundation.
- Draw a smaller circle near the front of the oval to represent the cow’s head.
- Draw a guideline for the neck, which will connect the head and body. This helps establish the position of the cow’s neck and the angle of its head.
Step 2: Outline the Cow’s Head and Neck
Now that you have the basic shapes in place, start defining the outline of the cow’s head. Using the circle you sketched earlier, add curves around the top for the cow’s skull and jawline. Sketch the neck by adding two lines extending from the head and connecting to the body.
- Draw two curved lines from the head to form the neck. Ensure the neck is thick enough to support the weight of the cow’s head.
- Outline the nostrils, eyes, and ears of the cow. The ears should be large and triangular, placed toward the top of the head.
- Add a straight line from the bottom of the circle to define the cow’s mouth and jaw.
Step 3: Draw the Cow’s Body
Next, refine the shape of the cow’s body. The body should be large and oval-shaped. Draw the back of the cow with a gentle slope and the abdomen with a rounded contour.
- Draw the cow’s shoulders and chest, ensuring they appear broad and muscular.
- Smoothly connect the neck to the body. The chest area will be wider, while the hindquarters will be narrower.
- Sketch the hind legs, which should come out from the back of the body. Add curved lines at the joint to show the legs’ natural bend.
Step 4: Add the Cow’s Legs and Hooves
The cow’s legs are relatively straight, but there are slight bends at the knees and hocks. Draw the legs using straight lines with curves for the joints, and add rectangular hooves at the bottom.
- Draw the front legs first. Start with two straight lines extending from the front of the body. Add small curves at the knees and finish with rectangular hooves at the bottom.
- Repeat this process for the hind legs, which may appear slightly angled compared to the front legs.
- Ensure that the legs are symmetrical and the hooves align properly.
Step 5: Refine the Tail and Details
The cow’s tail is a long, slender feature that ends in a tuft of hair. It is important to make sure the tail appears natural.
- Draw the tail coming out from the back of the cow’s body. The tail should be long, with a brush-like tuft of hair at the end.
- Add more details to the hooves, including shading and texture to make them look more realistic.
- Don’t forget to include the ** udder** if your cow is a female. Place the udder just below the hind legs.
Step 6: Draw the Face and Details
Now, focus on the cow’s face. Draw large, rounded eyes with pupils and small nostrils. The mouth should be slightly open, showing the cow’s teeth or just a relaxed expression.
- Add curves to the sides of the face to make it appear more natural.
- Sketch the details of the ears, including folds and inner structure, which will give the cow a more lifelike appearance.
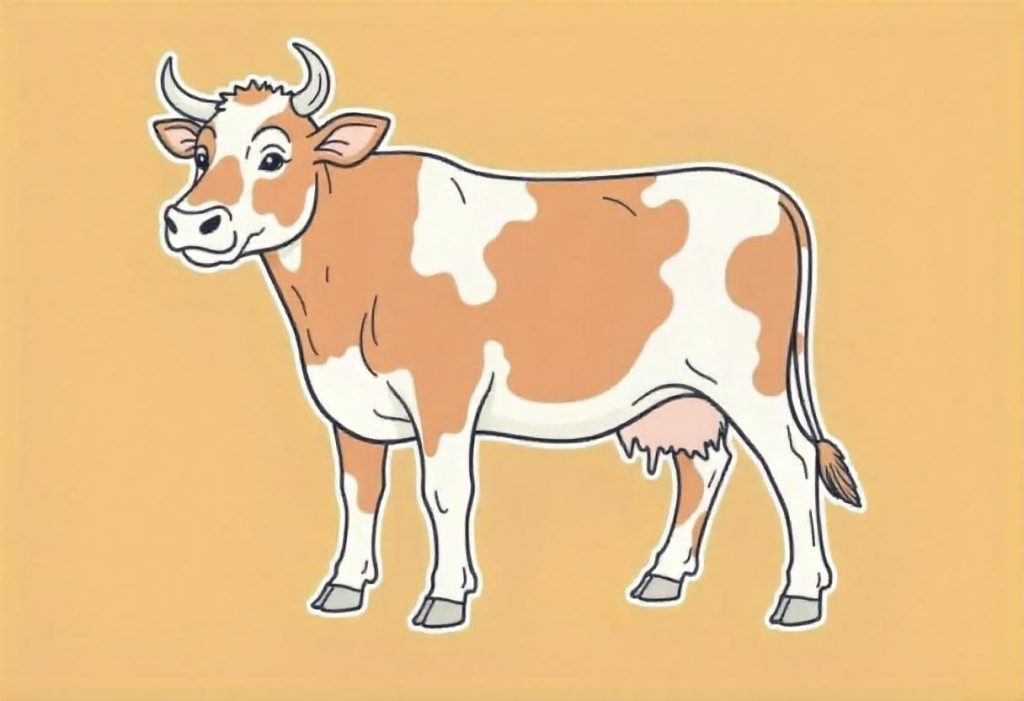
- If desired, add spots or markings to your cow’s body. Many cows have unique coat patterns, which you can incorporate into your drawing.
Step 7: Shading and Texture
To make your cow look more realistic, add shading and texture.
- Use soft shading on the cow’s body, particularly under the belly, neck, and legs.
- Shade around the joints to show the depth of the limbs.
- Add texture to the fur, creating light strokes that follow the direction of the coat. Cows typically have short fur, but this texture can vary depending on the breed.
Drawing Different Types of Cows
Cows come in various breeds, each with distinct characteristics. Some cows have unique features like different coat patterns, sizes, and shapes. Here are a few examples of different types of cows you might want to draw:
Drawing a Holstein Cow
Holstein cows are characterized by their distinctive black-and-white patchy coats. To draw a Holstein cow:
- Focus on the large patches of black and white. The coat should have bold, irregular shapes that contrast with each other.
- Holsteins have black ears and black around their eyes, which you can add to create a realistic depiction.
Drawing a Brown Swiss Cow
Brown Swiss cows have a brownish-gray coat with lighter underbellies. Their faces are usually light-colored compared to the rest of the body. To draw a Brown Swiss cow:
- Use soft, shading techniques to depict the subtle differences in the coat color.
- Their bodies are robust and muscular, so emphasize the muscular lines when drawing their torso.
Tips for Improving Your Cow Drawing Skills
- Practice basic shapes – Start with simple shapes like circles and rectangles to build your cow’s body.
- Use reference images – Study real cows or photos to understand their proportions and features better.
- Experiment with angles – Try drawing cows from different perspectives to enhance your skills.
- Add personal flair – Customize your cow with unique patterns or expressions for a more personalized drawing.
Conclusion
Drawing a cow may seem intimidating at first, but by following the steps and breaking down the drawing into manageable sections