Drawing a butterfly can be an enjoyable and rewarding experience, especially when you break down the process into simple steps. Whether you’re a beginner or an experienced artist, learning how to draw a butterfly is a great way to improve your drawing skills and express creativity.
In this guide, we’ll walk you through the steps to draw a butterfly, from sketching the outline to adding intricate details. So, let’s get started!
Contents
The Basics of Butterfly Anatomy
Before diving into the drawing process, it’s helpful to understand the anatomy of a butterfly. This will allow you to capture its unique features with more precision. A butterfly’s body consists of three main parts:
Head
The head of a butterfly is where the eyes, antennae, and mouthparts are located. It is typically small in proportion to the rest of the body and has a rounded shape. The antennae are long and thin, with a slight curve, while the eyes are typically large in proportion.
Thorax
The thorax is the middle part of the butterfly’s body. It connects the head and the abdomen, and it’s the area where the butterfly’s wings are attached. The thorax is usually somewhat cylindrical, and it’s often covered in fine hairs or scales.
Abdomen
The abdomen is the largest part of the butterfly’s body. It’s long and segmented, and it tapers at the end. This part of the butterfly’s body contains its digestive and reproductive organs.
Materials You’ll Need
Before we begin drawing, gather the following materials:
- Pencil: A regular HB pencil is perfect for sketching your butterfly.
- Eraser: A good eraser will help you correct mistakes and adjust your drawing.
- Colored Pencils or Markers: To add color and life to your butterfly.
- Paper: Any sketching paper will work, but smoother papers are ideal for finer details.
- Sharpener: To keep your pencils at their best.
Once you have these materials ready, you’re all set to start.
Step 1: Start with a Basic Butterfly Shape
Begin by sketching the general shape of the butterfly’s body and wings. It’s helpful to use simple shapes as guides before adding more details.
Outline the Wings
- Draw the Upper Wings: Start by drawing two large oval or triangular shapes for the upper wings. These should be slightly pointed at the top and flare outwards, mimicking the natural shape of butterfly wings.
- Draw the Lower Wings: Next, draw two smaller oval shapes below the upper wings. These lower wings are often rounded or gently tapered at the bottom.
Draw the Body
- Shape the Body: In the center of your drawing, draw a long, thin oval for the butterfly’s body. The top of the oval should be slightly wider than the bottom.
- Add the Thorax and Abdomen: Divide the body into two parts: the thorax (upper portion) and the abdomen (lower portion). The abdomen should gradually taper down as it moves away from the thorax.
Add Antennae
- Sketch the Antennae: Draw two thin, curved lines extending from the top of the butterfly’s head. The antennae should be long, slender, and slightly bent.
Step 2: Refine the Wing Shape
Now that you’ve sketched the basic shapes, it’s time to refine the wings and make them more natural-looking.
Add the Wing Borders
- Outline the Wings More Precisely: Go over the outlines of the wings, refining the curves and edges. Butterfly wings are often asymmetrical, so make each wing slightly different in shape to capture the true beauty of a butterfly.
- Include Small Points: At the edges of the wings, add small points or scalloped shapes. Many butterfly species have wings with jagged or pointed edges.
Draw the Veins of the Wings
- Sketch the Veins: Butterfly wings are intricately patterned with veins. Using light lines, begin sketching out the veins that run through the wings. Start from the center of the wings and extend outward in a branching pattern.
- Keep the Veins Thin and Delicate: The veins should be thin and delicate, radiating out from the center. Look at a reference photo of a butterfly to get a better idea of the vein structure.
Step 3: Add Details to the Body
Now that the wings are in place, turn your attention to the body of the butterfly.
Define the Head and Thorax
- Shape the Head: Add a small, rounded shape at the top of the body for the butterfly’s head. You can add some small lines or dots to represent the eyes.
- Add Antennae Details: Go over the antennae lines, making them slightly thicker or adding subtle curves to make them look more natural.
Add Texture to the Thorax
- Add Fine Hairs: The thorax is often covered in tiny, fine hairs. Add short lines to the thorax area to represent this texture.
- Draw the Segments of the Abdomen: Draw horizontal lines across the abdomen to represent its segmented structure. This will give the butterfly a more realistic appearance.
Step 4: Add Patterns to the Wings
One of the most beautiful aspects of a butterfly’s design is the intricate patterns on its wings. To make your drawing more lifelike, you’ll need to add these details.
Choose a Butterfly Species for Reference
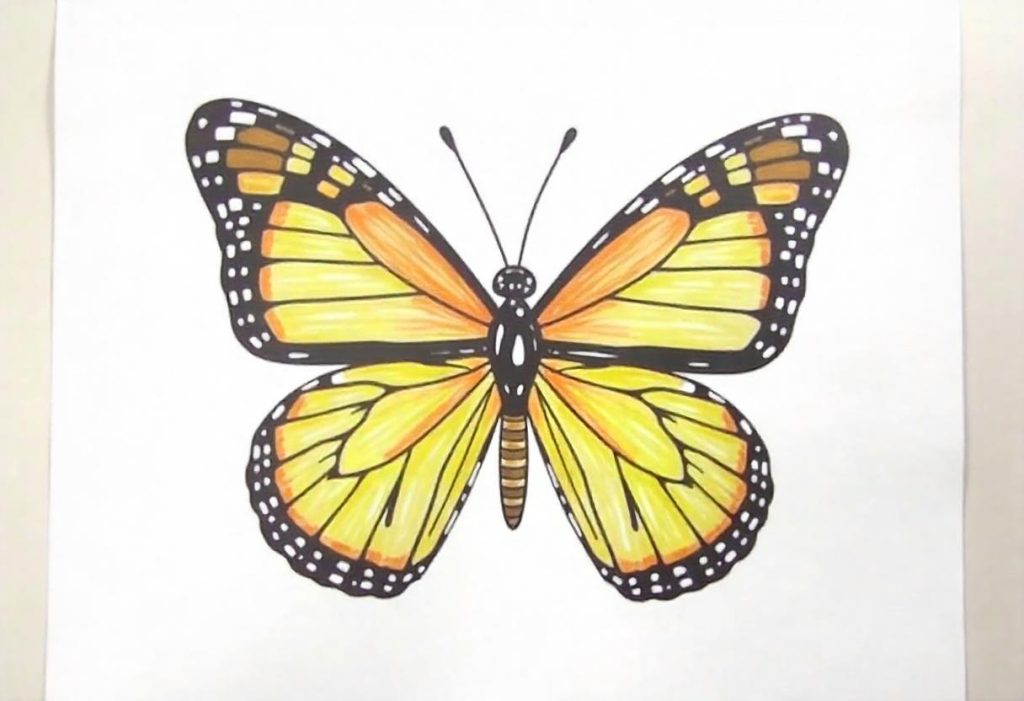
Each species of butterfly has its own unique pattern. Some butterflies have brightly colored wings, while others have muted tones. Choose a butterfly species you like, such as the Monarch or Swallowtail, and use a reference photo for inspiration.
Sketch the Patterns
- Start with the Base Patterns: Lightly sketch the basic shapes and patterns you see on the wings. Many butterflies have eyespots, stripes, or dots. These shapes can be symmetrical on each wing or asymmetric, depending on the species.
- Refine the Shapes: Once you’ve mapped out the basic pattern, go over the lines, refining the edges. Use smooth, curved lines for the patterns, making sure they follow the natural flow of the wings.
Add Details to the Patterns
- Add Smaller Details: Many butterflies have intricate details within the patterns, such as fine lines or speckles. Use a fine-tipped pencil or pen to add these small details to your drawing.
- Consider Symmetry: Butterfly wings are often symmetrical, but they can also have slight differences in pattern and shape. Pay attention to the balance of the patterns on each wing.
Step 5: Shade and Add Texture
Once you’ve added the patterns, it’s time to bring your butterfly to life by adding shading and texture to your drawing.
Add Light Shading to the Body
- Shade the Thorax: Add light shading to the thorax area to give it a more three-dimensional look. Use soft, curved lines to mimic the natural curves of the body.
- Shade the Abdomen: Use light pencil strokes to shade the abdomen, paying attention to the way light hits the body. Darken the areas where shadows would naturally fall, such as under the wings and around the sides of the abdomen.
Shade the Wings
- Use Light Shading on the Wings: Lightly shade the wings to add depth. Shade the area closest to the body darker, as this is where shadows are cast.
- Use a Blending Tool: For a smooth transition in shading, use a blending stump or your finger to blend the pencil strokes. This will create soft gradients and add realism to the wings.
Step 6: Add Color to Your Butterfly Drawing
Now it’s time to bring your butterfly to life with color. You can use colored pencils, markers, or watercolor paints to add vibrant colors to the wings and body. Here are some steps for adding color:
Color the Body
- Choose a Color: The body of a butterfly can range from brown to black to bright yellow. Choose the color based on the butterfly species you’re drawing.
- Shade the Body: Use gentle, smooth strokes to color the body. Add lighter colors to the areas where the light hits, and darker shades in the creases or underneath the wings.
Color the Wings
- Color the Base of the Wings: Start by coloring the base of the wings with a light color. You can use light yellows, oranges, or blues, depending on the butterfly species.
- Add Accent Colors: Add darker or brighter colors to the patterns and veins on the wings. Many butterflies have vibrant oranges, blues, or purples on their wings.
- Blend Colors: Use a blending tool or colored pencil to blend the colors together for a smooth, natural transition between shades.
Final Touches
Once you’ve added color and shading to your butterfly drawing, step back and review your work. Add any final details or adjustments to bring your butterfly to life.
Highlights and Reflections
- Add Highlights: To make your drawing more dynamic, you can add small highlights using a white gel pen or eraser. These highlights simulate light hitting the wings, making them appear shiny and realistic.
- Enhance the Details: Go over the patterns and veins once more to make them stand out. Add any final touches, like deepening shadows or refining the wings’ texture.
Conclusion
Drawing a butterfly is an incredibly satisfying and creative process. By following these steps and practicing your skills, you’ll be able to create beautiful butterfly drawings that capture the delicate and intricate nature of these fascinating insects.
Whether you’re an artist looking to improve your technique or a beginner just starting, this guide will help you every step of the way. With patience and practice, you can master the art of drawing butterflies and enjoy the process of bringing these colorful creatures to life on paper.