Drawing a bow can be an incredibly rewarding and fun experience, whether you are sketching a simple decoration, a gift wrap element, or a detailed design for a larger project. A bow, with its elegant curves and intricate folds, can seem complex, but with the right technique and approach, you can easily master it.
This guide will walk you through the process of drawing a bow from start to finish, helping you achieve a realistic and visually appealing result. Whether you’re a beginner or an experienced artist, you’ll find valuable tips and tricks that will enhance your drawing skills.
Contents
Understanding the Structure of a Bow
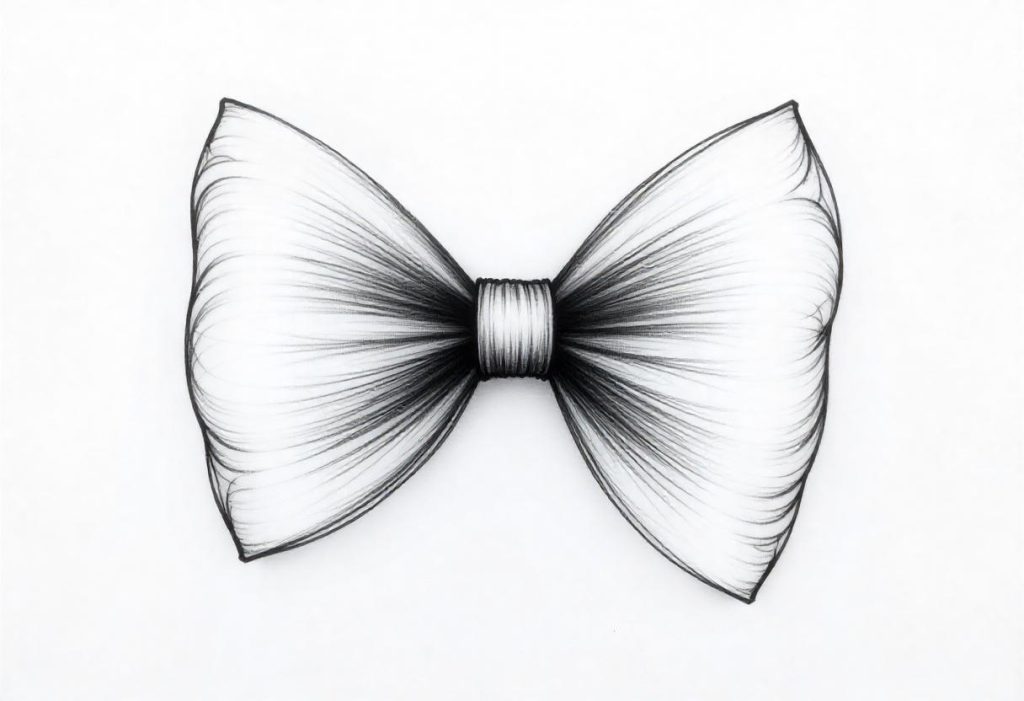
Before we dive into the drawing process, it’s important to understand the basic structure of a bow. The typical bow consists of a knot at the center, two loops, and tails that hang down. The material of the bow, whether it’s a ribbon, fabric, or string, can affect the way it folds and behaves, but the basic structure remains the same.
The Knot
The knot of the bow is the central element that ties everything together. It’s where the loops meet and is typically thicker and more compact. Depending on the type of bow you’re drawing, the knot can be symmetrical or more abstract, but it is always an essential feature that holds the loops in place.
The Loops
The loops are the two curved sections that form the main visual focus of the bow. They can be equal in size or vary slightly depending on the design. The loops give the bow its volume and shape and are key to making the bow look full and three-dimensional.
The Tails
The tails of the bow are the long, narrow ends of the ribbon or fabric that hang from the knot. These tails add movement and elegance to the design. Tails can either flow gently down or be shaped in a specific manner depending on the overall style of the bow.
Materials You Will Need
To begin drawing a bow, you will need the following basic materials:
Pencils
A set of graphite pencils with varying hardness is essential. A harder pencil (like 2H) will allow for light sketching, while a softer pencil (like 4B or 6B) will help with shading and adding depth to your drawing.
Paper
Choose smooth drawing paper or sketch paper that can handle multiple pencil layers. If you’re planning on adding color or fine details, thicker paper is ideal.
Erasers
A kneaded eraser is great for lifting excess graphite and softening harsh lines. An ordinary eraser will come in handy for correcting mistakes.
Optional Materials
If you wish to add color to your bow drawing, you may use colored pencils, markers, or watercolor paints depending on your preferred medium.
Step-by-Step Guide to Drawing a Bow
Let’s begin the step-by-step process of drawing a bow, from sketching the basic shapes to adding shading and refining details.
Step 1: Draw the Basic Shape of the Knot
Start by sketching the basic shape of the knot at the center of the bow. This is where all the loops will converge.
- Start with an Oval or Rectangle: Lightly sketch an oval or a rectangular shape to represent the center knot. This shape should be about the same width as the loops, but slightly smaller in height. Depending on the style of bow, you can experiment with the shape to make the knot more flat or more three-dimensional.
- Shape the Edges: Make the edges of the knot soft and rounded, as most bows have a slightly puffy or creased appearance at the center. Avoid making the knot too sharp or angular.
Step 2: Draw the Loops of the Bow
Next, you’ll draw the two loops that make the bow look full and voluminous.
- Sketch Two Curved Loops: On either side of the knot, lightly sketch two large, symmetrical curves that will form the loops. These loops should be approximately the same size, though you can experiment with different sizes if you want the bow to have an asymmetrical look.
- Shape the Loops: Refine the loops by curving the edges gently, so they appear soft and flowing. The loops should form an open, rounded shape, like an arc or semi-circle. Think of the loops as being made from a soft, flexible material like fabric, which naturally folds and drapes.
Step 3: Draw the Tails of the Bow
The tails hang down from the knot and should be drawn as long, flowing ribbons or fabric pieces. These are important to add balance and movement to your bow.
- Draw Two Tails: From the bottom of the knot, draw two long, narrow rectangles that extend downward. These should be roughly the same width, and the length can vary depending on how long you want the tails to be.
- Add Flow and Curves: Once you’ve drawn the basic shapes of the tails, add gentle curves to make them appear more natural. You can make the tails flow slightly outward or inward, depending on how the fabric naturally moves.
Step 4: Refine the Details of the Knot
To make the knot look realistic, add some subtle folds and texture to it.
- Add Wrinkles and Creases: Draw soft curved lines around the knot to represent the fabric folding over itself. These lines should follow the natural folds of a bow and indicate that the fabric is being tied tightly together.
- Shape the Knot: Refine the shape of the knot, making it appear slightly uneven, as real knots often have a bit of asymmetry. Don’t be afraid to add extra curves to create a more dynamic and interesting knot.
Step 5: Add Shadows and Texture
Now, it’s time to add depth and realism to your bow by using shading.
- Shade the Loops: Identify where the light is coming from and add darker shading to the areas that are further away from the light source. The underside of the loops will be darker, and the topmost parts will be lighter. Use a softer pencil (such as a 4B or 6B) to add the shading.
- Shade the Knot: Add shading around the creases and folds of the knot. This will create the illusion of depth and make the knot look like it’s tied with fabric. The folds where the fabric meets should be darker than the areas that are stretched or flat.
- Blend and Smooth the Shading: Use a blending stump or your fingers to gently blend the shading. This will create smooth transitions between light and dark areas and make the bow look more three-dimensional.
Step 6: Final Refinements
Once the shading is complete, it’s time to clean up your drawing and refine the details.
- Erase Unnecessary Lines: Gently erase any unnecessary sketch lines or guidelines that are no longer needed. This will help to clarify the shape and edges of the bow.
- Add Highlights: Use your eraser to lift some of the shading in areas where light would naturally hit. This can create highlights on the loops and knot, giving the drawing a more polished, realistic appearance.
- Refine the Tails: Go back to the tails and add any additional curves or flow that might make them look more natural. The tails should look as if they are draping or fluttering slightly in the wind, not static.
Tips for Drawing Different Types of Bows
While the general process for drawing a bow remains the same, you can adapt it for different types of bows, such as gift bows, hair bows, or ribbon bows. Here are some tips for customizing your bow drawings:
Gift Bow
For a gift bow, focus on making the loops larger and more voluminous. The knot will often be smaller, and the tails will be long and flowing. You can add decorative elements, like glitter or sparkles, to make the bow appear more festive.
Hair Bow
A hair bow is typically smaller and more symmetrical than a gift bow. It often features a simple knot with equal-sized loops and shorter tails. You can experiment with different fabrics, such as satin or grosgrain, to add texture to the drawing.
Ribbon Bow
For a ribbon bow, you may want to emphasize the smoothness and elegance of the fabric. The loops should have a glossy appearance, and the shading should be soft to suggest the flow of the ribbon material.
Conclusion
Drawing a bow is a wonderful way to practice your skills in shape, texture, and shading. By following the steps outlined above, you can create a realistic and visually appealing bow, whether for a gift, a fashion accessory, or a creative design.
Remember, the key to drawing a bow lies in understanding its structure and carefully observing the way fabric folds and moves. By paying attention to the small details and adding shading, you’ll create a bow that looks lifelike and dynamic.
With practice, you’ll be able to draw beautiful bows that enhance your artwork and add a touch of elegance to your designs. Happy drawing!