Drawing animals is an enjoyable challenge for many artists. Among the most iconic and captivating creatures to draw is the bear. With their rounded bodies, expressive faces, and unique features, bears can be an exciting subject to sketch. Whether you’re a beginner or an experienced artist, learning how to draw a bear can improve your skills in creating realistic wildlife drawings or stylized cartoon representations.
In this comprehensive guide, we will walk you through the process of drawing a bear, step-by-step. We’ll cover various methods for drawing bears, tips for creating more realistic details, and different bear types, such as grizzly bears, polar bears, and black bears.
Contents
Why Draw a Bear?
Bears are fascinating creatures that are widely admired in both real life and in art. Their strength, size, and the wide range of species—ranging from the small black bear to the massive grizzly—make them excellent subjects for artists. Whether you aim to create realistic wildlife illustrations or stylized cartoon bears, learning how to draw a bear can help improve your artistic abilities.
Additionally, drawing bears allows you to practice various drawing techniques, such as shading, perspective, and proportions. The process is also a great opportunity to work with animal anatomy, which is crucial for anyone looking to master more detailed and lifelike drawings.
Materials You Will Need to Draw a Bear
Before we start, it’s important to gather the right materials for drawing your bear. While you can use basic materials, having the right tools will help you achieve a polished, clean drawing. Here’s a list of what you will need:
Pencils
- HB Pencil: A standard pencil for initial sketches and light lines.
- 2B or 4B Pencils: These pencils are ideal for darker lines and adding depth to your shading.
- 6B Pencil: For deeper shadows and creating contrast.
Erasers
- Kneaded Eraser: This eraser is perfect for lightening specific areas of your drawing or creating highlights in the fur.
- Rubber Eraser: For larger areas that need correction.
Paper
- Drawing Paper: Choose smooth, high-quality paper for pencil drawings. Paper with a bit of texture (such as cold-pressed watercolor paper) can add depth to the fur texture.
Additional Tools
- Blending Stump: A helpful tool for smoothing pencil shading and creating soft textures.
- Colored Pencils or Markers (Optional): If you wish to add color to your drawing, these will enhance your artwork and bring it to life.
Step-by-Step Guide: How to Draw a Bear
Drawing a bear involves several steps, from sketching the basic shapes to adding fine details. Let’s break it down.
Step 1: Sketch Basic Shapes for the Body and Head
Every bear starts with basic shapes to establish the structure. Begin by sketching these foundational shapes:
- Head: Draw a circle or an oval shape for the head of the bear. The size of the circle should be in proportion to the size of the bear’s body.
- Body: Draw a large oval or rectangle that will serve as the bear’s torso. Make sure it’s much larger than the head, as bears have large, muscular bodies.
- Legs: Add two ovals for the front legs and two more for the back legs. These shapes should be proportionate to the body, with the back legs slightly larger.
- Tail: Add a small curved line or a tiny oval at the back of the body to represent the bear’s tail.
Step 2: Outline the Bear’s Features
Once you have your basic shapes, you can start refining the bear’s outline.
- Facial Features: Draw guidelines for the facial features of the bear. Divide the head into two halves (horizontally and vertically) to ensure symmetry. The eyes will be placed near the center of the face, and the nose will be located just below the horizontal guideline.
- Ears: Bears have rounded ears that sit on top of their heads. Draw two small, slightly rounded triangles near the top of the circle for the ears.
- Muzzle: Bears have a broad and short muzzle. Draw a horizontal oval or rectangular shape just below the nose to define the bear’s snout.
- Legs and Paws: Outline the bear’s limbs by refining the ovals from the previous step. Add more definition to the paws by drawing small curves at the bottom of each leg.
Step 3: Add Details to the Bear’s Face
Now that you have the basic outline of the bear, focus on detailing the face:
- Eyes: Bears have small, dark eyes that are often placed near the center of their face. Draw two almond-shaped eyes with a small highlight in the upper part of each eye.
- Nose: The bear’s nose is typically wide and black. Draw a rounded triangle shape at the tip of the muzzle and shade it in dark to create depth.
- Mouth and Teeth: Draw the bear’s mouth beneath the nose. A bear’s mouth is wide, with a slightly curved line for the top lip and a more pronounced line for the bottom lip. Add small lines to represent teeth if you’re drawing a bear with its mouth slightly open.
Step 4: Add Fur and Texture
Bears have thick, coarse fur, and adding texture is essential to making your bear look realistic. There are two primary methods to depict fur:
- Short Fur: For areas like the bear’s face and paws, use small, short strokes to create the illusion of fur. Focus on the areas around the eyes, snout, and paws, where the fur is typically shorter.
- Long Fur: The body and back of the bear have longer fur. Use longer, more flowing pencil strokes to add texture to the bear’s body. Follow the contours of the body and legs to make the fur appear natural and flowing.
Step 5: Refine the Details of the Body
After finishing the face and fur, refine the rest of the bear’s body. This includes:
- Muscular Definition: Bears are muscular animals, so add some definition to the body by emphasizing the shoulder and hind leg muscles. Use gentle curves and shading to create a sense of depth and dimension.
- Leg and Paw Details: Add more detail to the legs and paws. Draw individual toes and claws, paying attention to the bear’s unique paw structure.
- Shading: Begin shading the areas of the bear that would be darker, such as the underside of the body, the areas around the face and ears, and the areas underneath the limbs. Use a blending stump to smooth out the pencil shading for a more natural look.
Step 6: Add Final Shading and Highlights
The final stage involves shading the bear to make it appear more three-dimensional.
- Shadows: Think about where the light source is coming from and use a pencil to add darker shadows to the bear’s body, especially around the limbs, under the chin, and behind the ears.
- Highlights: Use your eraser to gently lift graphite from areas that would catch the light, such as the top of the head, the tops of the shoulders, and along the edges of the fur.
Variations: Drawing Different Types of Bears
While the general process for drawing a bear remains similar, you can adjust your drawing style depending on the type of bear you want to portray. Here are a few examples of different types of bears:
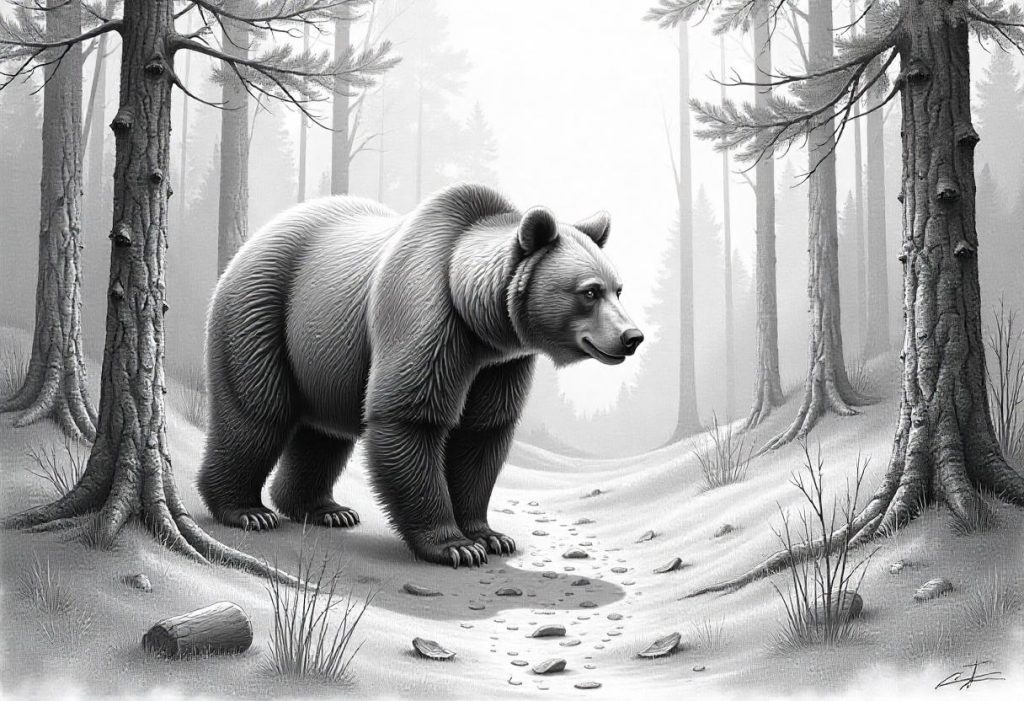
Grizzly Bear
Grizzly bears are large, muscular bears with distinct facial features. They have a prominent shoulder hump and a broader, more rugged face.
- Face: Focus on making the face wider and more rugged, with deeper shading around the eyes and muzzle.
- Body: Emphasize the shoulder hump and thicker fur around the neck and upper back.
- Texture: Use rougher pencil strokes to give the bear a more coarse, thick fur texture.
Polar Bear
Polar bears have white fur and are typically drawn in snowy, icy environments.
- Face: Polar bears have a long, slender snout and round ears. Their face is less broad than that of a grizzly bear.
- Body: Draw a more streamlined body with an emphasis on thick fur that blends smoothly into the environment.
- Shading: Since polar bears have white fur, focus on adding subtle shadows and highlights rather than dark shading.
Black Bear
Black bears are typically smaller and have smoother, darker fur.
- Face: The black bear’s face is less rugged and has a softer, rounder appearance.
- Body: Black bears have a slimmer physique compared to grizzlies, with less pronounced muscle definition.
- Texture: Use smoother strokes to represent the softer texture of black bear fur.
Conclusion
Drawing a bear can be a fun and rewarding challenge for any artist. Whether you’re capturing the rugged grizzly, the sleek polar bear, or the graceful black bear, each type requires attention to detail and a solid understanding of animal anatomy. By following these steps, using the right tools, and practicing regularly, you’ll be able to create realistic and dynamic bear drawings that showcase your artistic skill.
As you continue to improve, experiment with different poses, settings, and artistic styles to make your bear drawings even more unique. Whether you’re using your drawing skills for personal enjoyment or to create art for others, learning to draw a bear is a great way to explore the beauty of wildlife through art. Happy drawing!