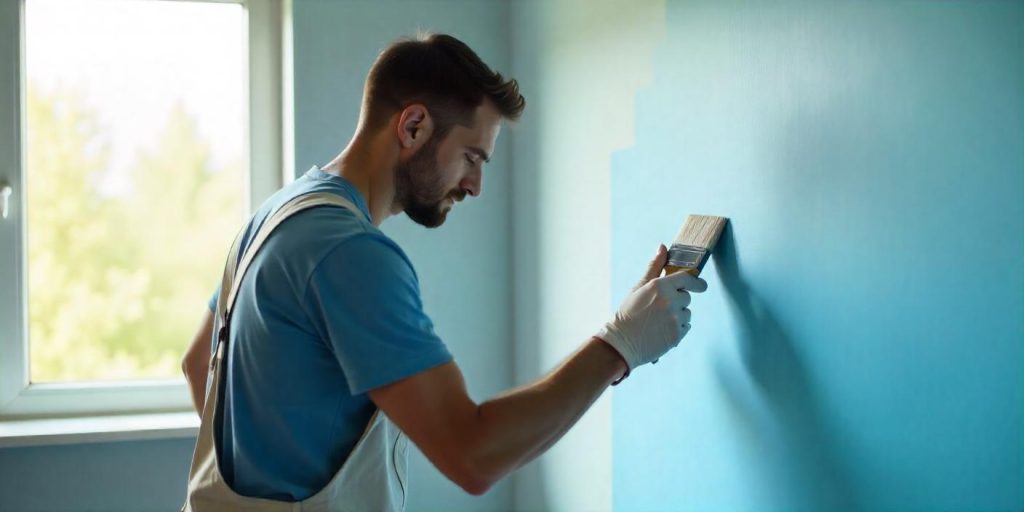
Achieving crisp, clean paint edges on interior walls can transform a room from amateur to professional quality. Whether you’re painting accent walls, creating patterns, or simply refining a new coat of paint, clean edges ensure your project looks polished.

This guide outlines effective techniques, tools, and tips to help you achieve flawless paint edges while avoiding common mistakes.
Contents
Why Clean Paint Edges Are Important
A Professional Finish
Clean paint edges are the hallmark of high-quality work. They demonstrate attention to detail and elevate the overall appearance of a painted room.
Enhancing Room Aesthetics
Sharp paint edges help create visually distinct zones, especially when using multiple colors or adding decorative features like stripes or patterns.
Reducing Touch-Up Time
Fewer paint smudges and overflows mean less effort spent on corrections, saving you time and resources.
Essential Tools and Materials
Tools You’ll Need
- Painter’s Tape: High-quality tape prevents paint bleed.
- Angled Brushes: Perfect for precise cutting along edges.
- Edgers and Guides: Useful for corners and trim work.
- Rollers: For covering larger areas with consistent application.
- Putty Knife: Helps smooth tape edges for better adhesion.
Materials Required
- High-quality paint
- Primer (if needed)
- Drop cloths
- Clean rags
- Bucket of soapy water
Preparing Your Walls for Painting
Clean the Surface
- Remove Dust and Dirt: Use a damp cloth to wipe down the walls.
- Fill Gaps and Holes: Apply spackle to any imperfections and sand smooth.
Prime the Walls
- A layer of primer ensures better paint adhesion and helps create a clean separation between colors.
Techniques for Clean Paint Edges
1. Using Painter’s Tape
Choosing the Right Tape
- Opt for painter’s tape designed for delicate surfaces if working on wallpaper or fresh paint.
Applying the Tape
- Align the tape carefully along the edge or trim.
- Press down firmly with your fingers or a putty knife to ensure proper adhesion.
Removing the Tape
- Remove the tape while the paint is still tacky for cleaner edges. Pull it off at a 45-degree angle.
2. Cutting-In Technique
What Is Cutting-In?
Cutting-in involves using an angled brush to manually paint along edges without tape.
How to Cut-In
- Dip your angled brush in paint, removing excess.
- Steadily draw the brush along the edge in a single stroke.
- Repeat until the line is consistent and clean.
3. Using a Paint Edger
What Is a Paint Edger?
A paint edger is a tool designed to create sharp lines along edges, such as where walls meet ceilings or trim.
Steps to Use a Paint Edger
- Load the edger with paint.
- Press it against the edge and glide smoothly.
- Clean the edger regularly to avoid buildup.
4. Feathering Techniques
Why Feathering Works
Feathering minimizes visible paint ridges by blending edges seamlessly.
How to Feather Edges
- Use a smaller brush or roller near the tape line.
- Gradually apply lighter pressure as you move away from the edge.
5. Freehand Painting for Experienced Painters
Preparing for Freehand
- Use a high-quality angled brush and practice steady strokes.
Technique
- Hold the brush at a 45-degree angle.
- Slowly drag the brush along the edge, maintaining even pressure.
Addressing Common Problems
Paint Bleeding Under Tape
- Cause: Poor tape adhesion or excessive paint application.
- Solution: Press tape edges firmly with a putty knife and apply thin coats of paint.
Uneven Lines with Cutting-In
- Cause: Inconsistent hand pressure or paint buildup on the brush.
- Solution: Use an angled brush and practice on scrap surfaces.
Paint Tearing When Removing Tape
- Cause: Tape removed too late or at the wrong angle.
- Solution: Remove tape at a 45-degree angle while the paint is semi-dry.
Tips for Maintaining Clean Edges
Use Thin Paint Layers
Applying thin coats prevents paint from seeping under the tape or forming ridges.
Keep Tools Clean
Regularly clean brushes, rollers, and edgers to avoid streaks and smudges.
Patience Is Key
Allow each coat to dry completely before applying the next to avoid smearing.
Advanced Techniques for Decorative Edges
Multi-Color Designs
- Use painter’s tape to section off areas for each color.
- Apply a base color first, let it dry, and then tape over it before adding a second color.
Creating Patterns
- Apply stencils or custom tape designs for unique patterns.
Ombre Effects
- Blend colors seamlessly using feathering and sponging techniques.
Frequently Asked Questions
How Long Should I Wait Before Removing Painter’s Tape?
Remove the tape while the paint is still slightly wet—usually about 30 minutes after application.
Can I Use Masking Tape Instead of Painter’s Tape?
While masking tape can be used, it is more likely to cause paint bleed or damage surfaces.
How Do I Clean Up Mistakes?
- Use a damp cloth to wipe away wet paint immediately.
- For dried paint, carefully scrape with a blade or sand and repaint.
Conclusion
Creating clean paint edges on interior walls requires patience, the right tools, and proper techniques. By following this guide, you can transform any space with professional-looking results. Whether you’re a beginner or an experienced DIY enthusiast, mastering these methods will ensure crisp, polished lines and elevate the quality of your painting projects.
Achieving clean paint edges is not just about the tools but also about careful preparation and execution. With these tips, you’re ready to take on your next painting project with confidence and achieve stunning results.
