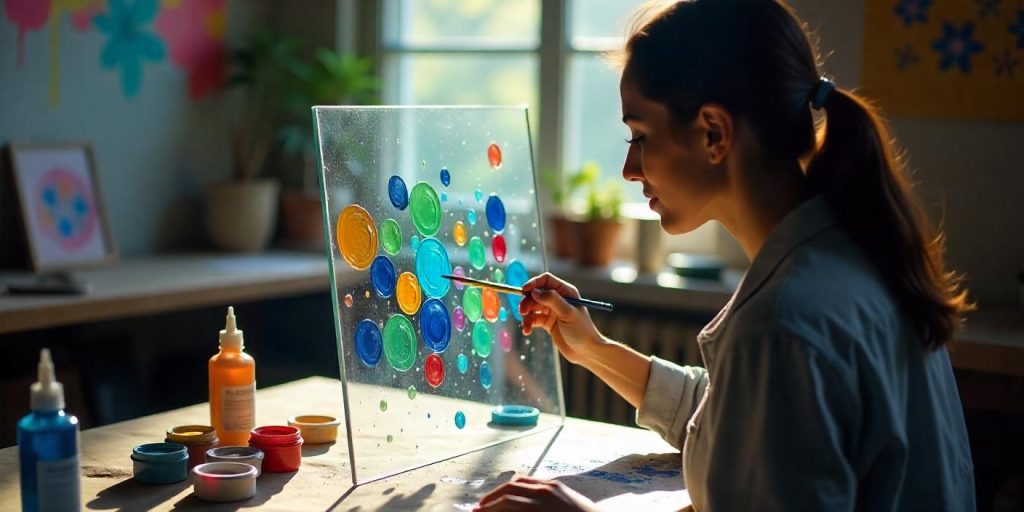
Reverse painting on glass is a unique and captivating art form that involves painting on the back of a glass surface to create a design that is viewed from the front. This technique offers a glossy, professional finish and allows for endless creative possibilities.

Whether you’re a seasoned artist or a beginner looking to explore a new medium, this guide will walk you through the process of creating a reverse painting on glass.
Contents
Why Choose Reverse Painting on Glass
Unique Artistic Technique
- Reverse painting creates a polished and glossy look that is difficult to replicate with other mediums.
Versatile Applications
- Use this technique for home décor, personalized gifts, or even as standalone art pieces.
Beginner-Friendly
- With the right tools and patience, even beginners can achieve stunning results.
Materials You’ll Need
- Glass panel or frame
- Acrylic paints or enamel paints
- Fine-tipped and flat paintbrushes
- Paint palette
- Pencil or marker
- Tape
- Paper for sketching designs
- Cotton swabs and rubbing alcohol (for corrections)
- Clear varnish or sealant
Preparing for Reverse Painting
Choose the Right Glass
- Use a clean, clear glass panel or the glass from a photo frame. Ensure it is free from scratches and smudges.
Clean the Surface
- Wipe the glass thoroughly with rubbing alcohol to remove dirt, fingerprints, and oils. This ensures the paint adheres properly.
Plan Your Design
- Sketch your design on paper first. This serves as a guide for your painting.
- Place the sketch underneath the glass to trace or use as a reference.
Step-by-Step Guide to Reverse Painting
Step 1: Position Your Design
- Tape your design sketch to the back of the glass panel.
- Make sure the sketch aligns correctly with your intended final image.
Step 2: Paint the Details First
- Begin with the smallest details of your design, such as facial features or intricate patterns.
- Since reverse painting shows the first layer of paint on top, the details must be painted first.
Step 3: Layer Colors Strategically
- After completing the details, paint the midtones and larger areas of the design.
- Allow each layer to dry fully before applying the next to avoid smudging or color bleeding.
Step 4: Add the Background
- Once all the design elements are complete, fill in the background color.
- This final layer will provide a cohesive look when viewed from the front.
Step 5: Inspect and Correct
- Flip the glass over to view your painting from the front.
- Use cotton swabs dipped in rubbing alcohol to correct any errors or clean up stray marks.
Step 6: Seal the Painting
- To protect your work, apply a clear varnish or sealant to the painted side of the glass.
- Allow the sealant to dry completely before framing or displaying.
Tips for Success
Use High-Quality Paints
- Acrylic or enamel paints are ideal for glass painting as they adhere well and offer vibrant colors.
Patience is Key
- Let each layer dry fully before adding the next. Rushing can lead to smudging and uneven finishes.
Test Before You Begin
- Practice on a small piece of glass to familiarize yourself with the reverse painting technique.
Protect Your Workspace
- Place a drop cloth or newspaper under your project to catch any spills or drips.
Creative Ideas for Reverse Painting
Decorative Home Accents
- Paint floral patterns, abstract designs, or landscapes on glass panels to create custom wall art.
Personalized Gifts
- Create monograms, quotes, or themed images for gifts that are both meaningful and artistic.
Functional Art
- Reverse paint on glass coasters, trays, or windowpanes for a combination of beauty and utility.
Common Mistakes to Avoid
Skipping the Cleaning Step
- Dirty glass can cause the paint to peel or not adhere properly. Always clean thoroughly.
Not Planning Ahead
- Reverse painting requires careful planning as the layers are applied in reverse order.
Using Inappropriate Brushes
- Fine details require precision brushes. Avoid using old or frayed brushes that could compromise your design.
Frequently Asked Questions
Can I use any type of glass for reverse painting?
- Yes, but clear glass is recommended for beginners. Textured or frosted glass can also be used for unique effects.
How do I fix mistakes in my painting?
- Use a cotton swab dipped in rubbing alcohol to gently remove unwanted paint.
Can I use regular paint instead of acrylic or enamel?
- Acrylic and enamel paints are preferred for their durability and adhesion. Watercolors or oils may not provide the same results.
How long does the process take?
- The time depends on the complexity of your design and drying times. Most projects can be completed within a few hours.
Conclusion
Reverse painting on glass is a rewarding artistic technique that offers a fresh perspective on traditional painting. With proper preparation, attention to detail, and a touch of creativity, you can produce stunning works of art.
Whether you’re creating décor for your home or a gift for someone special, this guide provides all the steps you need to bring your vision to life. Start your reverse painting journey today and let your creativity shine through glass!
