When tackling a painting project, you might wonder if you can use ceiling paint as a primer. Since both primer and ceiling paint are typically flat and have high coverage properties, it may seem like a budget-friendly solution.
However, using ceiling paint as a primer has its advantages and disadvantages. In this guide, we’ll explore whether ceiling paint can work as a primer, when it’s suitable, and how to achieve the best results.
Contents
- What Is the Difference Between Ceiling Paint and Primer?
- Can You Use Ceiling Paint as a Primer?
- Pros and Cons of Using Ceiling Paint as a Primer
- Best Practices for Using Ceiling Paint as a Primer
- When to Use a Dedicated Primer Instead of Ceiling Paint
- How Does Ceiling Paint Compare to Other Types of Primers?
- How to Use Ceiling Paint as a Primer Step-by-Step
- Common Mistakes to Avoid When Using Ceiling Paint as a Primer
- Frequently Asked Questions (FAQs)
- Conclusion: Should You Use Ceiling Paint as a Primer?
What Is the Difference Between Ceiling Paint and Primer?
Ceiling Paint
- Purpose: Designed to cover ceilings with a uniform, non-reflective finish.
- Finish: Usually flat or matte to hide imperfections.
- Composition: Thick, with high opacity for maximum coverage.
Primer
- Purpose: Designed to prepare surfaces for paint by sealing, adhering, and covering stains.
- Finish: Flat, but formulated to bond well with topcoat paint.
- Composition: Contains adhesive properties and stain-blocking ingredients.
Can You Use Ceiling Paint as a Primer?
The short answer is: Yes, but only in specific situations. Ceiling paint can serve as a primer on certain surfaces, but it lacks the bonding and stain-blocking properties of true primers.
When Ceiling Paint Works as a Primer
- Over Previously Painted Surfaces: If the wall is already painted with a flat finish and is in good condition, ceiling paint can act as a primer.
- For Light Color Changes: When painting a new color similar to the existing one, ceiling paint can help provide a consistent base.
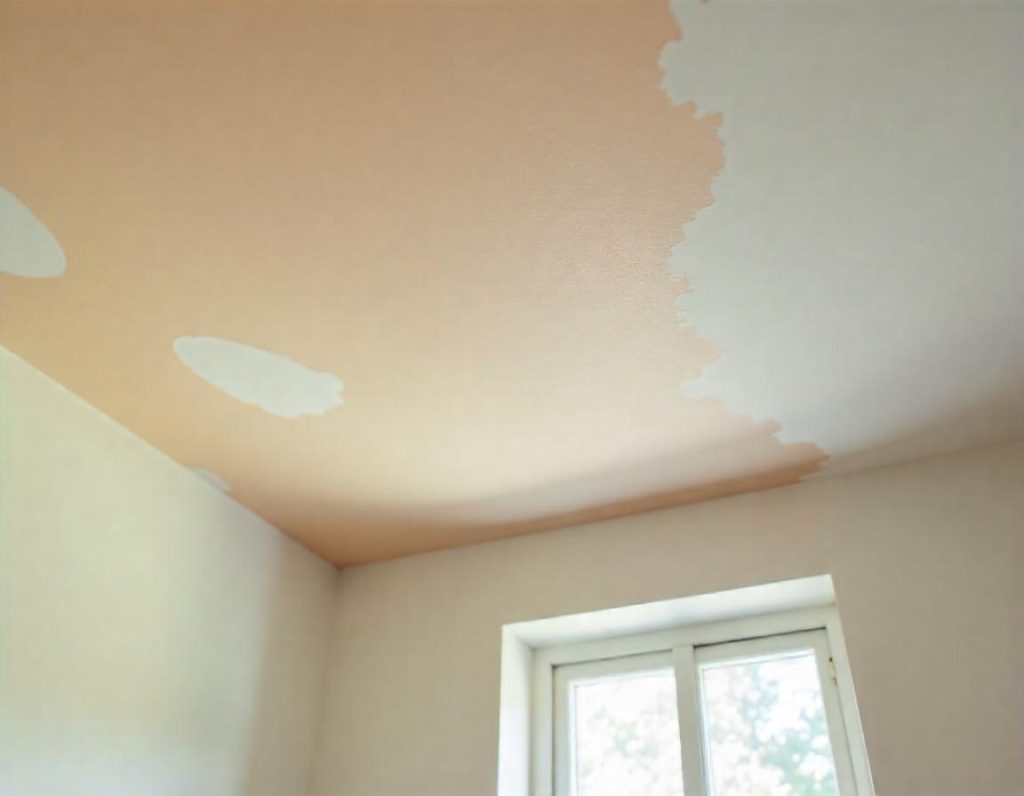
- On New Drywall (With Limitations): Ceiling paint offers some coverage on new drywall but may require additional coats for proper sealing.
When Not to Use Ceiling Paint as a Primer
- Over Glossy Surfaces: It lacks the adhesion properties needed for glossy or oil-based surfaces.
- For Stain Blocking: Ceiling paint won’t cover water stains, smoke damage, or ink marks effectively.
- On Bare Wood or Metal: It does not seal porous surfaces like wood or prevent rust on metal.
Pros and Cons of Using Ceiling Paint as a Primer
Pros
- Cost-Effective: Ceiling paint is often less expensive than dedicated primers.
- Good Coverage: Its thick, flat formula hides minor surface imperfections.
- Simple Application: Applies easily with rollers and brushes.
Cons
- Weak Adhesion: Poor bonding on slick surfaces, causing peeling or chipping.
- Limited Stain Blocking: Won’t prevent stains from bleeding through the topcoat.
- Absorption Issues: On porous surfaces like new drywall, it may soak in unevenly.
Best Practices for Using Ceiling Paint as a Primer
1. Surface Preparation Is Key
- Clean the Surface: Remove dirt, grease, or mildew with soap and water.
- Sand Glossy Areas: Lightly sand to create a rough surface for better adhesion.
- Fill Holes and Cracks: Use spackle or joint compound and sand smooth.
2. Thin the Ceiling Paint for Priming Drywall
- Why Thin It: New drywall absorbs paint quickly. Thinning the ceiling paint allows it to soak into the surface more evenly.
- How to Thin: Add about 10% water to the ceiling paint and mix thoroughly.
3. Use Multiple Coats When Necessary
- For new drywall or porous surfaces, apply two coats of ceiling paint before the final topcoat.
4. Test Adhesion Before Applying the Topcoat
- Perform an adhesion test by applying a strip of painter’s tape and peeling it off. If paint lifts with the tape, the surface isn’t properly primed.
When to Use a Dedicated Primer Instead of Ceiling Paint
1. Over Bare Wood or Metal
- Primer Needed: Stain-blocking or rust-resistant primer.
- Reason: Prevents bleed-through and ensures proper adhesion.
2. On Glossy or Previously Oil-Based Paint
- Primer Needed: Bonding primer or oil-based primer.
- Reason: Promotes strong adhesion on slick surfaces.
3. For Stain and Odor Blocking
- Primer Needed: Stain-blocking or shellac-based primer.
- Reason: Blocks water stains, smoke damage, and odors.
4. When Changing from Dark to Light Colors
- Primer Needed: High-hide primer or tinted primer.
- Reason: Reduces the number of topcoats needed.
How Does Ceiling Paint Compare to Other Types of Primers?
Ceiling Paint vs. Drywall Primer
- Drywall Primer: Specifically formulated to seal porous surfaces and prevent flashing.
- Ceiling Paint: Can work but may require more coats and still result in uneven absorption.
Ceiling Paint vs. Stain-Blocking Primer
- Stain-Blocking Primer: Contains resins that lock in stains and odors.
- Ceiling Paint: Lacks the ability to block stubborn stains or watermarks.
Ceiling Paint vs. Bonding Primer
- Bonding Primer: Adheres to slick surfaces like tiles, laminates, and glossy paints.
- Ceiling Paint: Will likely peel or chip without proper adhesion properties.
How to Use Ceiling Paint as a Primer Step-by-Step
Step 1: Gather Tools and Materials
- Ceiling paint (flat finish)
- Paint roller with a 3/8-inch or 1/2-inch nap
- Angled brush for edges
- Paint tray and liner
- Painter’s tape
- Sandpaper (120-150 grit)
- Drop cloths
Step 2: Prep the Surface
- Clean with a damp cloth and let it dry.
- Sand any rough areas, especially patched spots.
- Apply painter’s tape to edges and trim.
Step 3: Thin the Ceiling Paint (for Drywall)
- In a clean bucket, add 10% water to the ceiling paint.
- Stir thoroughly until well mixed.
Step 4: Apply the First Coat
- Use a roller to cover large areas with W-shaped strokes.
- Use a brush to cut in along corners and edges.
- Allow the first coat to dry completely (usually 2-4 hours).
Step 5: Inspect and Sand Lightly
- Lightly sand between coats to remove bumps or roller marks.
Step 6: Apply the Second Coat (if needed)
- Roll the second coat in the same W-shaped pattern.
- Let it dry fully before applying the topcoat.
Common Mistakes to Avoid When Using Ceiling Paint as a Primer
Skipping Surface Preparation
- Not cleaning or sanding surfaces reduces adhesion and may cause peeling.
Using One Coat on New Drywall
- Fresh drywall absorbs paint unevenly. Two coats are typically needed.
Ignoring Drying Times
- Painting too soon over a damp surface can cause streaks or peeling.
Not Testing Adhesion
- Always test a small patch before committing to the entire area.
Frequently Asked Questions (FAQs)
Is Ceiling Paint the Same as Primer?
No. Although ceiling paint has high coverage, it lacks the adhesive and stain-blocking properties of a true primer.
Can You Use Ceiling Paint as a Primer on Wood?
No. Wood requires a dedicated primer that seals tannins and prevents bleed-through.
Should You Thin Ceiling Paint When Using It as a Primer?
Yes, especially on new drywall. Thinning helps the paint soak into porous surfaces more evenly.
Can You Paint Over Ceiling Paint Without Priming?
Yes, if the ceiling paint is flat and the surface is in good condition. However, a dedicated primer is better for drastic color changes.
Conclusion: Should You Use Ceiling Paint as a Primer?
Using ceiling paint as a primer can be a cost-effective solution for specific situations, such as repainting previously painted walls or covering light colors. However, for new drywall, stains, wood, or slick surfaces, a dedicated primer is essential.
Recommended Approach:
- Use Ceiling Paint as a Primer: For light color changes and previously painted walls.
- Use Dedicated Primer: For bare drywall, wood, stains, or glossy surfaces.
By following best practices and understanding the limitations of ceiling paint, you can achieve professional-looking results in your DIY painting projects.