Yes, you can sand acrylic paint to smooth out imperfections and create a polished finish. Sanding acrylic paint helps achieve a professional look by removing bumps and uneven textures.
This technique is commonly used in various DIY projects, art, and crafts to enhance the final appearance of the painted surface. By following the proper sanding process, you can refine your acrylic paint projects and give them a professional touch.
Understanding the steps and tools needed for sanding acrylic paint is essential to ensure a successful and satisfying outcome. Let’s explore the benefits and techniques of sanding acrylic paint to elevate your creative projects to the next level.
Contents
- Introduction To Acrylic Paint Finishing
- Preparing The Surface Before Sanding
- Essentials Of Sanding Acrylic Paint
- Step-by-step Guide To Sanding
- Avoiding Common Sanding Mistakes
- Achieving A High-gloss Finish
- Alternatives To Sanding For Smoothing Paint
- Safety Precautions And Best Practices
- Conclusion: Mastering The Art Of Sanding Acrylic Paint
- Frequently Asked Questions
- Conclusion
Introduction To Acrylic Paint Finishing
Acrylic paint finishing can be sanded, but it requires some considerations. Sanding acrylic paint can remove the top layer of the paint, so it’s important to sand gently and lightly.
Popularity Of Acrylic Paint In Diy Projects
Acrylic paint is widely used in DIY projects due to its versatility and vibrant color options.
Importance Of A Smooth Finish
A smooth finish is crucial in acrylic paint projects to achieve a professional look.
Preparing The Surface Before Sanding
Before sanding acrylic paint, it’s crucial to properly prepare the surface to ensure the best results. This involves thorough cleaning and assessing the condition of the paint. By following these steps, you can achieve a smooth and professional finish for your project.
Cleaning The Surface
Begin by cleaning the surface with a mild detergent and water. Use a soft cloth or sponge to gently remove any dirt, dust, or grime from the painted surface. Ensure that the area is completely dry before proceeding to the next step.
Assessing Paint Condition
Examine the condition of the acrylic paint to determine if it is suitable for sanding. Look for any imperfections, such as bumps, drips, or uneven texture. Additionally, check for any areas where the paint may be peeling or flaking.
Essentials Of Sanding Acrylic Paint
When it comes to achieving a flawless finish on your acrylic paint project, sanding is a crucial step that can make all the difference. Understanding the essentials of sanding acrylic paint, including selecting the right sandpaper grit and choosing between wet and dry sanding techniques, is key to achieving professional-looking results.
Selecting The Right Sandpaper Grit
Choosing the correct sandpaper grit is essential for effectively sanding acrylic paint. Finer grits such as 800 to 2000 are ideal for smoothing out the surface and removing imperfections without causing damage. Coarser grits can leave visible scratches, so it’s best to start with a finer grit and progressively move to coarser grits if necessary.
Wet Sanding Vs. Dry Sanding Techniques
Wet sanding involves using water or a lubricant to minimize dust and prevent the sandpaper from clogging, resulting in a smoother finish. Dry sanding, on the other hand, is performed without any added moisture. Both techniques have their advantages, and the choice between wet and dry sanding depends on the specific requirements of the project.

Credit: bradteare.com
Step-by-step Guide To Sanding
Discover the essential steps for sanding acrylic paint effectively. Learn how to sand acrylic paint properly to achieve a smooth finish without damaging the surface.
Starting With A Coarse Grit
Begin sanding acrylic paint by using a coarse grit sandpaper, such as 120 grit, to remove any bumps or imperfections.
Sand in a circular motion to avoid creating visible scratches. Wipe the surface with a clean cloth to check progress.
Progressing To Finer Grits
Once the surface is smooth with the coarse grit, switch to a finer grit like 220 to refine the finish.
Continue sanding in a circular motion, gradually reducing the grit to 400 or higher for a polished look.
Avoiding Common Sanding Mistakes
You can sand acrylic paint, but it requires caution. Use a fine-grit sandpaper and gentle pressure to avoid damaging the paint. After sanding, clean the surface thoroughly to ensure a smooth finish for your project.
When it comes to sanding acrylic paint, it is important to avoid common sanding mistakes to achieve the best results. Sanding is an essential part of the painting process, and it helps to smooth out imperfections, create a smooth surface, and improve the adhesion of subsequent layers of paint. However, sanding can also damage the paint if not done correctly. In this article, we will discuss some common sanding mistakes to avoid and provide tips on how to sand acrylic paint properly.Applying Even Pressure
Applying even pressure is crucial when sanding acrylic paint. Uneven pressure can cause the paint to become uneven, resulting in an unattractive finish. Use a sanding block or a sanding sponge to apply even pressure to the surface of the paint. Avoid using your fingers as they may create uneven pressure, which can damage the paint.Avoiding Over-sanding
Over-sanding is another common mistake to avoid when sanding acrylic paint. Over-sanding can cause the paint to become too thin, resulting in an uneven finish. To avoid over-sanding, start with a coarse grit sandpaper and gradually move to a finer grit sandpaper. Use a light touch when sanding and stop when you have achieved the desired smoothness.Summary
In conclusion, sanding acrylic paint is an essential part of the painting process, but it can also be tricky. Avoiding common sanding mistakes such as uneven pressure and over-sanding can help you achieve a smooth and attractive finish. Use a sanding block or sponge to apply even pressure and start with a coarse grit sandpaper before moving to a finer grit. With these tips, you can achieve a professional-looking finish that will make your acrylic paint project stand out.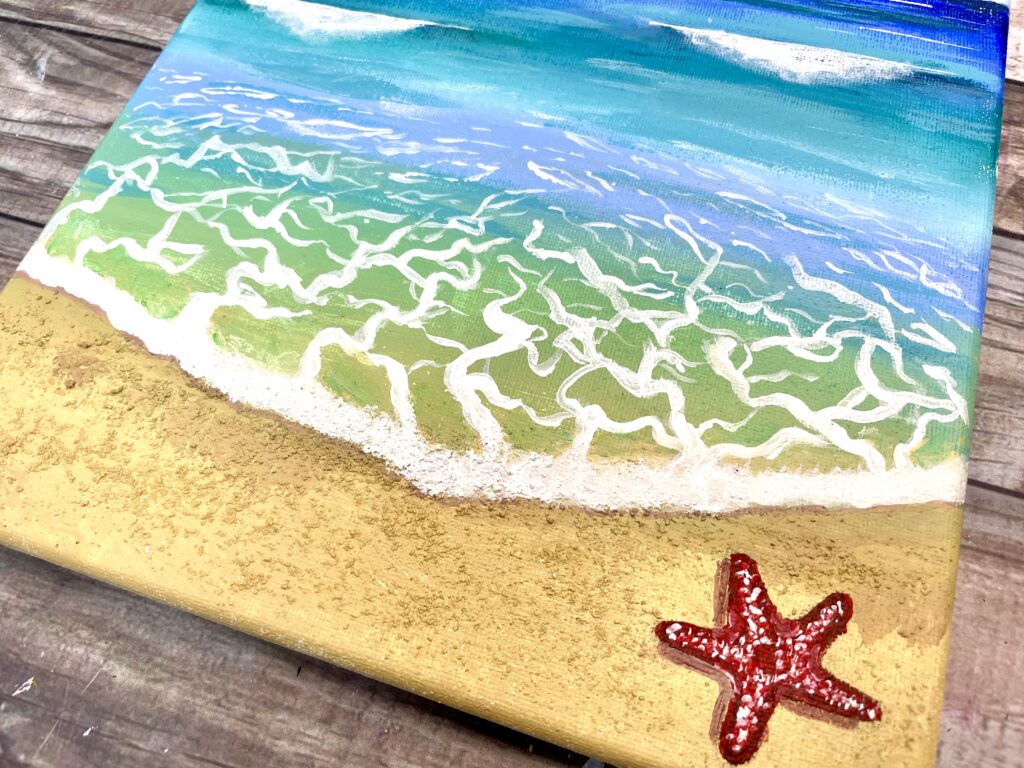
Credit: feelingnifty.com
Achieving A High-gloss Finish
Achieving a high-gloss finish on acrylic paint can elevate the overall look of your project, creating a professional and polished appearance. Whether you’re working on a piece of art, furniture, or a DIY project, sanding and polishing acrylic paint can help you achieve a smooth, reflective surface that captures attention. In this section, we’ll explore the process of polishing after sanding and using sealants for extra shine to bring out the full potential of your acrylic paint project.
Polishing After Sanding
After sanding the acrylic paint, polishing is essential to bring out the high-gloss finish. Use a fine-grit polishing compound and a soft, clean cloth to gently buff the sanded surface. Work in circular motions to gradually increase the shine and smoothness of the paint. This process helps to remove any sanding marks and imperfections, resulting in a lustrous, mirror-like finish that enhances the visual appeal of the acrylic paint.
Using Sealants For Extra Shine
For an added boost of brilliance and protection, consider applying a sealant to the polished acrylic paint. Sealants not only enhance the shine but also provide a durable layer of protection against scratches and fading. Opt for a high-quality acrylic paint sealant and follow the manufacturer’s instructions for application. Once applied and dried, the sealant will further enrich the high-gloss finish, ensuring that your acrylic paint project maintains its stunning appearance over time.
Alternatives To Sanding For Smoothing Paint
If you have painted a surface with acrylic paint and need to smooth out the surface, you may be wondering if sanding is the only option. While sanding is a common method, it can be messy and time-consuming. Fortunately, there are alternatives to sanding that can achieve the same result without the hassle.
Using A Paint Conditioner
If you want to avoid sanding, you can try using a paint conditioner. Paint conditioner is a product that is mixed with the paint before application. It helps to level out the paint and reduce brush marks, creating a smoother surface. Simply add the conditioner to your paint and apply as usual. This method is ideal for small touch-ups or areas that need minor smoothing.
Applying A Top Coat For Smoothness
Another alternative to sanding is applying a top coat to the painted surface. A top coat is a clear protective layer that is applied over the paint. It can smooth out imperfections and create a glossy finish. To apply a top coat, wait for the paint to dry completely, then apply the top coat with a brush or roller. This method is ideal for larger surfaces that need more smoothing.
Safety Precautions And Best Practices
When sanding acrylic paint, it’s important to take safety precautions and follow best practices. Wear a mask and protective eyewear to avoid inhaling particles and protect your eyes. Work in a well-ventilated area and consider using a sanding block for better control.
When it comes to sanding acrylic paint, it is important to take the necessary safety precautions and follow best practices to ensure that you are working in a safe and efficient manner. In this section, we will discuss some key safety measures that you should take when sanding acrylic paint, including wearing protective gear and ensuring proper ventilation.Wearing Protective Gear
Before you begin sanding acrylic paint, it is important to make sure that you are wearing the appropriate protective gear. This includes:- Safety glasses or goggles to protect your eyes from dust and debris
- A respirator or dust mask to protect your lungs from inhaling harmful particles
- Gloves to protect your hands from any chemicals or rough surfaces
Ensuring Proper Ventilation
In addition to wearing protective gear, it is important to work in a well-ventilated area when sanding acrylic paint. This will help to prevent the buildup of harmful fumes and dust particles that can be hazardous to your health. If you are working indoors, make sure that you have proper ventilation, such as opening windows or using a fan to circulate air. If you are working outdoors, make sure that you are not in a confined space and that you are not sanding on a windy day. By taking these safety precautions and following best practices, you can ensure that you are working in a safe and efficient manner when sanding acrylic paint. Remember to always wear protective gear and work in a well-ventilated area to avoid any potential health risks.Conclusion: Mastering The Art Of Sanding Acrylic Paint
Sanding acrylic paint is a crucial technique that can elevate the quality and finish of your artwork. By understanding the process and using the right tools, you can achieve a smooth and professional-looking surface. Through this guide, you’ve gained valuable insights into the art of sanding acrylic paint, equipping you with the knowledge to enhance your painting projects.
Summarizing Key Takeaways
1. Sanding Process: Understanding the correct grit sandpaper and the importance of a smooth, even surface.
2. Preparation: Properly preparing the painted surface for sanding to achieve optimal results.
3. Technique: Mastering the art of sanding by using gentle, consistent strokes for a flawless finish.
Encouraging Continuous Practice
Embracing continuous practice is essential for honing your sanding skills. As you become more familiar with the process, you’ll develop a keen eye for detail and precision, allowing you to refine your techniques and achieve professional-grade results in your acrylic painting endeavors.
Credit: www.reddit.com
Frequently Asked Questions
How Long Should Acrylic Paint Dry Before Sanding?
Allow acrylic paint to dry for at least 24 hours before sanding for optimal results.
How To Sand Down Acrylic?
To sand down acrylic, follow these steps: 1. Start with a low-grit sandpaper (around 220) and gradually move to a higher grit (400 or higher). 2. Wet the sandpaper and gently sand the surface in a circular motion. 3. Rinse the acrylic frequently to prevent overheating.
4. Continue sanding until the desired smoothness is achieved. 5. Finish by polishing with a fine-grit sandpaper or a plastic polish for a glossy finish.
Can I Add Sand To Acrylic Paint For Texture?
Yes, you can add sand to acrylic paint to create texture in your artwork. It adds a gritty feel and can enhance the overall visual appeal. Mix the sand with the paint thoroughly before applying it to your canvas or surface.
Experiment with different amounts to achieve the desired texture.
How To Remove Streaks From Acrylic?
To remove streaks from acrylic, use a microfiber cloth and a solution of water and mild soap. Gently wipe the surface in a circular motion until streaks disappear. Avoid using harsh chemicals or abrasive materials to prevent damage.
Conclusion
To sum up, sanding acrylic paint is indeed possible, but it requires caution and the right techniques. By following the necessary steps, such as using fine-grit sandpaper and applying even pressure, you can achieve a smooth and polished finish. Remember to take proper safety precautions and always test in inconspicuous areas first.
With patience and practice, you can master the art of sanding acrylic paint and create stunning results for your projects. Happy painting!