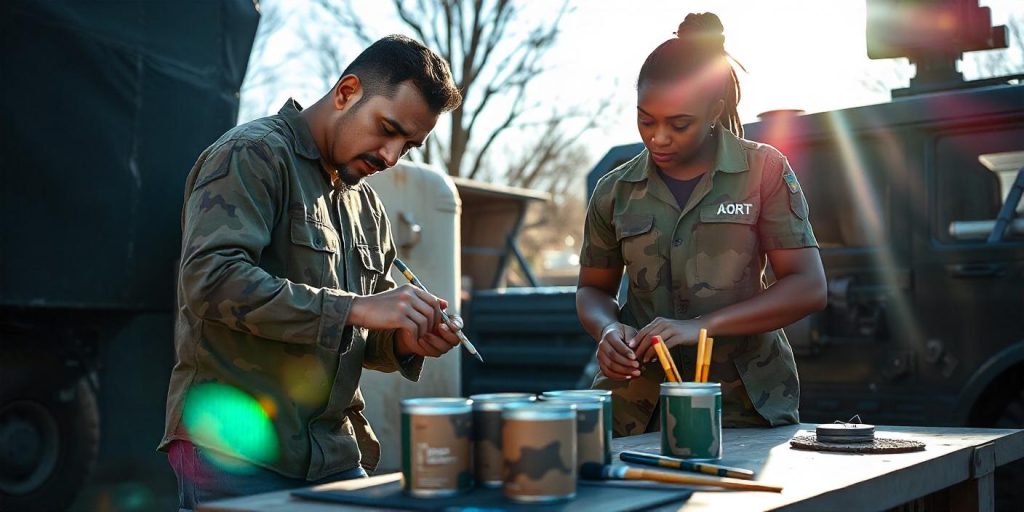
Camouflage painting is a creative and practical technique often used for blending objects into their surroundings or achieving a distinctive aesthetic look. From decorating walls and furniture to customizing outdoor gear or vehicles, learning how to camouflage paint can elevate your DIY projects.

This step-by-step guide will walk you through the tools, techniques, and methods to create seamless and stunning camouflage patterns.
Contents
Understanding Camouflage Painting
What Is Camouflage Painting?
Camouflage painting is the process of applying a multi-colored, irregular pattern to a surface. This technique was originally developed for military purposes to make objects less visible in their environment. Today, it’s popular for artistic, practical, and decorative applications.
Uses of Camouflage Painting
- Outdoor gear: Backpacks, tents, and hunting equipment.
- Vehicles: Cars, bikes, and off-road equipment.
- Interiors: Accent walls, furniture, or décor.
- Clothing and accessories: Shoes, jackets, and bags.
Tools and Materials You’ll Need
Essential Supplies
- Paint: Choose at least three colors (base color and two accent colors). Common shades include green, brown, black, tan, and gray.
- Primer: Ensures the paint adheres properly.
- Paintbrushes and rollers: For applying the base coat and accents.
- Sponges: Perfect for creating natural-looking patterns.
- Painter’s tape: Helps define edges and create clean patterns.
Optional Items
- Spray paint: For quick and even application.
- Stencils: Leaf, twig, or irregular shape stencils can add depth.
- Drop cloth: Protects your workspace from paint spills.
- Sandpaper: For preparing rough surfaces.
Preparing the Surface
Step 1: Clean the Surface
Before painting, clean the surface thoroughly to remove dust, grease, or debris. Use a damp cloth or cleaning solution for this step.
Step 2: Sand the Surface
If the surface is glossy or uneven, sand it lightly with fine-grit sandpaper to ensure the paint adheres properly.
Step 3: Apply Primer
Use a primer that matches your intended paint type (latex or oil-based). Allow the primer to dry completely before proceeding.
Planning Your Camouflage Pattern
Choosing Colors
Pick colors that suit the intended environment.
- Woodland camo: Shades of green, brown, black, and tan.
- Desert camo: Beige, tan, light brown, and gray.
- Urban camo: Black, gray, white, and blue.
Designing the Pattern
Camouflage patterns are typically irregular and layered. Sketch your design on paper first to visualize how the colors will blend together.
Step-by-Step Guide to Camouflage Painting
Step 1: Apply the Base Coat
- Paint the entire surface with the lightest color (usually beige or light green).
- Use a roller or spray paint for a smooth, even finish.
- Let the base coat dry completely before adding patterns.
Step 2: Add the First Pattern Layer
- Tear a sponge into irregular shapes for a natural look.
- Dip the sponge into your second paint color (e.g., dark green or brown).
- Dab the paint onto the surface in random areas, leaving some of the base coat visible.
Step 3: Add the Second Pattern Layer
- Use a different sponge or paintbrush for the third color (e.g., black or tan).
- Add this color in irregular patches, overlapping the previous layers.
- Adjust the density of the pattern based on your desired look.
Step 4: Blend and Refine
- Step back to evaluate the pattern and ensure the colors are balanced.
- Fill in any gaps or blend edges with a sponge or small brush.
- For additional detail, use stencils to add leaf or twig shapes.
Step 5: Seal the Paint
- Once the paint is completely dry, apply a clear sealant or topcoat.
- This will protect the paint from scratches, fading, or wear.
Techniques for Specific Projects
Camouflaging Walls
- Use painter’s tape to create defined sections for large patterns.
- Consider using a paint sprayer for a smooth finish.
Painting Vehicles
- Mask off windows, lights, and other non-painted areas with tape and plastic sheeting.
- Apply thin layers of spray paint for a durable finish.
Customizing Outdoor Gear
- Focus on smaller patterns for items like backpacks or tents.
- Use stencils for precise shapes that mimic foliage.
Tips for a Professional Finish
Work in Layers
Always let each layer dry completely before adding the next. This prevents smudging and ensures clean patterns.
Experiment with Tools
Try using leaves, cardboard cutouts, or crumpled plastic bags to create unique textures and shapes.
Use Protective Gear
Wear gloves and a mask, especially when using spray paint, to avoid exposure to fumes and chemicals.
Common Mistakes to Avoid
Using Too Many Colors
Stick to three or four colors to prevent the design from looking chaotic.
Overlapping Too Much
Ensure each layer is visible and distinct to maintain the camouflage effect.
Skipping Primer
Without primer, the paint may not adhere well, leading to peeling or chipping.
Maintaining Your Camouflage Paint
Regular Cleaning
- Use a damp cloth to wipe down painted surfaces.
- Avoid abrasive cleaners that can damage the paint.
Reapply Sealant
If the surface is exposed to outdoor elements, reapply a clear sealant every few months to maintain durability.
Touch-Up Repairs
Keep extra paint on hand for quick touch-ups if the paint chips or fades.
Conclusion
Camouflage painting is a versatile and rewarding project that can transform ordinary items into practical or decorative masterpieces.
By following this step-by-step guide, you can achieve professional-quality results on walls, vehicles, or gear. With a bit of creativity and patience, your finished project will stand out—or blend in—perfectly.
